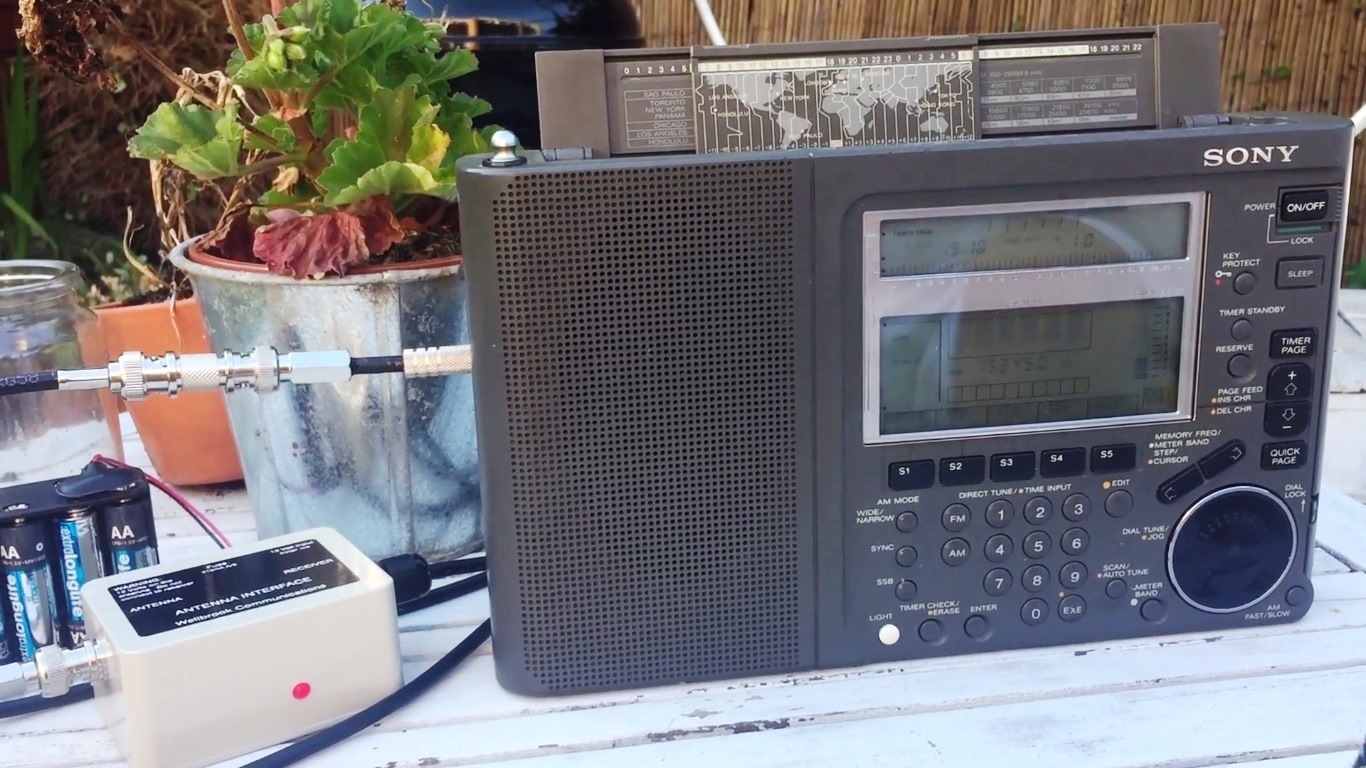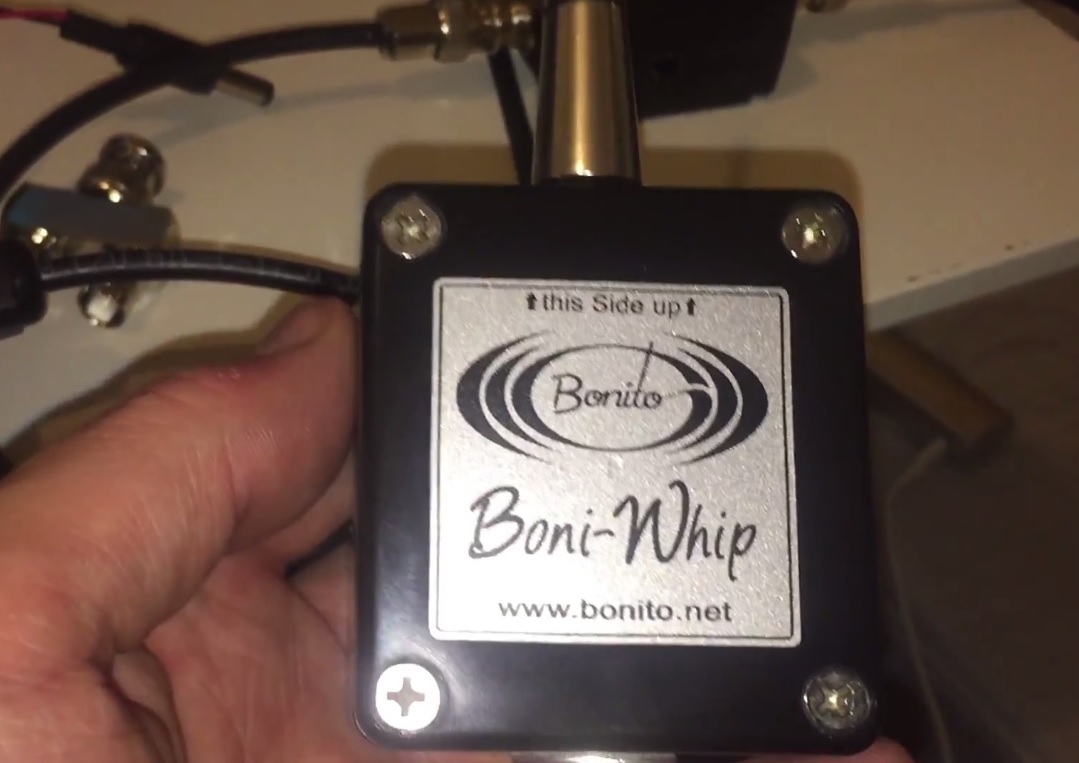
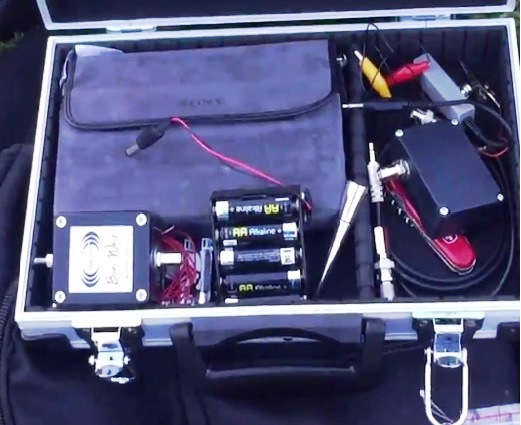
Hi there, if like me, you live in an urban environment, chances are QRM is having a negative impact on the quality of the signals you’re receiving at home. The presence of electrical noise makes antenna choice very important, particuarly if you’re planning to spend more than a few £££s on something more sophisticated than a length of wire. Recently I was considering the the purchase of a secon d compact antenna, for use at home in my shack and out and about on DXpeditions. I already had the excellent Wellbrook ALA1530 H field antenna, but at more than £250, it’s very costly and thus it seemed rather extravagent to buy a second one, if I could find something with similar performance for less expense. Space is at a premium at home and of course I take much of my equipment out on DXpeditions, so the Bonito Boni whip active antenna appeared to be an ideal choice. A wideband active antenna (from 20 kHz to 300 MHz) operating from 12 to 15V DC, with a very compact form-factor definitely ticked all the boxes. Furthermore, with reasonable second and third order intercept points of +55 and +32.5 dBm respectively, the Boni whip, on paper at least, looked like a pretty good buy at around £100.
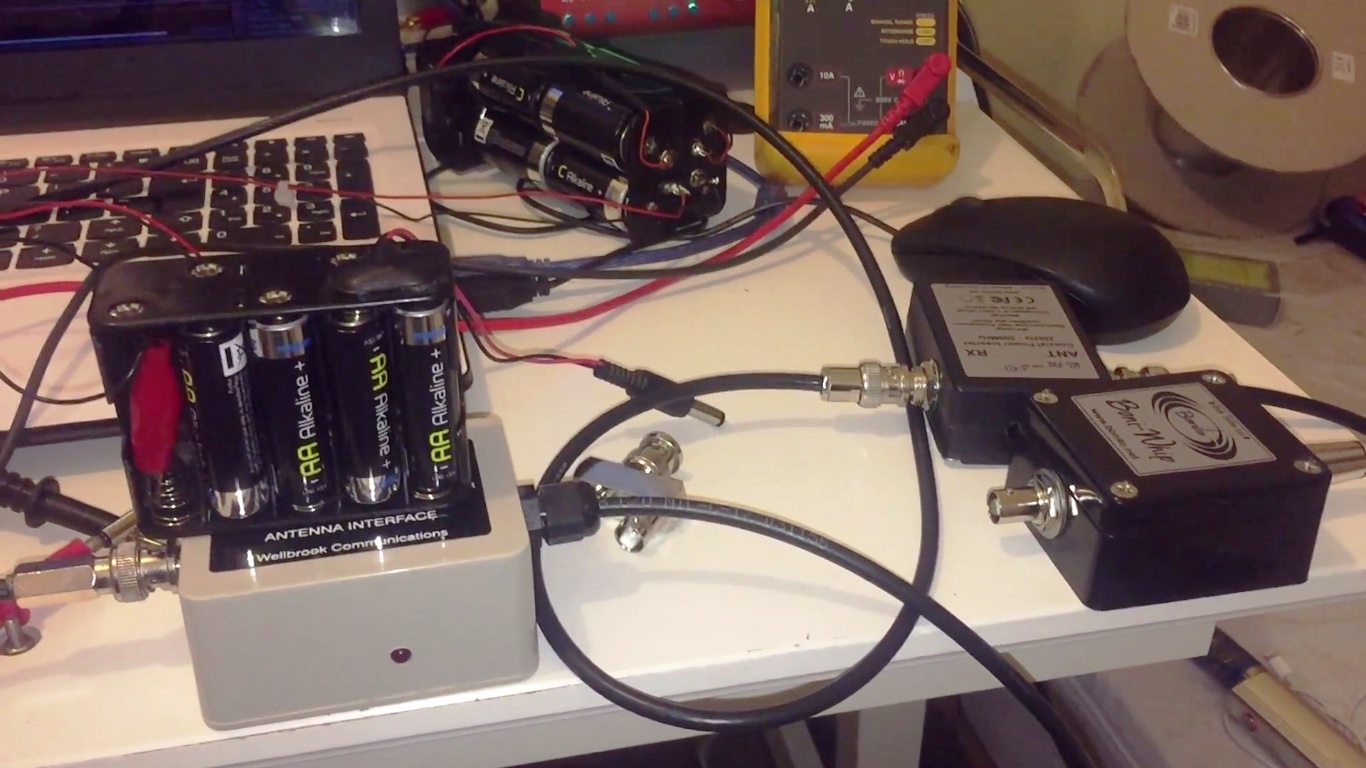
Now, clearly, an E field antenna such as the Boni whip is not going to match the SNR provided by the H field Wellbrook ALA1530 in a noisy, urban environment. I have uploaded a few reception videos to my YouTube channel to demonstrate this, making a direct comparison of the two. However, what about the performance of the whip versus a simple longwire in an urban environment? Is there a delta in performance? The value proposition of the whip is primarliy in it’s performance, coupled with portability I suppose, but that must be considered a secondary requirement. The whip might be 10 or 15 times more expensive than a reel of cheap equipment wire, but will the reception justify the cost delta?!
Text links follow directly below, with embedded videos thereafter; you will find 3 reception videos comparing the whip and a 30 metre longwire, on shortwave and one each for LW and MW. At the end of each video there’s a section with the Wellbrook loop, just to calibrate where the longwire and whip are in terms of a much more effective H field antenna. The result? Well, there’s not much to separate the longwire and Boni whip, except on LW, where the whip prevails. A friend told me recently, if reception is rubbish at home under a blanket of QRM, don’t blame the antenna, the noise is the real problem. He was right. So, the next tests are to be undertaken out in the field, where the whip has a real chance to shine. I’m rooting for it because to have an antenna that performs as well as, or close to my loop out in the woods, yet can be packed away into a small case would be brilliant. Thanks for reading/watching/listening.
- Urban DX antenna test #1: Comparing 30 metre longwire to Boni whip
- Urban DX antenna test #2: Comparing 30 metre longwire to Boni whip
- Urban DX antenna test #3: Comparing 30 metre longwire to Boni whip
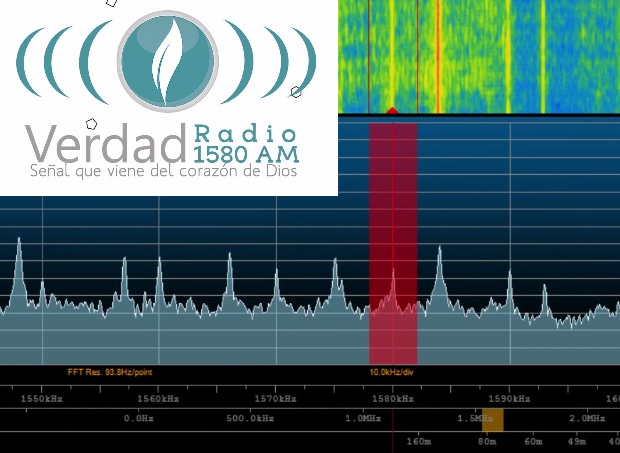
- Urban DX antenna test #4: Comparing 30 metre longwire to Boni whip on MW
- Urban DX antenna test #5: Comparing 30 metre longwire to Boni whip on LW
Clint Gouveia is the author of this post and a regular contributor to the SWLing Post. Clint actively publishes videos of his shortwave radio excursions on his YouTube channel: Oxford Shortwave Log. Clint is based in Oxfordshire, England.