Many thanks to SWLing Post contributor, Jack Kratoville, who shares the following guest post:
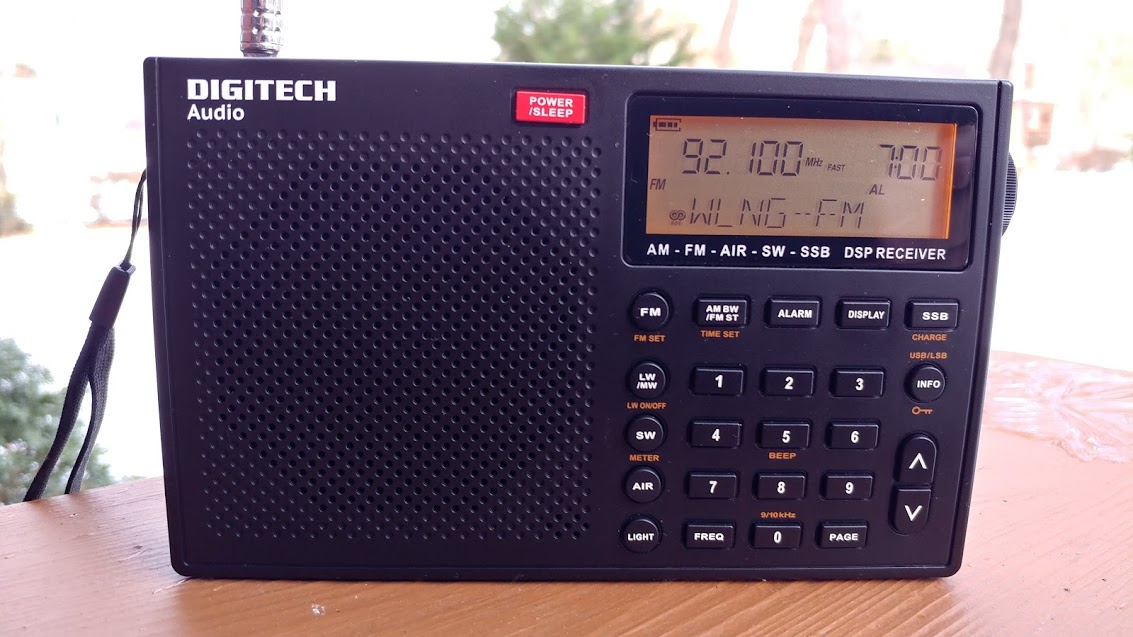
A review of the Digitech AR-1780
by Jack Kratoville
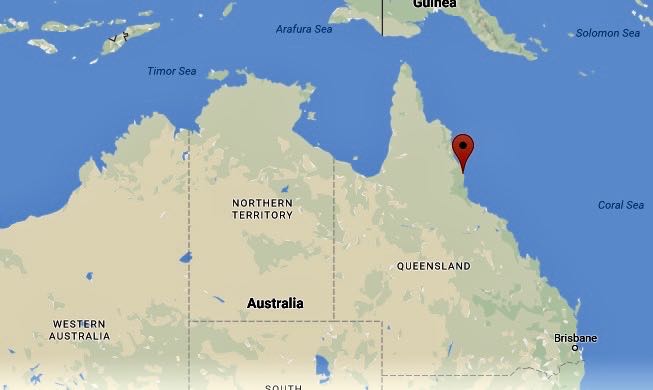
As a previous post noted, the quest for the perfect radio drives us far and wide; in this case, as far as Australia. Since it’s rare these days to be able to walk into brick and mortar to touch, play and even bring home a radio to test; I’m grateful for online communities like the SWLing Post to research new and existing product. The caveat being “another must-have for my collection.”
I truly thought I had found happiness with my traveling Grundig tandem of the G5 and G6 – that is until the DSP chip was introduced. For the past 2 years, I’ve been satisfied packing the CCrane Skywave, Tecsun PL-360 and one wild card for domestic travel. My bottom line is when I’m listening to a certain radio in a given location, did I ever regret not bringing something else? The Skywave has satisfied over 95% of the time.
When the AR1780 popped up on this site, something about it piqued my interest. I had heard the Digitech name and it was always associated with a less than favorable opinion. This radio, however, was drawing unexpected praise. It was the video reviews that put me over the top with rich audio coming through even cheap condenser mics. I called Jaycar and had one shipped. Now you can add me to the list of those who are quite pleased with this addition to my radio family.
I’ll start with the primary reason to consider this radio – the sound emanating from the on board speaker. The AR1780 sounds better or as good as any unit this size. And this isn’t just a benefit for FM listening, but for AM/SW/AIR as well. I’ve never seen such tonal balance across all bands.
If you’re looking for a smaller portable with above par performance and excellent audio, you can stop here and place your order. Otherwise, on to my observations:
FM
I enjoy FM DXing and the fidelity of this band. Even though I’ve become accustomed to the sound of the Skywave (it does mellow with age), the AR1780 blows me away. Crisp highs and lows with rich bass that highlights both music and vocals. There is no tonal adjustment on this radio and, frankly to my ears, it doesn’t need one.
Performance is on par with the Skywave and other DSP units. While the Skywave has slightly better selectivity, the 1780 pulls in a tad more signal with its longer whip. The RDS feature works great and is a plus when skips and trop bring in distant signals.
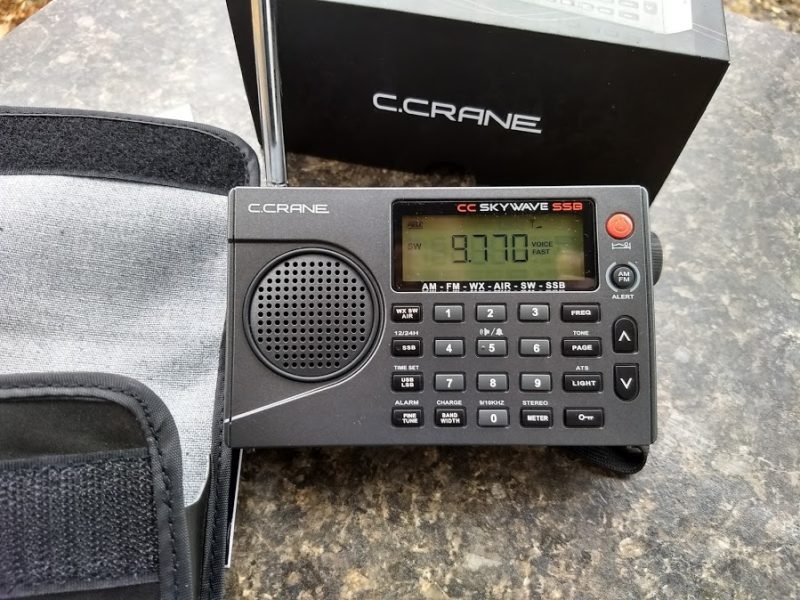
Mediumwave / AM
As sensitive as the Skywave and G5. I’ve gone up and down the dial and my unit doesn’t produce birdies or hets anywhere. Very happy about that. For local signals, once again the sound is wonderful with choices of wide bandwidth. And even with distant music stations, rare as they may be, the AR1780 produces more fidelity than noise. When Zoomer 740 comes in full strength, this radio sounds as good as it gets. Where the Skywave has a tonal advantage is when filtering is at its narrowest. I can still hear signals clearly, whereas the Digitech can get a bit muddy. Depends on signal.
I’ll mention here that the advantage of CCrane’s products is upgraded filtering. The AR1780 burps and clicks when you enter anything on the keypad – even from the Skywave’s keypad if the radios are close to each other! Otherwise, they are very similar in response to outside RF and other noise producing electronics.
Shortwave
I receive everything on this radio as I do on the Skywave & G5.
Where I find weakness with the AR1780 is the soft muting and the scan feature is far, far slower than the Skywave. I’ve scanned for signals on other radios and loaded the presets on the Digitech.
I haven’t found any birdies yet, but it will whistle while starting up on Radio Miami, then calm down completely once fully captured. But that’s only when 9395 is the start up frequency. If I switch to SW and it starts elsewhere and I hit the preset for 9395 – nothing! Strange, but an acceptable artifact. I have to admit, it sounds great listening to music on WRMI!
SSB
I don’t have the Skywave SSB, but the Digitech is slightly less sensitive than the G5. Not sure if it’s due to filtering, antenna length, the DSP chip or all of the above. It’s there, but sometimes not worth straining to listen to. I haven’t tried an external antenna as of yet. The G5 doesn’t feature the USB / LSB option, so the Digitech is easier to tune. Full disclosure, SSB was never a deal breaker for me and I’m satisfied with what I can hear.
AIR Band
A touch more sensitive than the Skywave here. As all my testing is done strictly from the whip – that might be the advantage.
General
I have to say the build of this radio is very impressive. Buttons are very firm and responsive. The tuning knob is superb. As the weakest physical part of the Skywave, the AR1780’s knob, and its fine tuning counterpart, are spot on perfect. Nothing sloppy here.
Battery consumption (4 AA) seems above average, although not super-impressive. It’s hard for me to analyze at the moment as I’ve been playing with this radio constantly. I probably take more notice when I’m replacing 4 instead of 2 and may eventually jump over to rechargeable AAs. Interestingly, I took the 4 batteries I had worn down just one notch in the AR1780 and stuck them in a Sangean PDR-18. The meter on the PDR-18 showed only one bar or less.
The Skywave gives you 10 pages of 10 memories, the AR1780 gives you 50 pages! Even without explanation in the manual, setting these up are very intuitive.
The dial provides plenty of information. Curiously, if tilted while off, there are indicators for Music, Voice, Snyc, DAB & WB. While none are employed by the AR1780, perhaps there’s something else in the works!
What I find annoying
The display defaults to the temperature or the alarm. If you use signal strength or time during operation, it defaults to temp when you turn it off. Both of my Tecsuns will let you set display for both radio on and off. It bugs me most because holding the radio always sends the thermometer up by 10-12 degrees!
It takes a good 3 seconds to power up or switch bands. I’ve heard of other radios having this trait, but this is my first experience. And this action does use a bit of power because switching bands, not the dial light, will show the first signs of battery wear. (Again, I’ve had no issues with severe battery draw and compare 4 alkaline usage with my G5.)
The Skywave has spoiled me with its super-fast scanning. The Digitech is similar to most Tecsuns. I’ve noticed them all skipping segments on the SW band.
I hear a difference between FM stereo and monaural from the onboard speaker. This is the result of a right or left channel only feed to the speaker when the radio is in stereo. The Grundig Mini 100 did this and without a mono setting, it drove me crazy. I like to see the stereo indicator, but it looks like the AR1780 needs to be set in Mono when listening to FM through the speaker.
There are a number of general traits that the AR1780 shares with the Skywave that I would have preferred to be more like the CC Pocket:
- I prefer a lock switch over a long-press lock button.
- When you switch to a different page on the Pocket, it only changes that band and stays on the current frequency. Both the Digitech and Skywave switch over all bands to that page number.
- One last minor annoyance (getting very picky here), the dial light seems to flash when you turn the radio off. The Pocket doesn’t.
OK, the bad
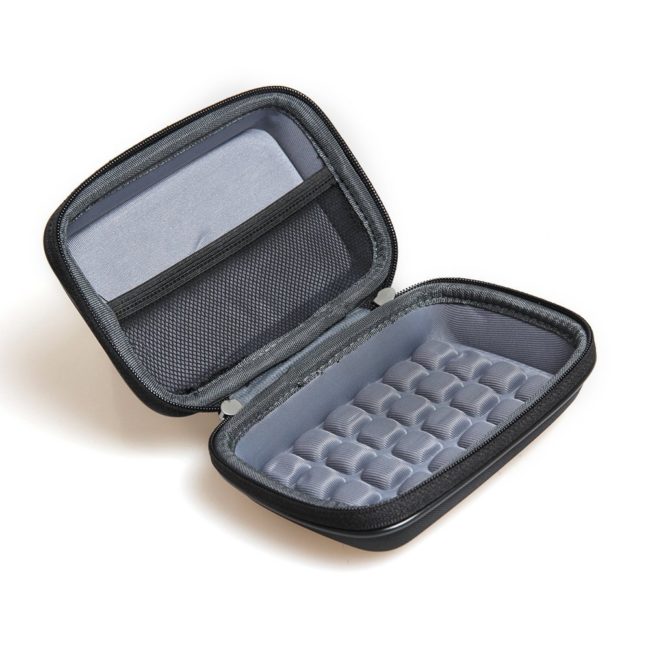
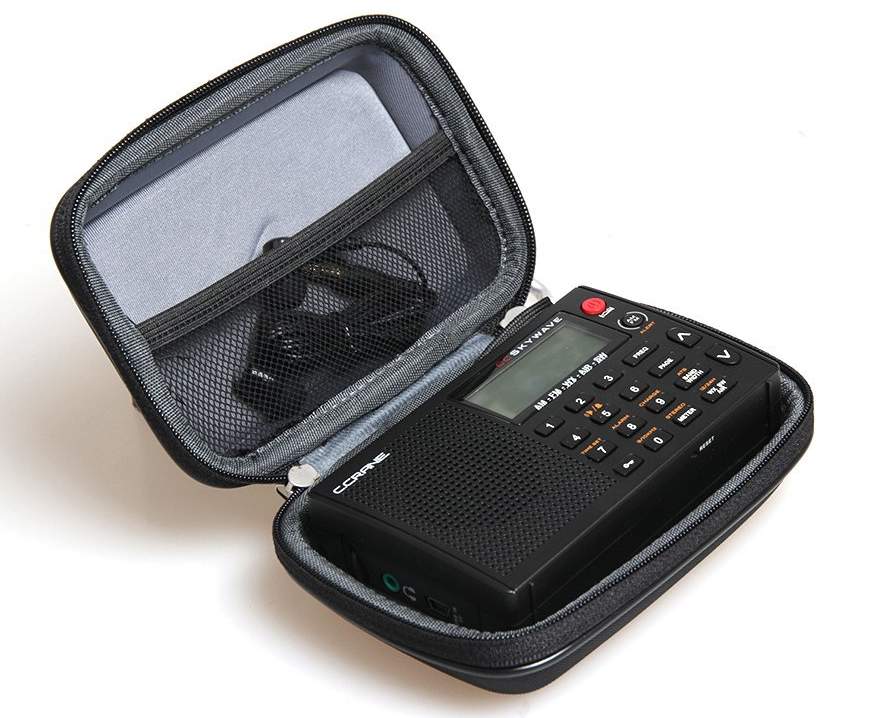
As a portable / travel radio, I can’t image why there is no pouch!
Add $5 and provide something to protect this in the go bag. At least this problem can be remedied. A pouch from the Sangean ATS-606 fits perfectly.
But the biggest flaw I found (and this may answer the power consumption others have noted) is the light continues to function in the locked position! All buttons are disabled, but press anything and the light comes on. I can imagine packing this radio and as it gets pressed against something else, the light remains on until the batteries are drained. A major design error here.
Conclusion
I’m more than impressed and extremely happy I made this purchase. I have no doubt this radio will be a primary travel companion. Since I always take a few on the road, surprisingly this won’t displace the Skywave. (I really enjoy that radio), but rather the veteran Grundig G5. While still considered one of my favorites, the Digitech provides as much performance and a few more features in a smaller package.
If I were choosing between the Digitech AR1780 and the Skywave SSB – that would be a touch choice. As I mentioned before, SSB has never been a deal breaker during travel and I love the original Skywave as is. Portable means smaller and the Skywave is the perfect size. I use the weather band more than LW, but the fidelity on the AR1780 is absolutely superb.
And while I’ve read the Skywave SSB is going through initial run growing pains, CCrane has been stellar when it comes to customer service and final product. They’re radio geeks like us – Digitech is simply a badge on a product manufactured by another company. (Jaycar seems like decent people.) Bottom line – let’s see how the Digitech is holding up after 2-3 years of usage.
I treat my radios like babies, but I’ve seen most wear down with unresponsive buttons, scratchy volume or fading displays. In fact, the only two grizzled veterans still operating at 100% are my Grundig G6 and Tecsun PL-360. Even my 7600GR’s volume is failing.
Worth it so far? Absolutely – without a doubt. Any future quirks, discoveries and disappointments will be shared.
Jack, thank you for sharing this excellent review!
I couldn’t agree with you more–the AR-1780 must have the best on-board audio of any compact shortwave portable I’ve tested. As you state, what makes it stand out is the fact that audio is wonderfully balanced across the bands. And what better way to check mediumwave audio? Why Zoomer Radio (CFZM) of course! One of my favorite night time catches.
Thanks for the note about switching FM to mono while listening via the built-in speaker. I don’t believe I had tried that yet.
And, like you, I find the active backlight during keylock such an odd behavior. I actually opened one of my travel bags during the holidays to find that the backlight was somehow fixed in the “on” position…with keylock engaged! I supposed the LED backlight has little effect on battery consumption because I imagine this the backlight was engaged for as much as three days, yet the battery still showed full bars.
The AR-1780 is a quirky radio, but by golly it’s a good one and a great value! Thanks again for the excellent review, Jack.