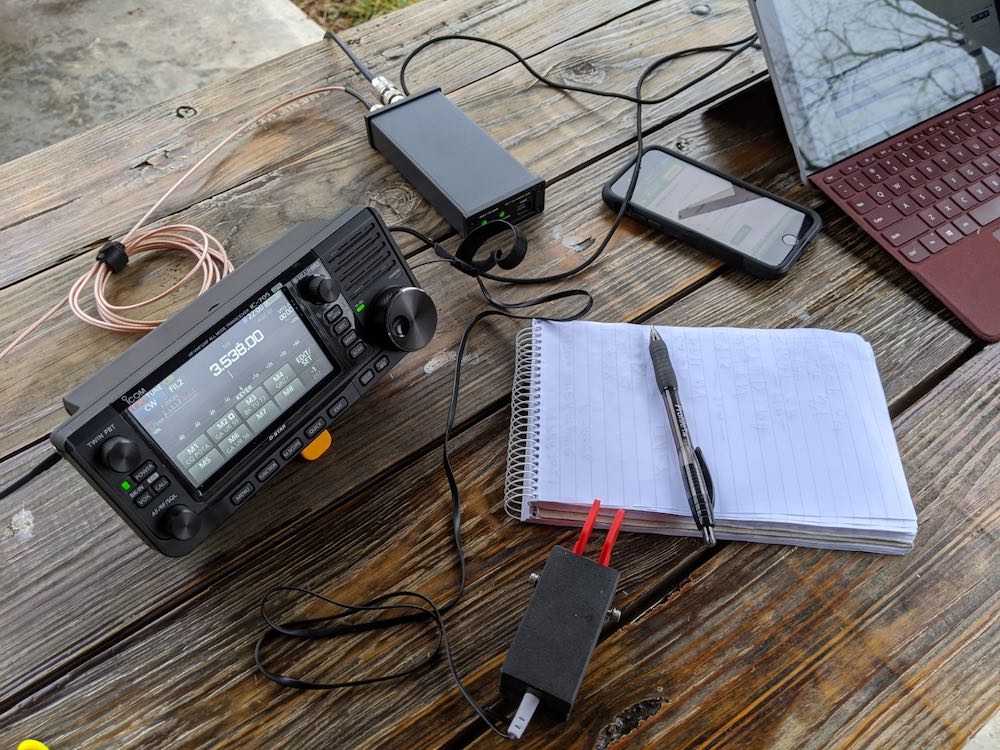
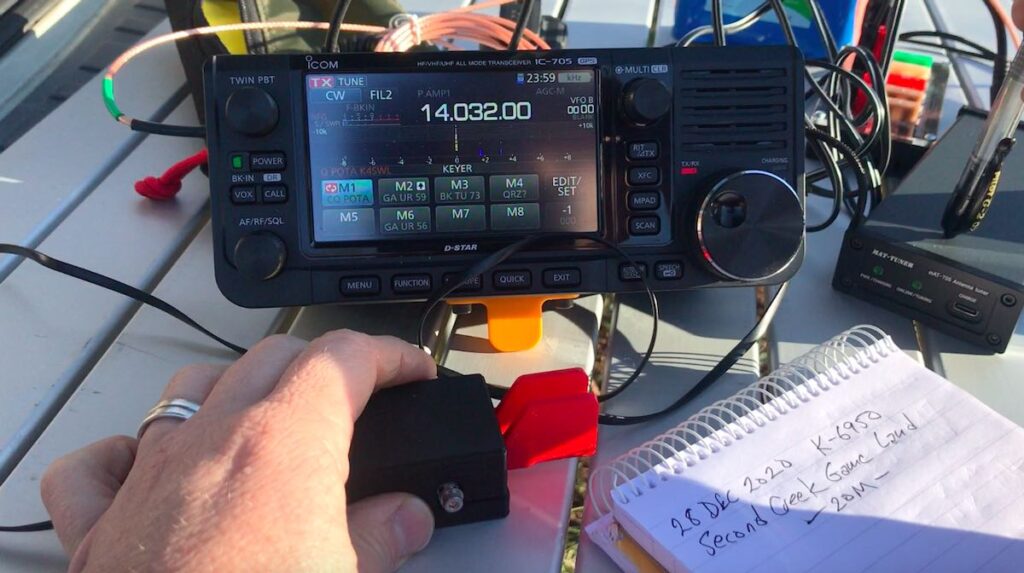
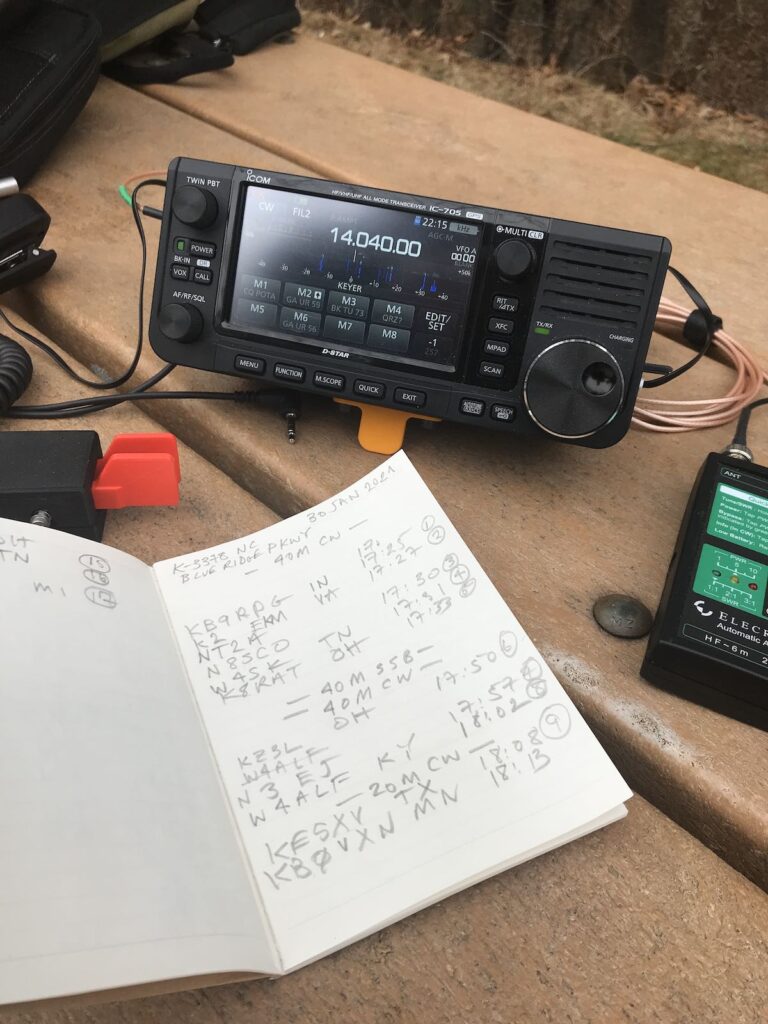
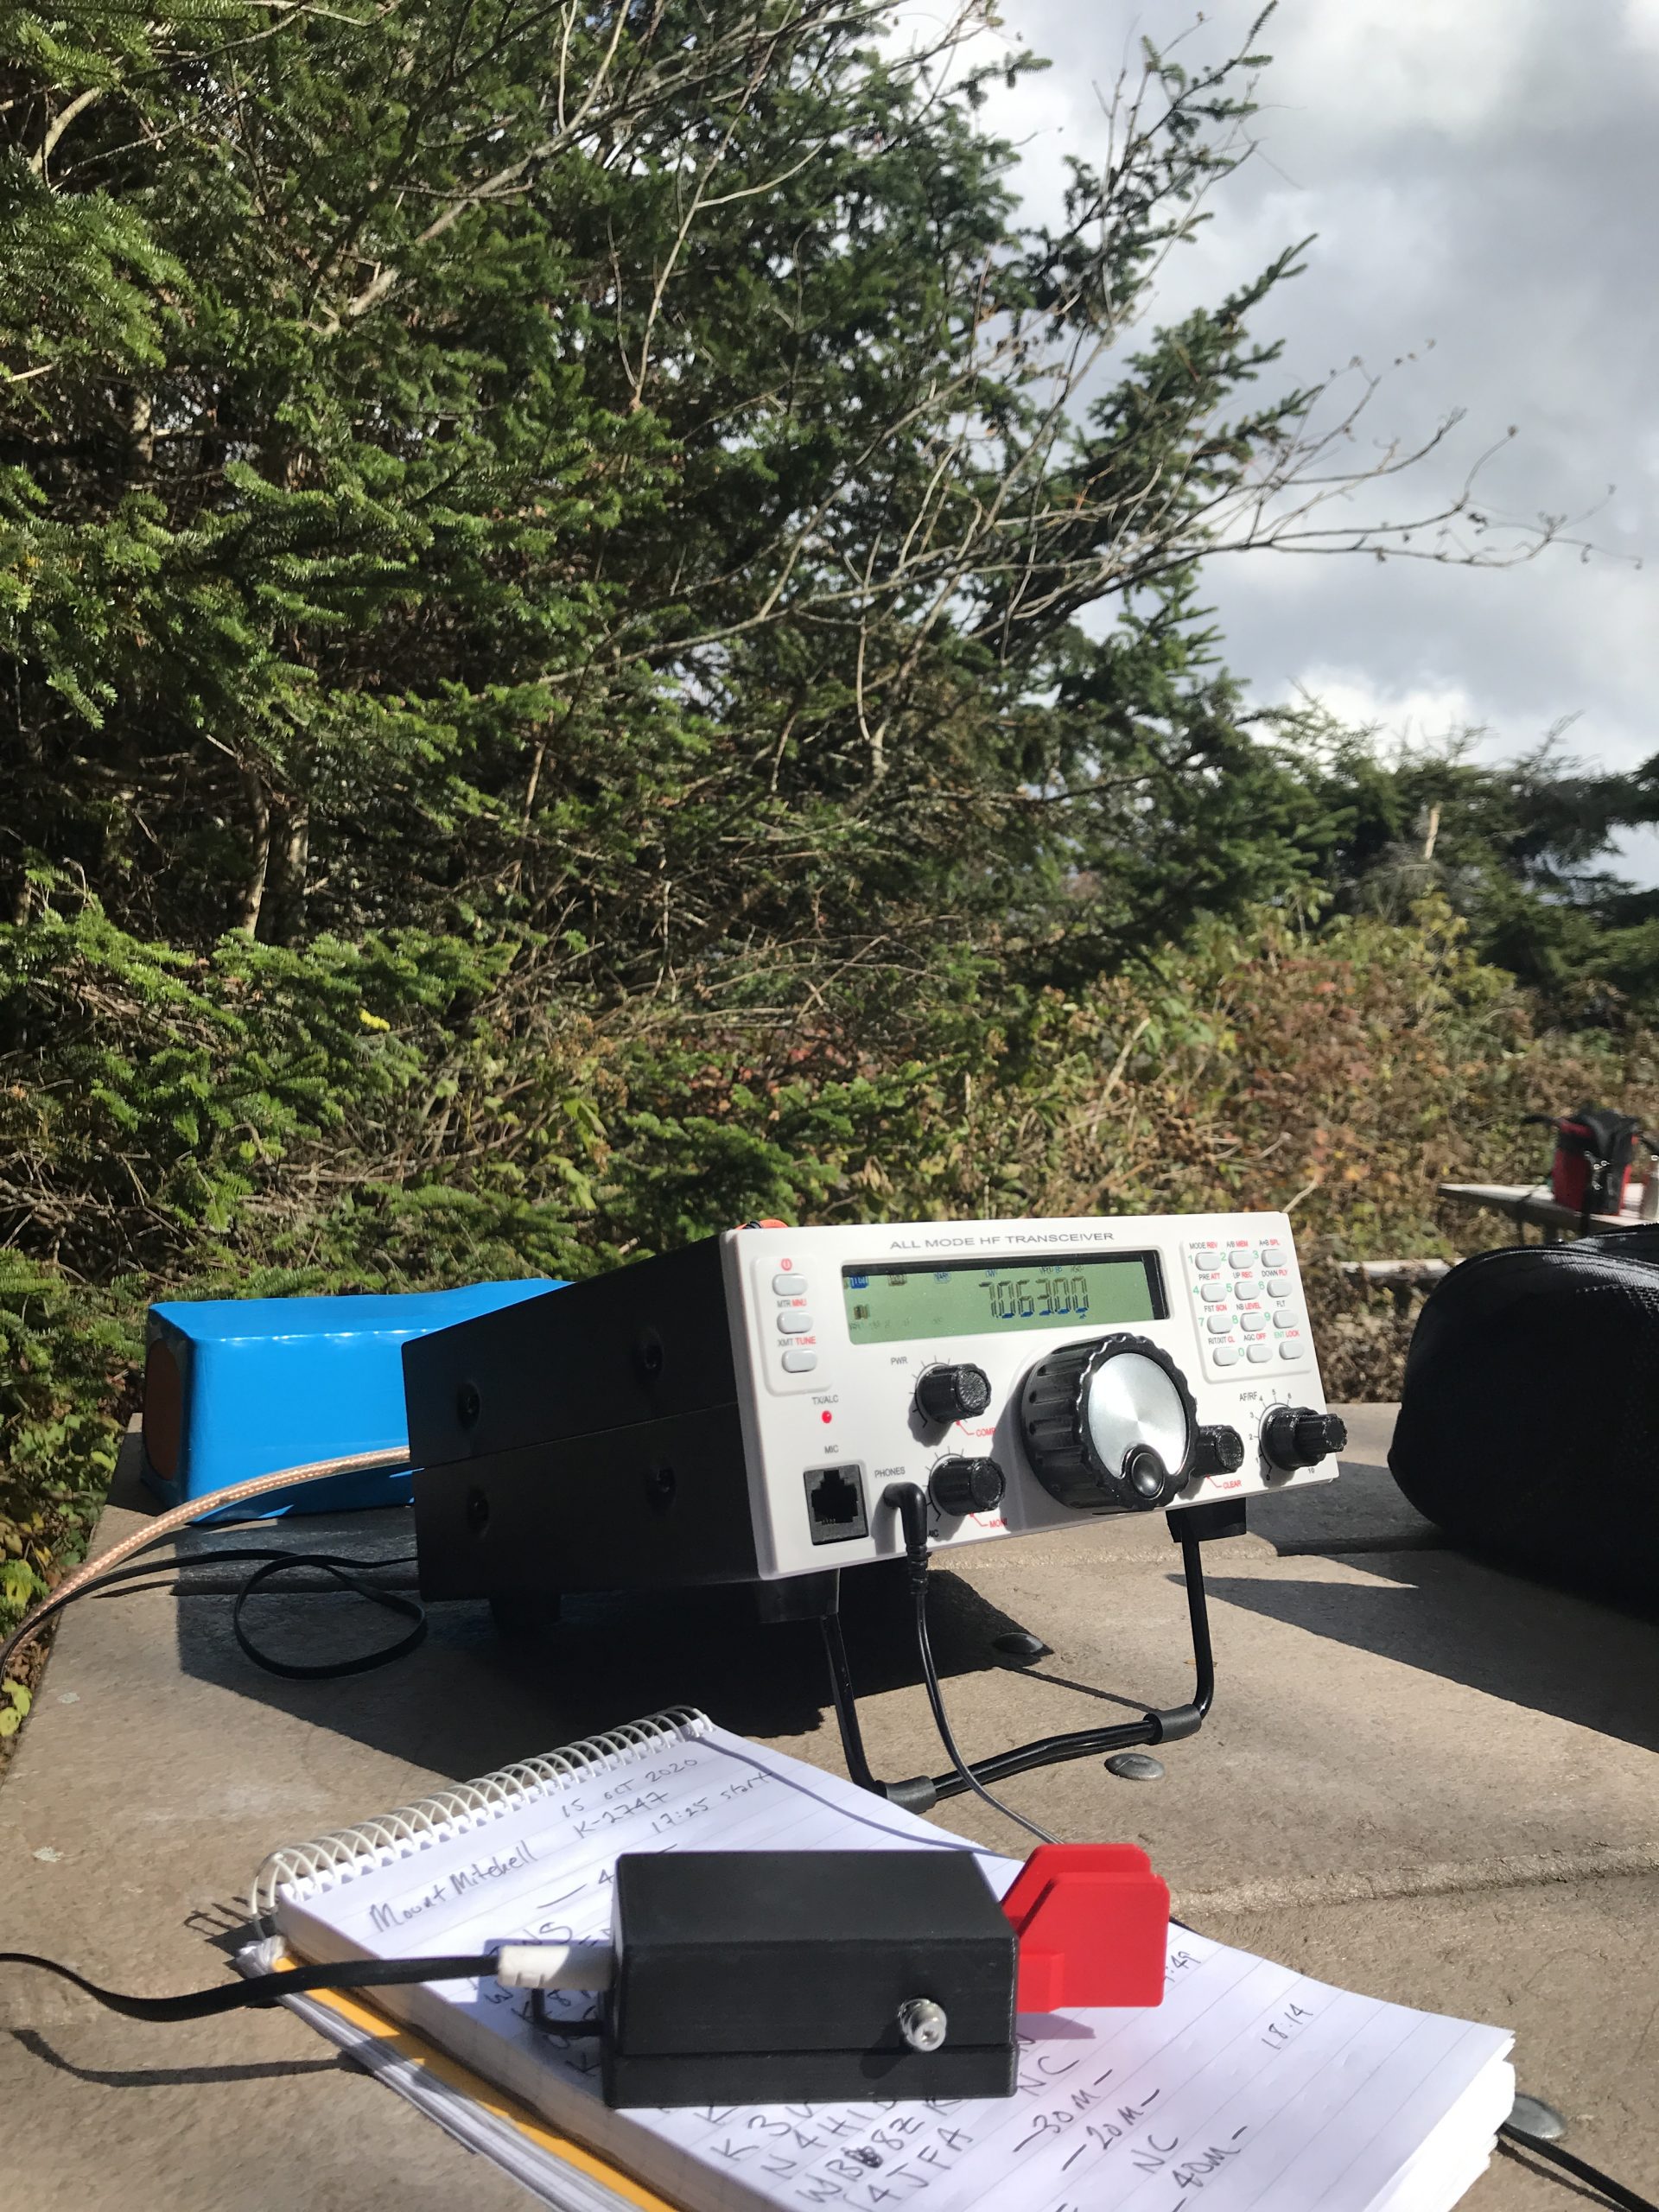
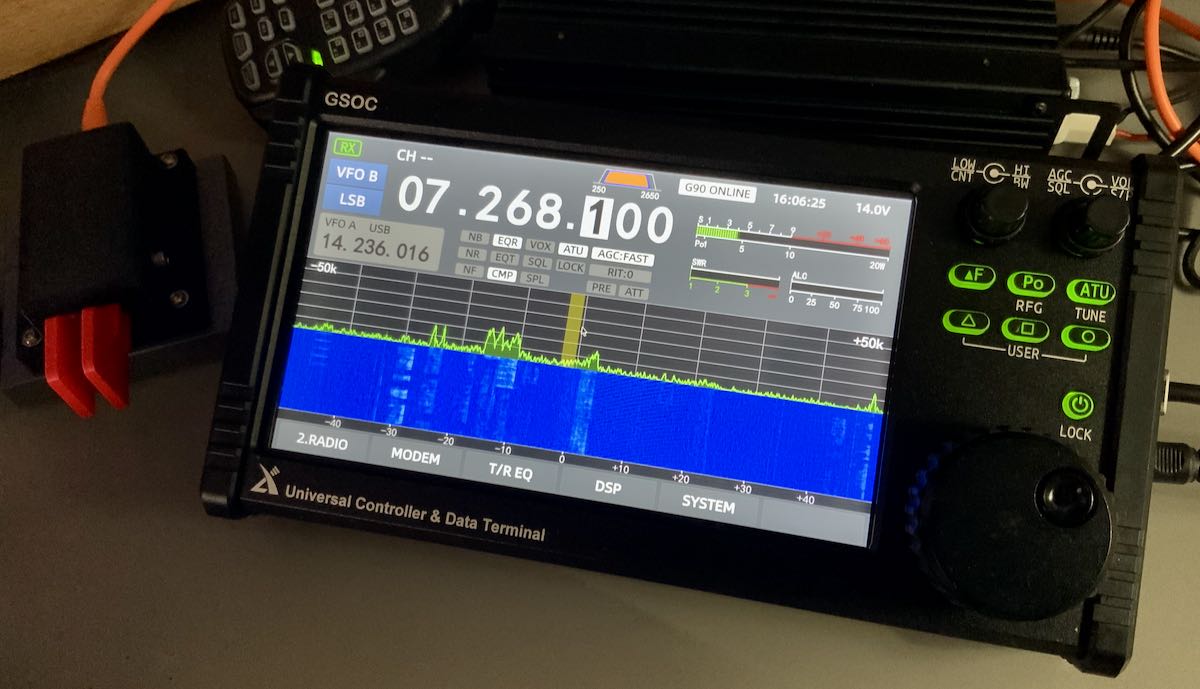
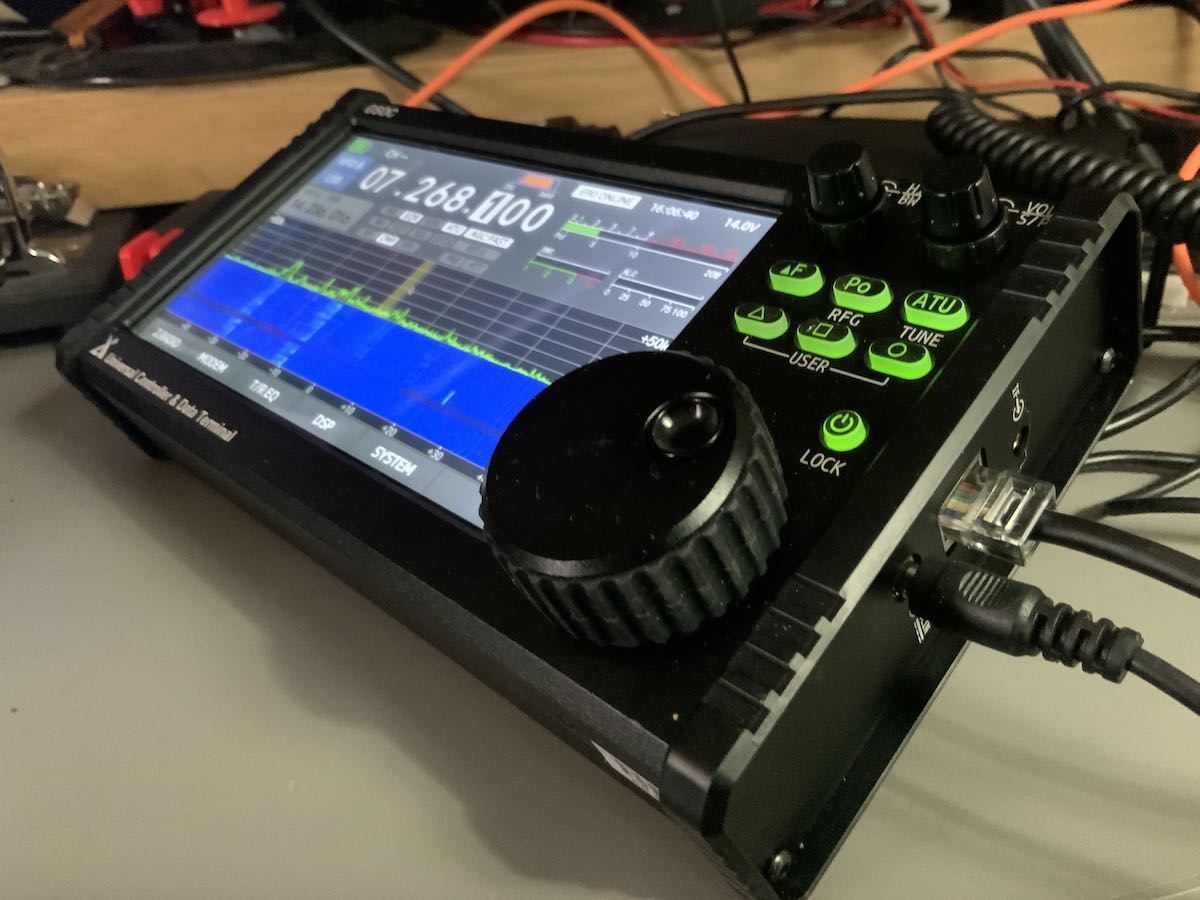
Tag Archives: General Coverage Transceivers

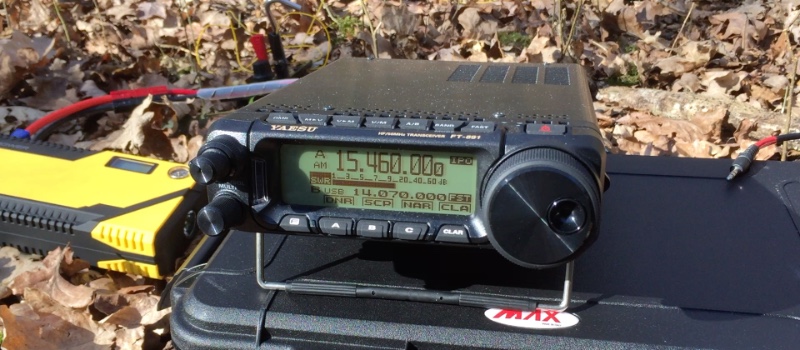
Guest Post: Mark’s review of the Yaesu FT-891 as shortwave broadcast receiver

Many thanks to SWLing Post contributor, Mark Hirst, who shares the following guest post:


Using the Yaesu FT-891 for SWLing

by Mark Hirst

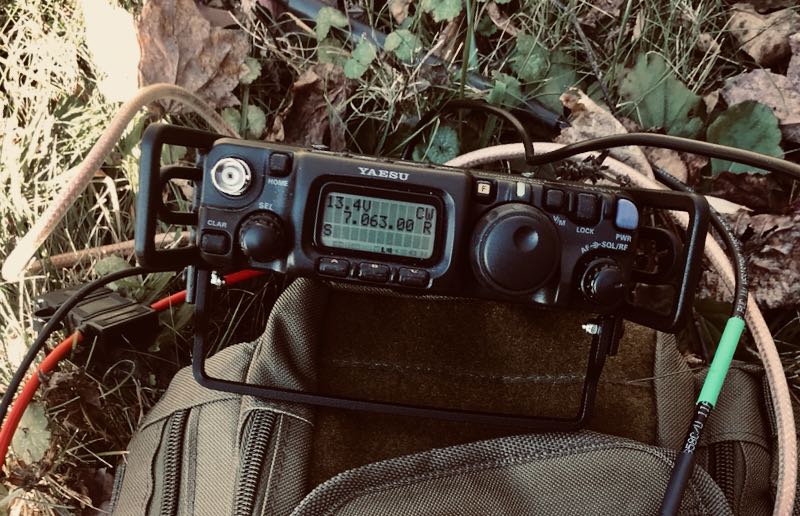
Woodland Operation in North Hampshire

Introduction

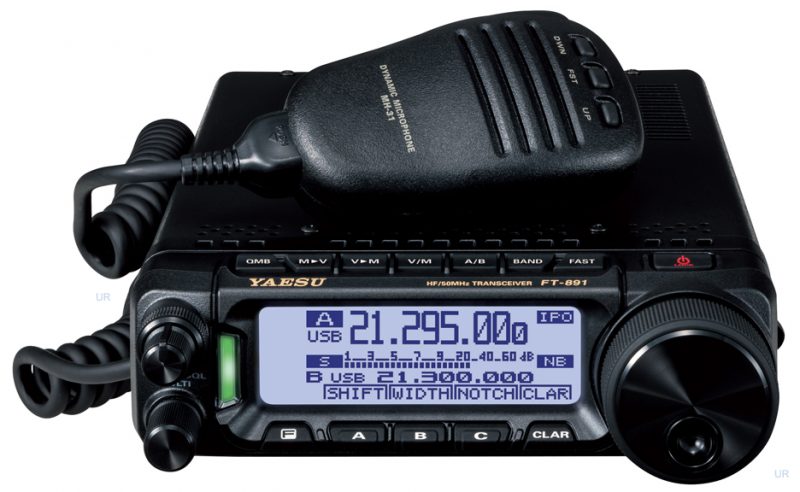
While I have a small collection of portable shortwave radios for outdoor listening, I’ve been looking to fill a gap in my amateur radio lineup for a while. Outdoor operation has become important in recent years as solar cycle conditions deteriorated along with rising levels of QRM in urban neighbourhoods. The ICOM IC–7200 with Wellbrook loop stays at home fighting a losing battle with PLA noise, while the very portable FT–817ND does occasional data modes contacts and outdoor listening. Somewhere in the middle, the FT–891 promised to provide a modern and more powerful data modes station, a radio to take on holidays, needing external batteries, but portable enough for walks into the country side. Earlier this year, I bought one new from my local ham radio store, and what follows are my findings and observations so far on shortwave listening.

Audio Characteristics

I’ve accumulated hundreds of recordings of VOA Radiogram and Shortwave Radiogram since 2013, so a recent woodland expedition with the FT–891 was an opportunity to compare a recording made with it against those of other radios I’ve used.

The most striking difference is the lack of frequencies in the lower part of the audio spectrum along with a distinct cut off at around 5kHz.

This is easily visualised in the following comparison between the FT–891 and the Tecsun PL–680. Note the conspicuous pillar associated with MFSK32 from these Shortwave Radiogram broadcasts, and interfering RTTY on the FT–891 recording:

Audio Frequency Analysis

While this audio profile may not be to everyone’s taste, the extra sparkle yields voice audio that is clear and distinct. I find those low frequencies make the audio muddy and tiring to listen over long periods, so I’m quite happy with this.

When listening to speech based broadcasts through the top mounted speaker, the audio is also precise and intelligible, and provides more than enough volume.

You can judge for yourself from this 2 minute video I made recently:

Headphones, External Speakers and Recording

You also have the option of connecting an external speaker or headphones to a socket on the side of the radio. Be aware that the audio level is different for headphones, and is controlled by a small switch hidden behind the front panel. I expect people may go for one option such as headphones and then stick with it, rather than continually detaching the front of the radio and moving the delicate switch back and forth.

If you turn the volume right down you will hear a hiss, although its really only noticeable if you face the speaker directly and get close. Listening outdoors with the sounds of nature around you? It’ll be fine. There’s no way to avoid it with headphones of course, with forums suggesting inline resistors or high impedance headphones as solutions.

Audio recordings can of course be taken from the headphone socket, but you will get better results from the data port on the back. I use a UD04YA cable which provides 3.5mm audio in and audio out jacks, plus a USB cable to provide PTT functionality. It’s meant for data modes operation with the FT–817, but I have used it successfully with the FT–891 for PSK contacts using fldigi, eliminating the need for CAT control through a second cable to the radio’s USB port.

Customising for SWL

The advanced manual for the FT–891 helpfully provides a section called ‘Tools for Comfortable and Effective Reception’, so I began configuring the radio using the guidance there.

First up was re-configuring the front panel RF/Squelch knob to only control RF gain (Menu 05–05). I use the same configuration on my FT–817ND to dial back RF gain, allowing the AGC to pick up the slack.

Next was enabling the awkwardly named Insertion Point Optimisation (IPO) which switches out the pre-amplifier. It’s interesting to note that this setting can be associated with a stored memory channel, which became relevant later when I used CAT control to program some favourite frequencies.

The radio has an attenuator, although I’ve not found a need for it so far.

The AGC can be configured as Auto, Fast, Mid, and Slow. Since it is not a ‘set and forget’ setting like the RF control or IPO options, it might be a good candidate for assigning to one of the three user definable buttons below the LCD screen.

Audio can be fine tuned using four menu options (06–01 to 06–04) to control high and low frequency cutoff, but after some experimentation I have turned these options off.

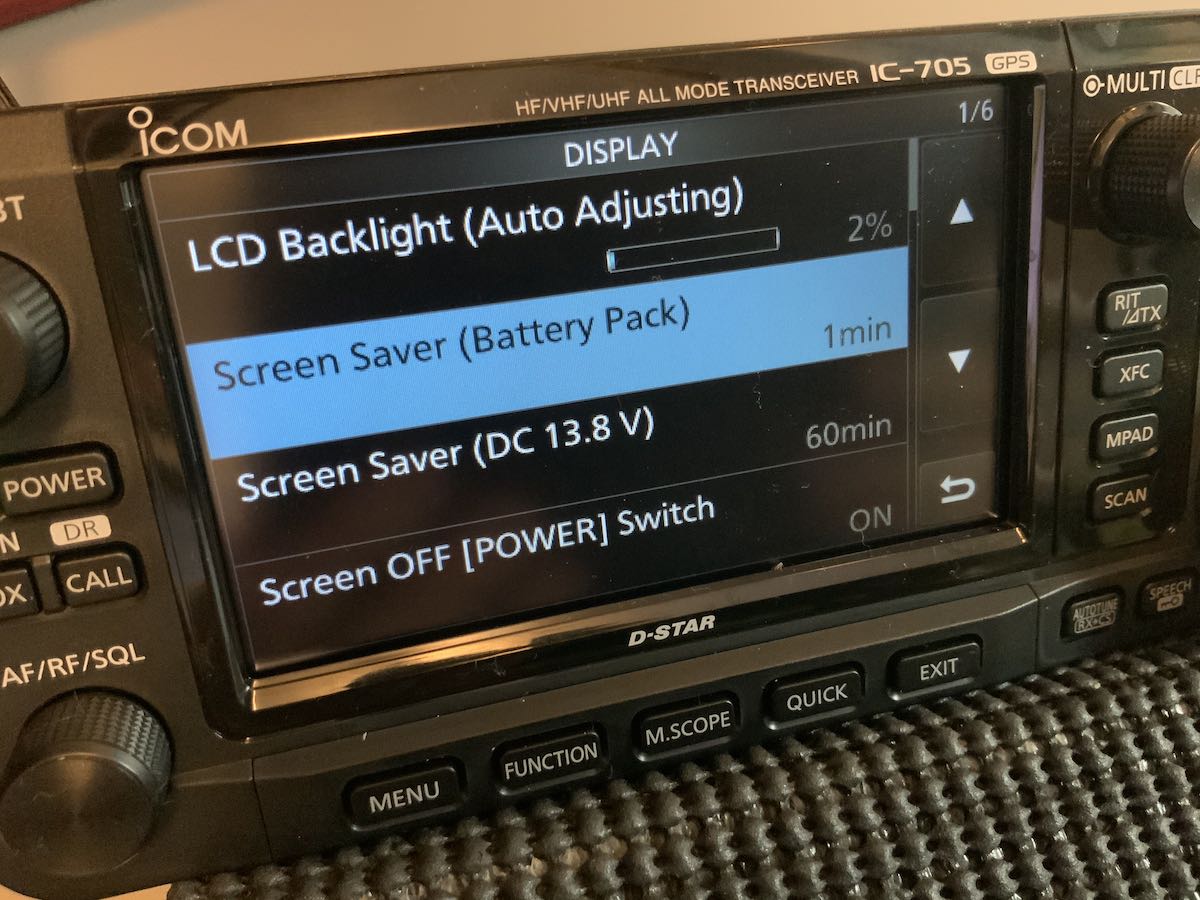
As an aside, I found the LCD backlight, button illumination and TX/Busy lights too bright for indoor use, so dialed them back to their minimum values.

Listening Tools

The radio provides some additional tools as part of its IF DSP. The features of particular interest are Digital Noise Reduction (DNR), Noise Blanker, IF Notch Filter, Digital Notch Filter, and Narrow IF filter. Contour, IF Bandwidth, and IF Shift are not available in AM mode, and you must resort to SSB to get them. More about SSB in a moment.

Out of this wide array of options, I’ve only explored Digital Noise Reduction and the Narrow IF filter so far, as they offer fairly immediate gains without too much configuration.

Narrow filter simply reduces the total IF bandwidth from 9kHz to 6kHz, which gives some immediate relief to higher frequency noise. In tougher conditions at home tackling QRM, the harsher sound it causes has sometimes been counter productive.

At the outset, it’s obvious that the DNR capability of the FT–891 is a powerful feature. Rather than providing a level of processing that varies from a little to a lot, the radio provides 15 different ‘algorithms’ which can be selected for best results. This means you will tweak the DNR setting to address signals on a case by case basis.

Comparing it with the IF noise reduction of my ICOM IC–7200, the ICOM has a scale of diminishing returns as the DSP level is turned up, whereas the FT–891 seems to start strong and it’s more about picking the algorithm that sounds best.

After testing the DNR on AM broadcast stations away from the noise at home, voice audio sounds distant and words can be clipped, which is fine for SSB amateur radio contacts, but makes me think it’s not a feature of first resort when trying to improve broadcast reception. In those circumstances, the narrow filter might be a better option.

The Trials of Single Side Band

On the matter of SSB and using it to combat adjacent or co-channel signals, the radio offers a single SSB option in the mode menu, picking USB or LSB for you automatically based on the current band. When tackling broadcast band interference however, you want the option to go in either direction. The radio also changes the current frequency by 700Hz when SSB is selected, which then has to be corrected with the main dial.

You would begin by switching to SSB mode by pressing and holding the band button. If you’re lucky, the default setting is the one you want.

If it isn’t, activate the settings menu with a long press of the F key, go to the menu option SSB BFO (11–07), select it and use the multi-function knob to change the mode away from Auto to LSB or USB.

As you are doing this, the VFO will change to LSB or USB too. Leave the setting on the option that suits your needs.

If you exit the menu option without saving (pressing F), the mode will remain changed, but the override is not saved. This can be a useful quirk because next time you turn the radio on, it will be back in auto mode.

If you commit the override by pushing the multi-function knob instead, the radio will stay in manual mode until you remember to return to the menu and restore automatic behaviour again.

It’s a needlessly complicated system, as I discovered recently while recording another Shortwave Radiogram broadcast. Even after testing the procedure previously for this article, the radio was determined to stay in LSB no matter what.

Memory Programming

Since the radio has no keyboard for direct frequency input, an early priority for shortwave listening was to program some of the 99 memories available. My plan was to have some favourite broadcast stations, along with WX, Volmet, GMDSS, and some data mode frequencies. To handle ad-hoc stations however, I wanted a way of moving quickly across the main shortwave bands without excessive use of the main tuning dial or multi-function knob.

Taking the official definitions of the broadcast bands between 60m and 16m, and combining those with frequency schedules, I came up with a series of frequencies 150kHz apart across each of those bands, guaranteeing that no broadcast was more than 150kHz away.

The combined list of favourites and the 150kHz stepping stone frequencies resulted in 70 memory channels in total. As I wanted to apply alphanumeric tags to those channels, and didn’t relish the prospect of entering them manually, my next port of call was the CAT control manual to see how those memories could be set programmatically.

While there is commercial software available for the FT–891, I only needed to set up the memory channels, so decided to adapt some PowerShell I’d written for another radio, sending the necessary serial port commands to configure my list.

Now that is done, I can fast travel using the stepping stone memories to the closest point in a band, then use the fast mode of the main tuning dial to move quickly to my final destination.

The following table lists my current stepping stone channels in kHz:

60m 49m 41m 31m 25m 22m 19m 16m
4750 5900 7200 9400 11600 13570 15100 17480
4900 6050 7350 9550 11750 13720 15250 17630
5050 6200 7500 9700 11900 13870 15400 17780
7650 9850 12050 15550 17930
7800 15700

Memory Access

An obvious way to access the memories is to toggle memory channel mode with the V/M button, then cycle through the memories using the multi-function knob. Depending on your memory choices, you will hear relays clicking as the radio jumps back and forth between widely spaced frequencies and bands. You will also need a good memory of your memories, so you know which way to turn the multi-function knob.

An alternative and perhaps faster method is to press the M>V button. This brings up a multi-line listing of memories that can be scrolled through using the multi-function knob. Pressing the M>V button again copies the selected memory to the VFO and leaves you in VFO mode. This avoids the radio flipping across bands and the associated relay activity.

Although it is not documented, if you push the multi-function knob on a selected memory channel in the multi-line listing rather than using the M>V button, the selected memory is activated and the radio is left in memory channel mode displaying the memory tag.

Disabling Transmit

At the time of writing, I haven’t discovered a way of formally disabling transmit, and the minimum transmit power goes no lower than 5W. Since my main interests are around shortwave listening, utility stations and an occasional data mode QSO, I have not fitted the microphone to the radio. In that configuration at least, there is no danger of me manually transmitting into a receive antenna by accident.

Outdoor Power

Reports vary on the power consumption of the FT–891. It certainly isn’t as high as the 2.0A documented in the user guide.

While some sources claim values in the region of 1.0A, my power supply shows around 0.4A at 13.8V when receiving a typical HF broadcast. You will notice where some of that power goes quite quickly, as part of the radio gets warmer.

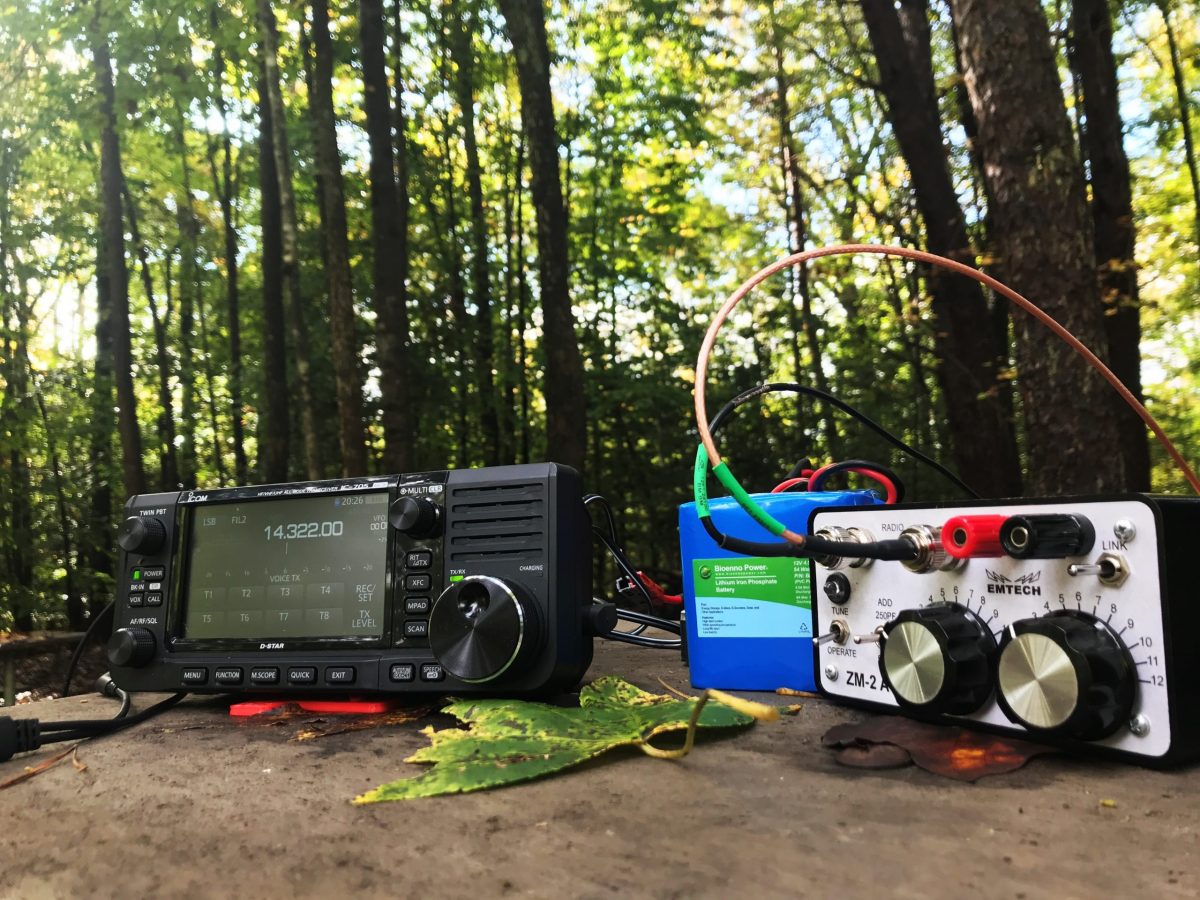
To save weight, my preferred power supply in the field is usually a lithium battery designed to jump start smaller engined cars. This versatile 12V battery also supplies 5V USB power to phones and tablets, and can even charge laptops.

In Conclusion

Control ergonomics and screen size are factors that can detract from shortwave listening on these kinds of radios, with smaller speakers and menu options for features normally at your fingertips.

Despite this, I’m happy with the audio, and I like the emphasis on mid-range frequencies in its audio spectrum. The digital noise reduction is impressive and can tackle significant QRM environments, but for outdoor listening may not be your first port of call.

Memory presets can make tuning less laborious, while assigning key listening tools to the customisable front panel buttons should reduce the need to access menus. I may consider defining some stations with known co-channel issues to memory with preset LSB and USB variations, to allow rapid responses to interference in future.

In good conditions, I suspect there is little difference between the FT–891 and FT–817ND for general listening. The FT–817ND has produced some of my best recordings of Shortwave Radiogram. The newer radio however brings many advanced tools to bear on more difficult signals, while its band scope and full sized VFO tuning dial enable desktop style shortwave exploration.

The ICOM IC–7200 is constrained by interference at home, biding its time for when the solar cycle swings back. When it’s been out on field days, it has always been a strong performer for broadcast listening. All the important controls are upfront, but is not a trivial thing to transport on foot. While the FT–891 has impressive DNR chops, I think I prefer the ability of the IC–7200 to apply noise reduction in incremental steps. Perhaps the algorithm approach will grow on me in time.

Any amateur radio operator using the FT–891 should have no trouble using it for shortwave listening. It attracts a lot of positive reviews for its ham radio capabilities, and it looks like those features carry across for listening to the world too.


An excellent review, Mark! Thank you for sharing. 

The Yaesu FT-891 must be the most popular HF transceivers Yaesu sells today. So many of its users rave about its performance and audio characteristics. Mark, thank you for sharing your experience with the FT-891 as an SWL!

Click here to check out the affordable IP67 rated case Mark uses to house his FT-891.

Spread the radio love

A review of the Icom IC-705 QRP Portable SDR Transceiver

The following review was first published in the February 2021 issue of The Spectrum Monitor magazine:


It sometimes seems that one of the biggest enemies of a radio enthusiast these days is RFI (radio frequency interference), which is to say, human-originated noise that infiltrates––and plagues––vast chunks of our radio spectrum.

Yet I believe RFI has, in a sense, also managed to energize––and even mobilize––many radio enthusiasts. How? By drawing them out of their houses and shacks into the field––to a local park, lake, river, mountain, woodland, or beach––away from switching power supplies, light dimmers, street lights, and other RFI-spewing devices.

Shortwave and mediumwave broadcast listeners have it easy, comparatively speaking. They can simply grab a favorite portable receiver, perhaps an external antenna, then hit the field to enjoy the benefits of a low-noise environment. In that a portable receiver is something of a self-contained listening post, it’s incredibly easy to transport it anywhere you like.

Ham radio operators, on the other hand, need to pack more for field operations. At a minimum, they need a transceiver, an antenna, a power source, not to mention, a mic, key, and/or computing device for digital modes. Thankfully, technology has begun miniaturizing ham radio transceivers, making them more efficient in the use of battery power, and integrating a number of accessories within one unit.

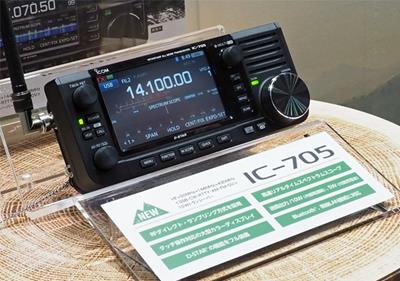
Photo from the 2019 Tokyo Ham Fair

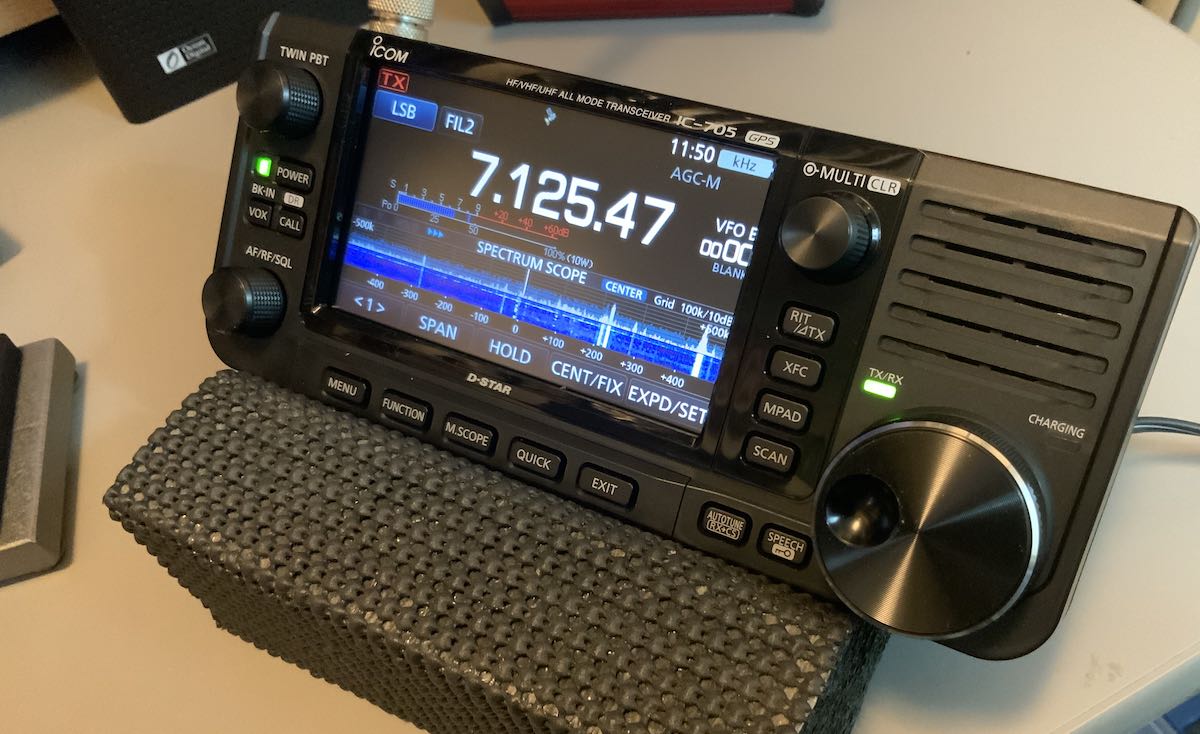
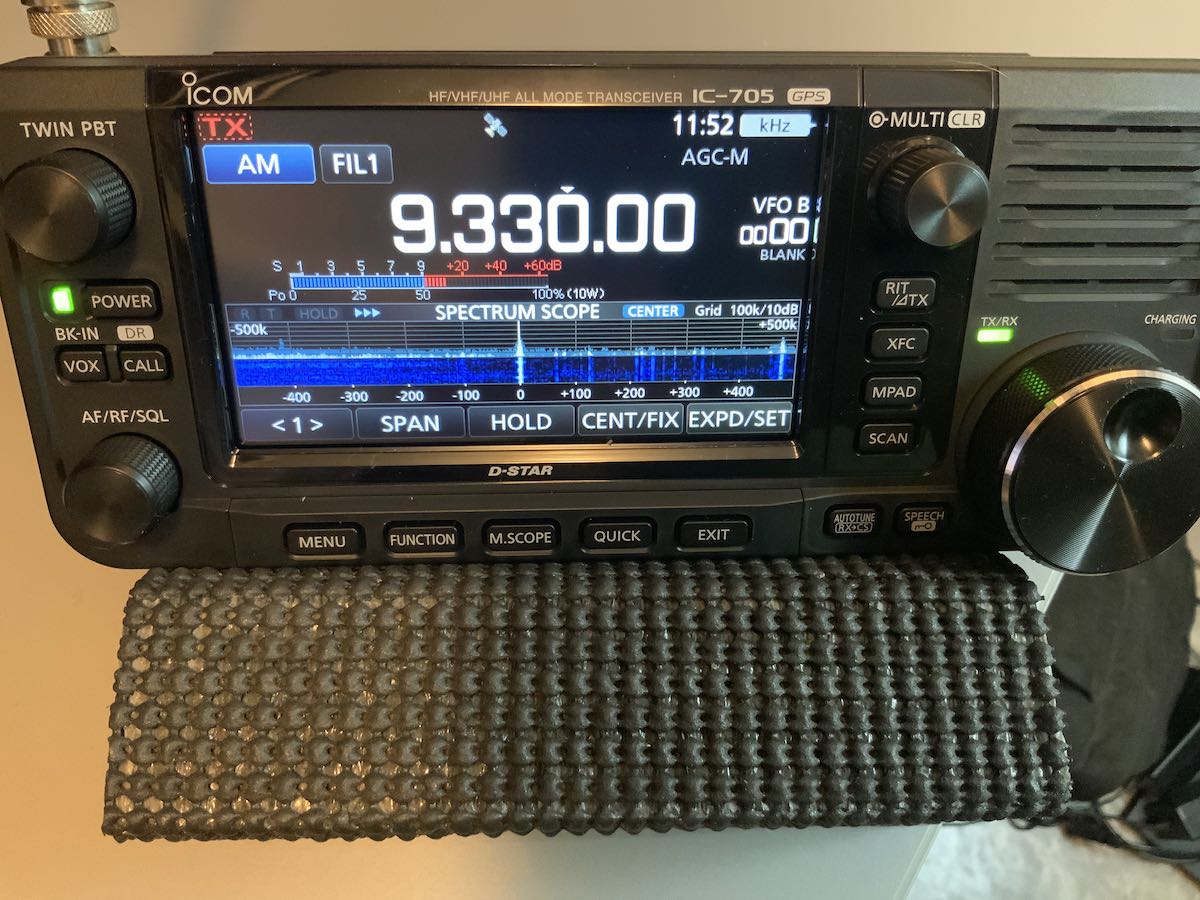
Case in point: in 2019 at Tokyo’s Ham Fair, Icom announced their first QRP (low-power) radio in the better part of two decades: the Icom IC-705.

Introducing the Icom IC-705


It was love at first sight among fans of Icom when the 2019 announcement was made. Why? The instant thrill came courtesy of the IC-705’s resemblance––in miniature––to the IC-7300, one of Icom’s most popular transceivers of all time. Not only that, but the IC-705 sported even more features and a broader frequency range than the IC-7300. What wasn’t to love?

But of course, unlike the IC-7300, which can output 100 watts, the IC-705’s maximum output is just 10 watts with an external 12V power source, or 5 watts with the supplied Icom BP-272 Li-ion battery pack. Nevertheless, enthusiasts who love field radio––this article’s writer being among them––were very pleased to see Icom design a flagship QRP radio that could take some portable operators to the next level. Power was traded for portability, and for field operators, this was a reasonable trade.

And since, again, the IC-705 has even more features, modes, and frequency range than the venerable IC-7300, I felt it important to note them up front. Here are a few of its most notable features, many of which are not available on its bulkier predecessor:

  • VHF and UHF multimode operation
  • D-Star mode
  • Built-in GPS
  • Built-in Wifi connectivity
  • Built-in Bluetooth connectivity
  • Portable size
  • Battery power

The receiver design is similar to the IC-7300 below 25 MHz in that it provides a direct conversion. Above 25 MHz, however, it operates as a superheterodyne receiver. While the user would never know this in operation, it’s a clever way for Icom to keep costs down on such a wideband radio.

At time of publishing, there are no other portable transceivers that sport all of the features of the Icom IC-705. It has, in a sense, carved out its very own market niche…At least for now.

I’ve owned the IC-705 since late September 2020, and I still haven’t fully explored this radio’s remarkable capabilities. It’s really a marvel of ham radio technology, and I’m having fun exploring what it can do.

One conspicuous omission

Let’s go ahead and address this promptly. The IC-705 does have one glaring shortcoming.  It lacks one feature that is standard on the larger 100-watt IC-7300: an internal antenna tuner (ATU).

To be frank, I was a little surprised that the IC-705 didn’t include an internal ATU, since it otherwise sports so many, many features. Not having an internal ATU, like a number of other general coverage QRP transceivers in its class, definitely feels like a missed opportunity. With an ATU, the ‘705 would truly be in a class of its own.

I’m sure Icom either left the internal ATU out of the plan due to space limitations––perhaps wanting to keep the unit as compact as possible?––or possibly to keep the price down? I’m not sure.  At release, the price was $1300 US, which is undoubtedly on the higher side of this market segment; at that price point, it might as well have included an ATU.

With that said, not having an internal ATU is still not a disqualifier for me. Why? Because I have a number of resonant antennas I can add on when in the field, a remote ATU at home, and a couple of portable external ATUs, as well. Yes, it would be helpful to have it built in––as on my Elecraft KX1, KX2, and KX3, or on the ($425) Xiegu G90––but for me it’s not a deal-breaker.

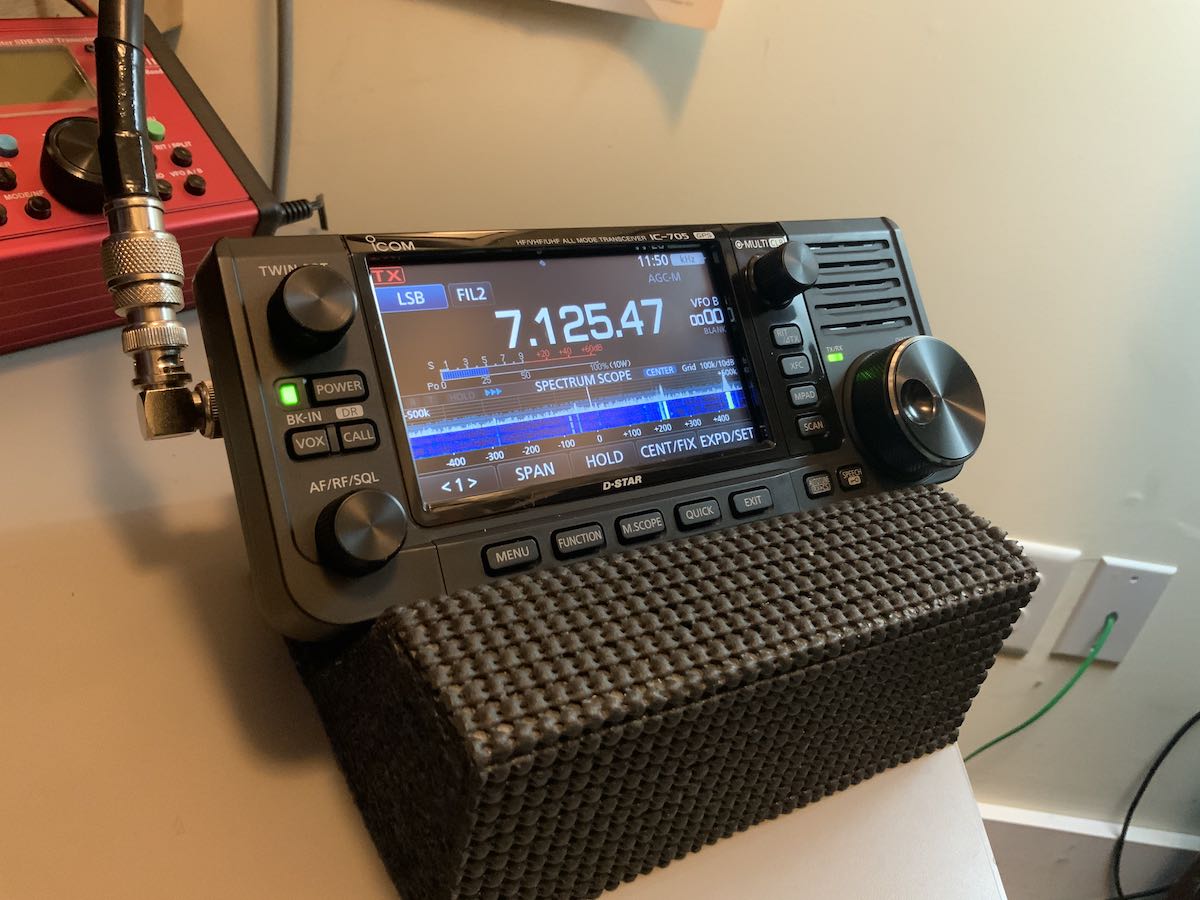
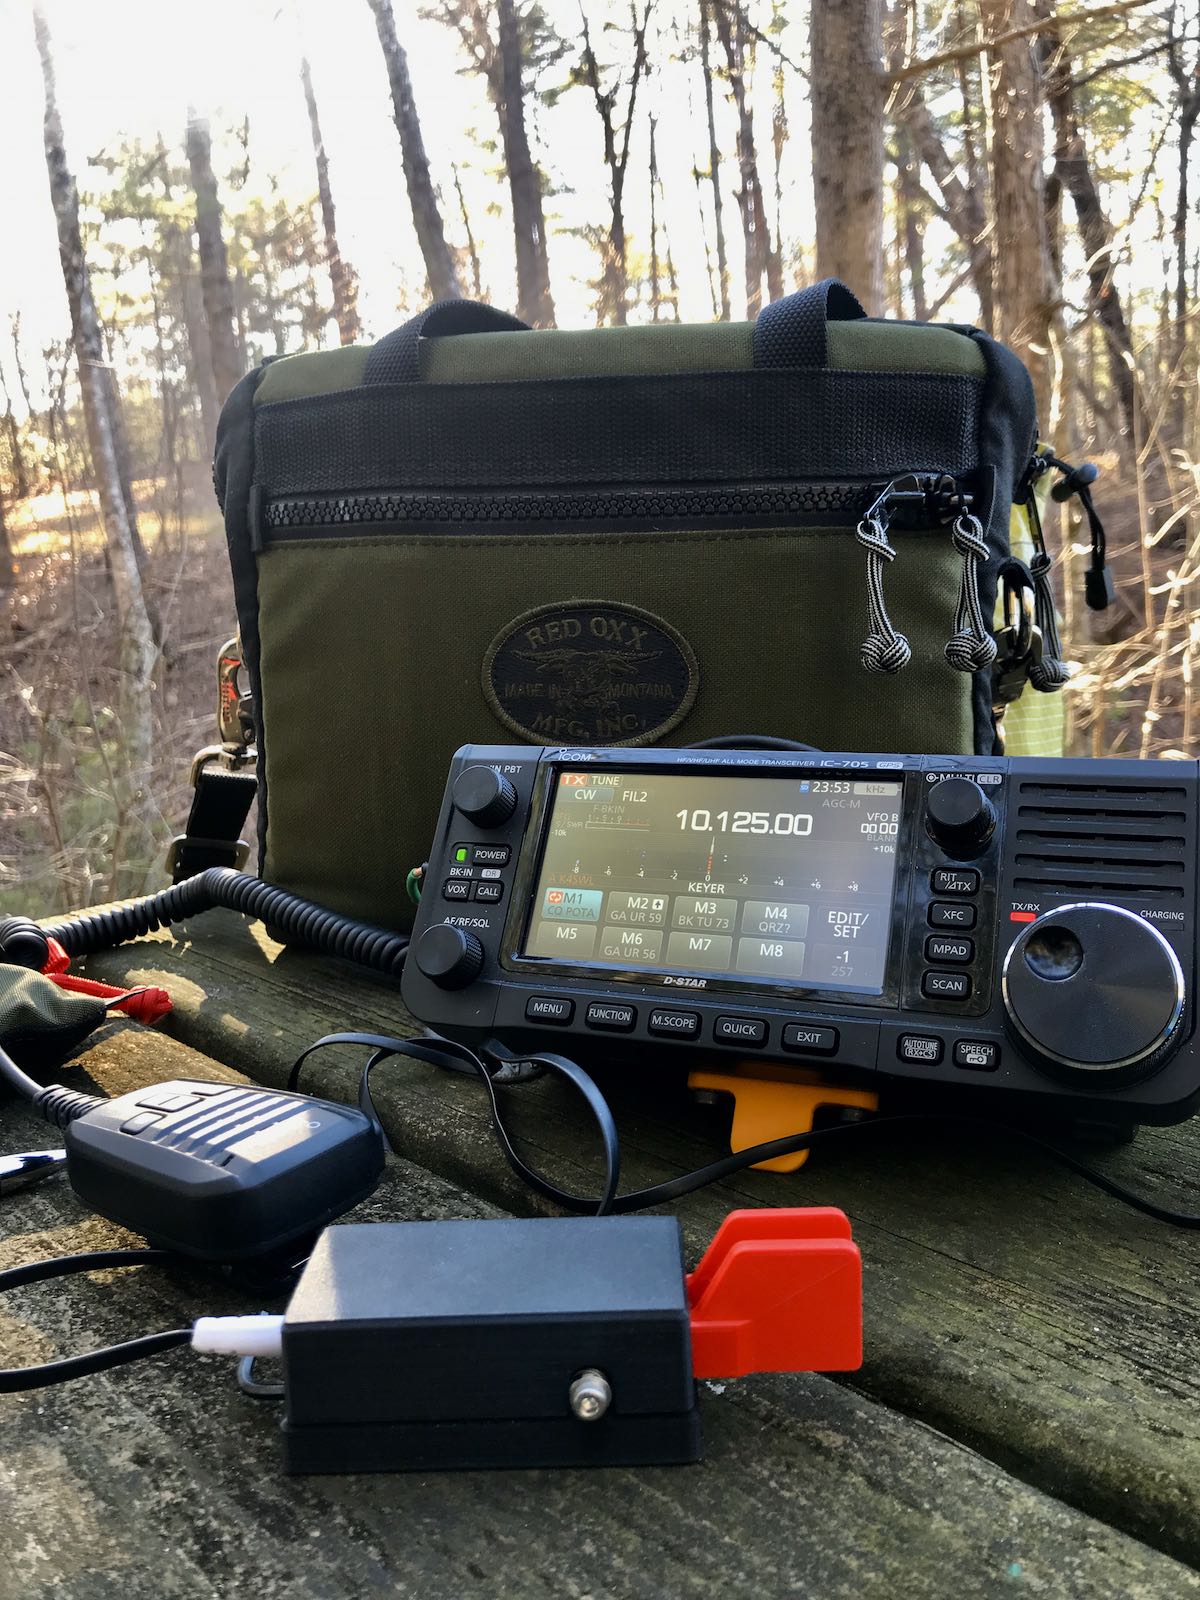
One other minor omission? A simple tilt stand or foot. I do wish Icom had included some sort of foot on the bottom of the IC-705 so that it could be propped up for a better angle of operation. Without a tilt stand or foot, the IC-705 rests flat on a surface, making its screen a bit awkward to view. Of course, a number of third-party tilt stands are available on the market. And if you have a 3D printer or access to one, you can find a wide variety of options to simply print at home. I printed this super simple tilt foot, which works brilliantly.

But why not include one, Icom?

My 3D printed tilt foot

But while the IC-705 lacks a tilt foot, it actually sports a number of connection points on the bottom, including a standard tripod mount. Thank you, Icom, for at least including that (other radio manufactures please take note)!

Initial impressions

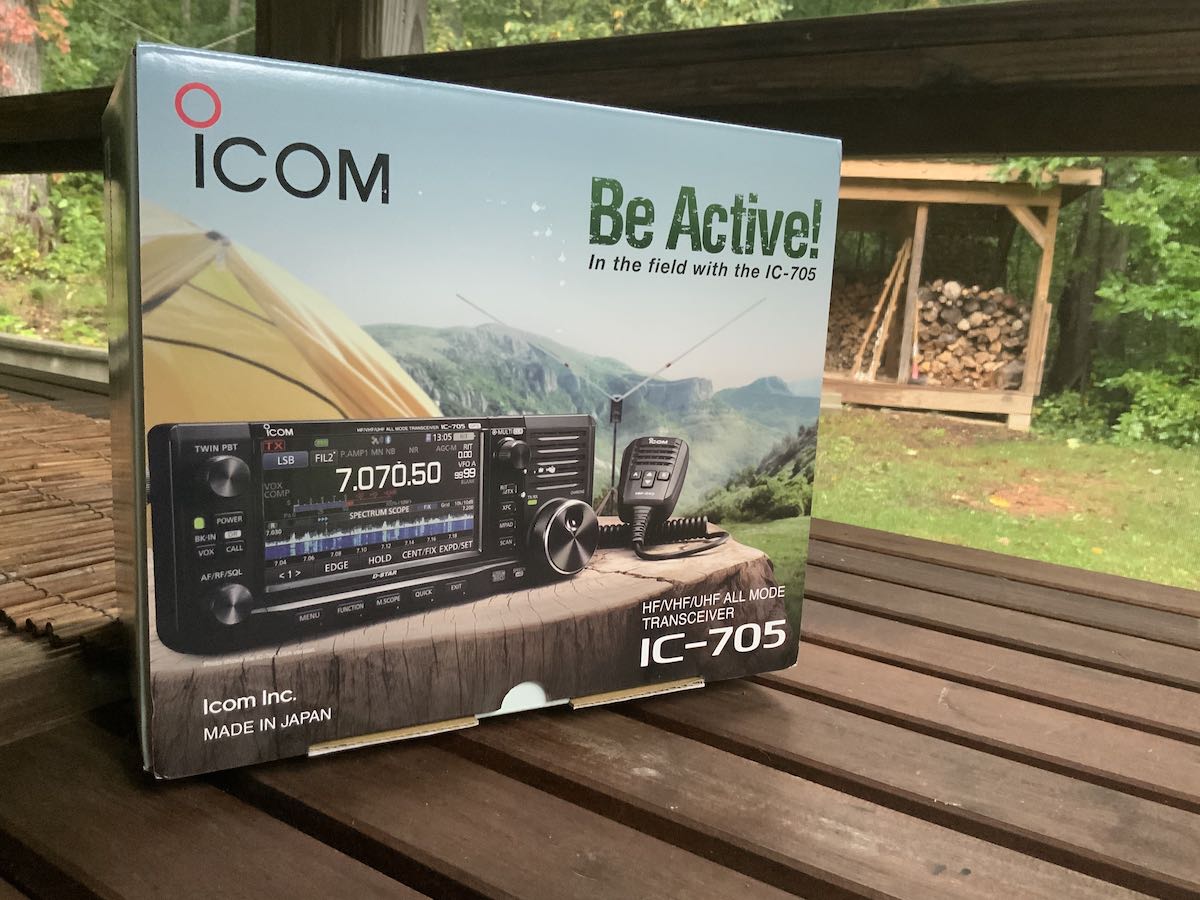
Funny: the IC-705 is the first new transceiver I’ve purchased with a color box.

If you’ve ever owned or operated the Icom IC-7300, you already know how to operate many of the functions on the IC-705. The user interfaces on the touch screens are identical. Features that are unique to the IC-705 are easy to find and follow the same standard Icom user-interface workflow.

Having less front faceplate real estate, the IC-705 has less buttons than the IC-7300––about 11 less than its big brother, to be exact. However, the twin passband, gain, multi-function knob and encoder are in the same positions and layout as on the IC-7300.

And if you’ve never used an IC-7300 before, no worries: this is one of the more user-friendly interfaces you’ll find on a ham radio transceiver.

The build of the IC-705 is excellent. It’s not exactly hardened for the elements––there is no waterproof rating or dust rating, for example––but it gives the impression of a solid little radio, likely to withstand a bit of less-than-delicate handling. Yet even though it’s designed to be a portable field radio, I’ll admit that the front panel and especially the color touchscreen feel a little vulnerable. I do worry about damaging that touchscreen while the radio travels in my backpack.

The Icom LC-192

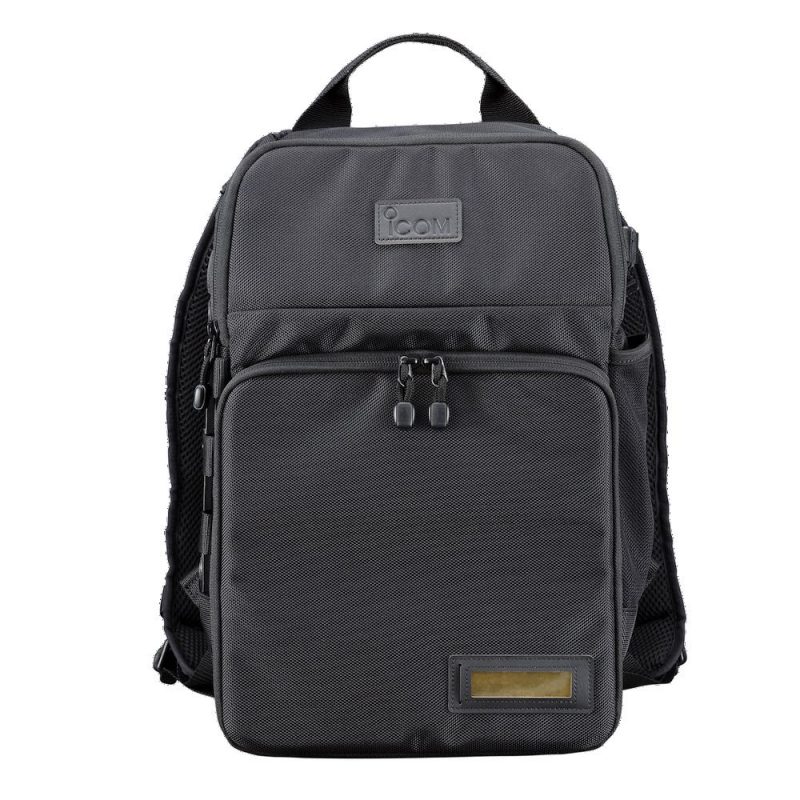
On the topic of backpacks, Icom released a custom backpack (the LC-192) specifically for the IC-705, Icom AH-705 ATU, antennas, and accessories. I did not consider purchasing this backpack, although I’m sure some operators would appreciate it, as it has dedicated compartments for supplies and the radio can be attached to the floor of the backpack’s top compartment. Again, I passed because I’m a bit of a pack fanatic and tend to grab gear that’s more tactical and weatherproof.

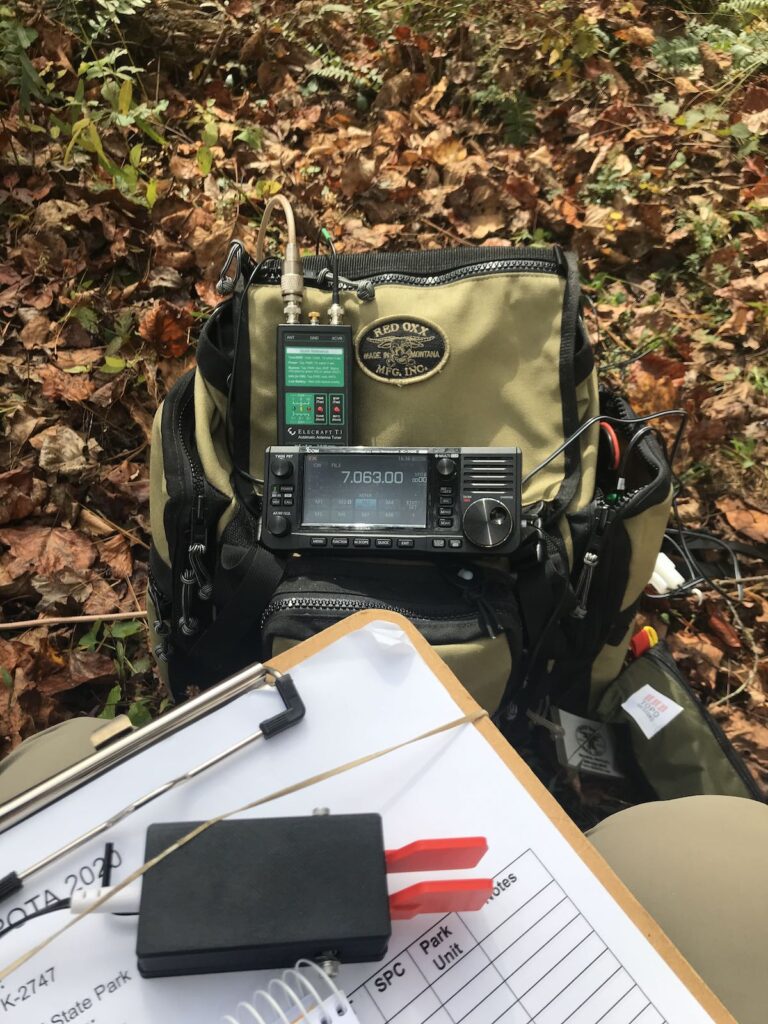
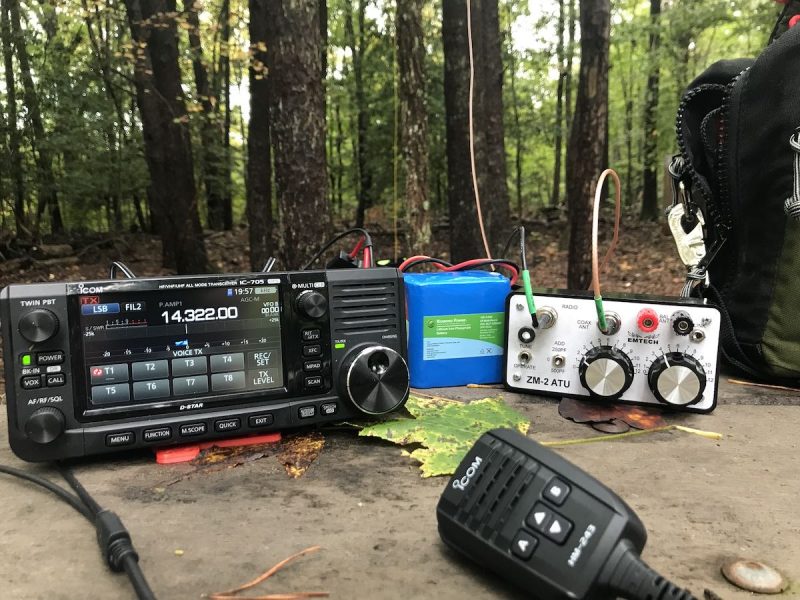
IC-705 and Elecraft T1 ATU at Toxaway Game Land

While its in my Red Oxx or GoRuck backpack, I house the IC-705 in a $14 Ape Case Camera insert. Eventually I want to find a better solution, but this does help pad the IC-705 while in my backpack and certainly fits it like a glove––hopefully protecting that touchscreen.

A number of third-party manufacturers have designed protective “cages” and side panels for the IC-705, but I’ve been a bit reluctant to purchase one because I feel they may add too much weight and bulk to the radio.

To the field!

Sandy Mush State Game Land

The day after I received my Icom IC-705, I took it to the field to activate Sandy Mush State Game Land for the Parks On The Air (POTA) program. Typically, when I review a new radio, I spend a few hours with it in the shack before taking it to the field. In this case, however, I felt comfortable enough with the IC-705 user interface, so I decided to skip that step entirely––I was eager to see if this little radio would live up to expectations.

The previous evening, I’d connected the IC-705 to my 13.8V power supply, so the BP-272 battery pack was fully-charged and attached to the IC-705. There was no need for an external battery to be connected.

[Tip: Click here to view my YouTube playlist of field activities with the IC-705.]

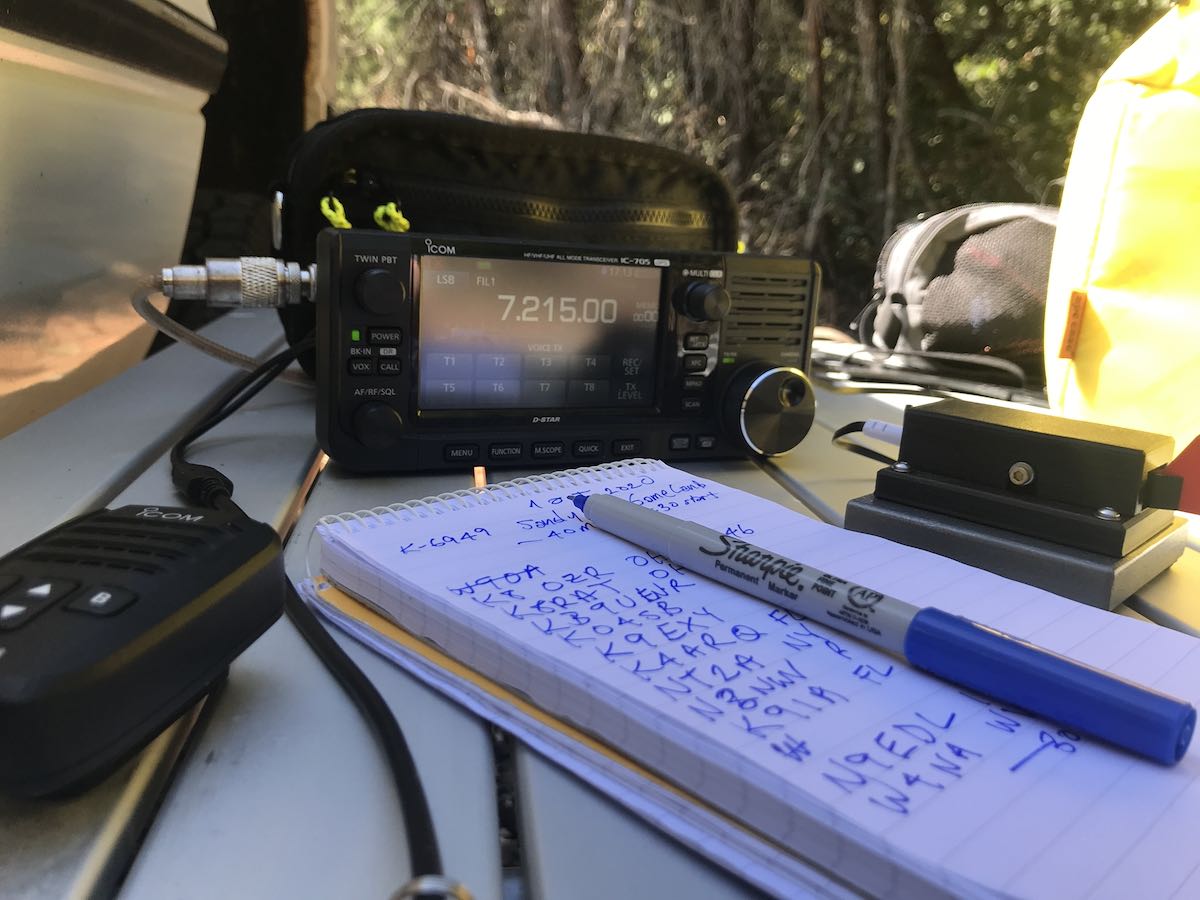
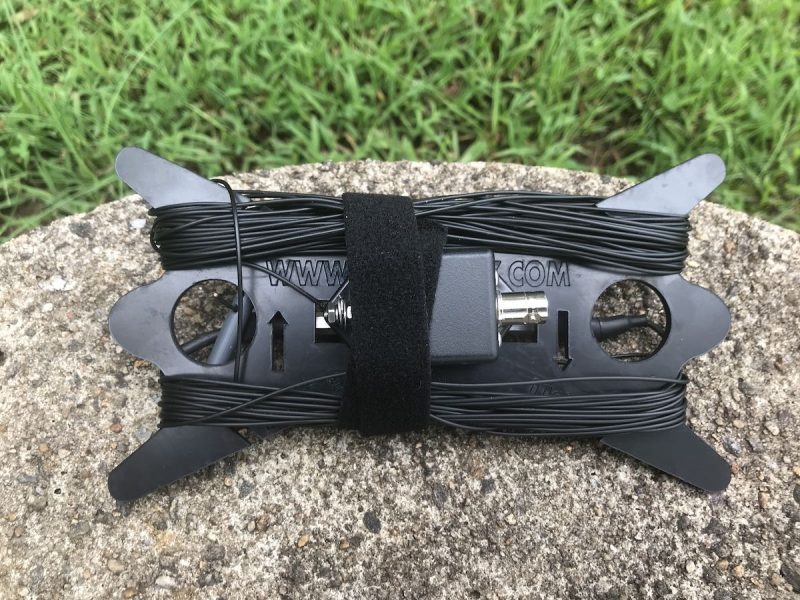
Getting on the air that day was very straightforward; indeed, the set-up couldn’t have been more simple: radio plus antenna. I connected the IC-705 to a Vibroplex EFT-MTR end-fed 40, 30, and 20-meter resonant antenna, thus an external antenna tuner was not required.

The Vibroplex/End-Fedz EFT-MTR antenna

Next, I plugged in the included speaker/mic, spotted myself to the POTA network, and started working stations. I asked for audio reports and all were very positive using only the default audio settings. Obviously, the small hand mic works quite well. I did quickly decide to unplug one of the two connectors of the speaker mic (the speaker audio side) so that the received audio wouldn’t be pumped through the hand mic, using the much better IC-705 front-facing speaker.

In the field that day, I had a few objectives in mind:

  • See how well the supplied hand mic works for SSB contacts, thus intended to ask for audio reports
  • Check out full break-in QSK operation in CW mode
  • Measure exactly how long a fully-charged Icom BP-272 Li-ion battery pack would power the IC-705 under intense operation

SSB

SSB at Lake Norman State Park

I was very quickly able to sort out how to record and use the voice memory keying features of the IC-705. There are a total of eight memory positions that can be recorded to the internal microSD card. It’s very simple to use one of the memories in “beacon” mode––simply press and hold one of the memory buttons and the recording is transmitted repeatedly until the user presses the PTT to disengage it. This is incredibly helpful when calling CQ; I typically set mine to play “CQ POTA, CQ POTA, this is K4SWL calling CQ for Parks On The Air.” I’ve also set a five-second gap between playback, allowing for return calls. As I’ve mentioned before, voice-memory keying is incredibly useful and saves one’s voice when calling CQ in the field.

The voice and CW-memory keying features of the IC-705 are robust enough that they could be used in a contest setting to automate workflow. One important note: voice-memory keying saves recordings to the internal MicroSD card. If that card is removed, formatted/erased, or if the file structure is altered, the voice-memory keyer will not recall recordings.

CW

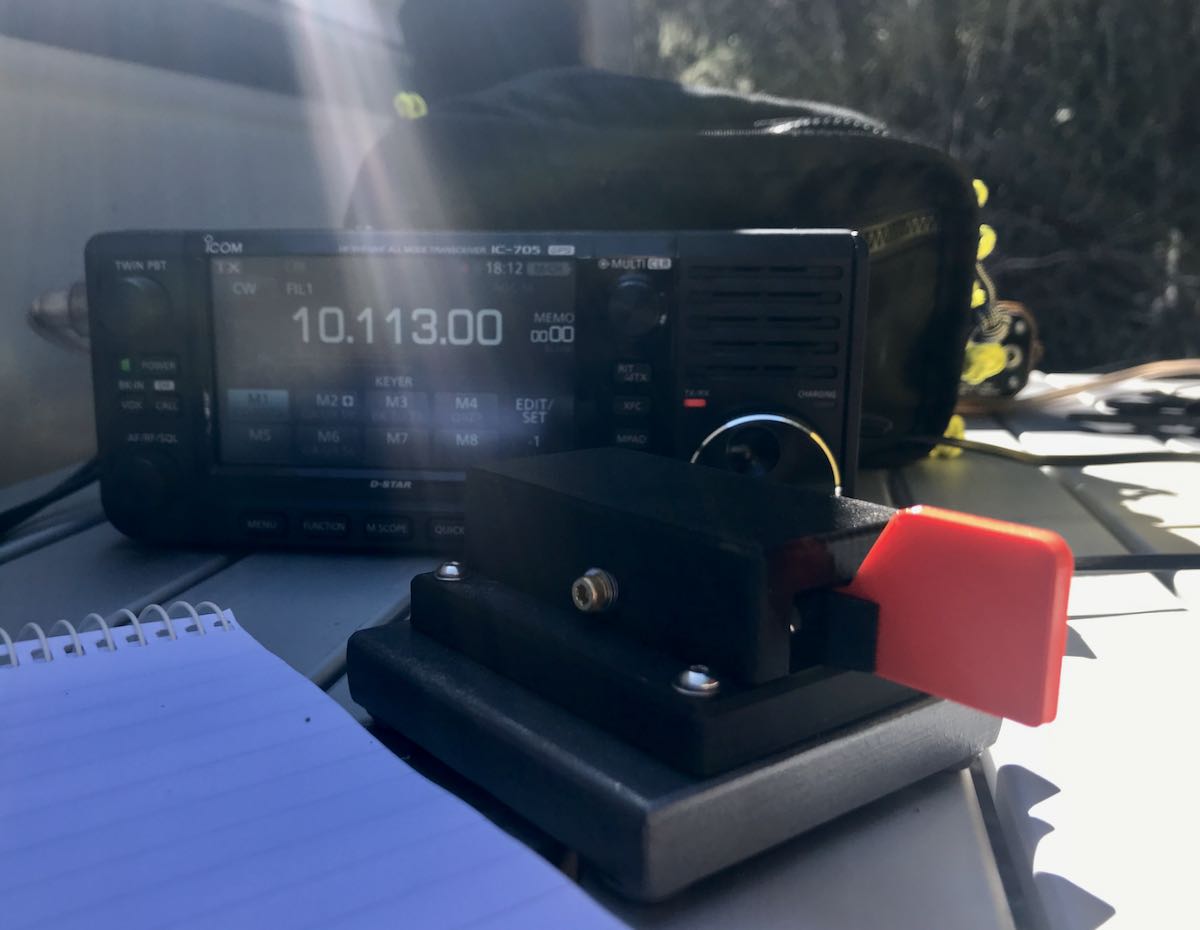
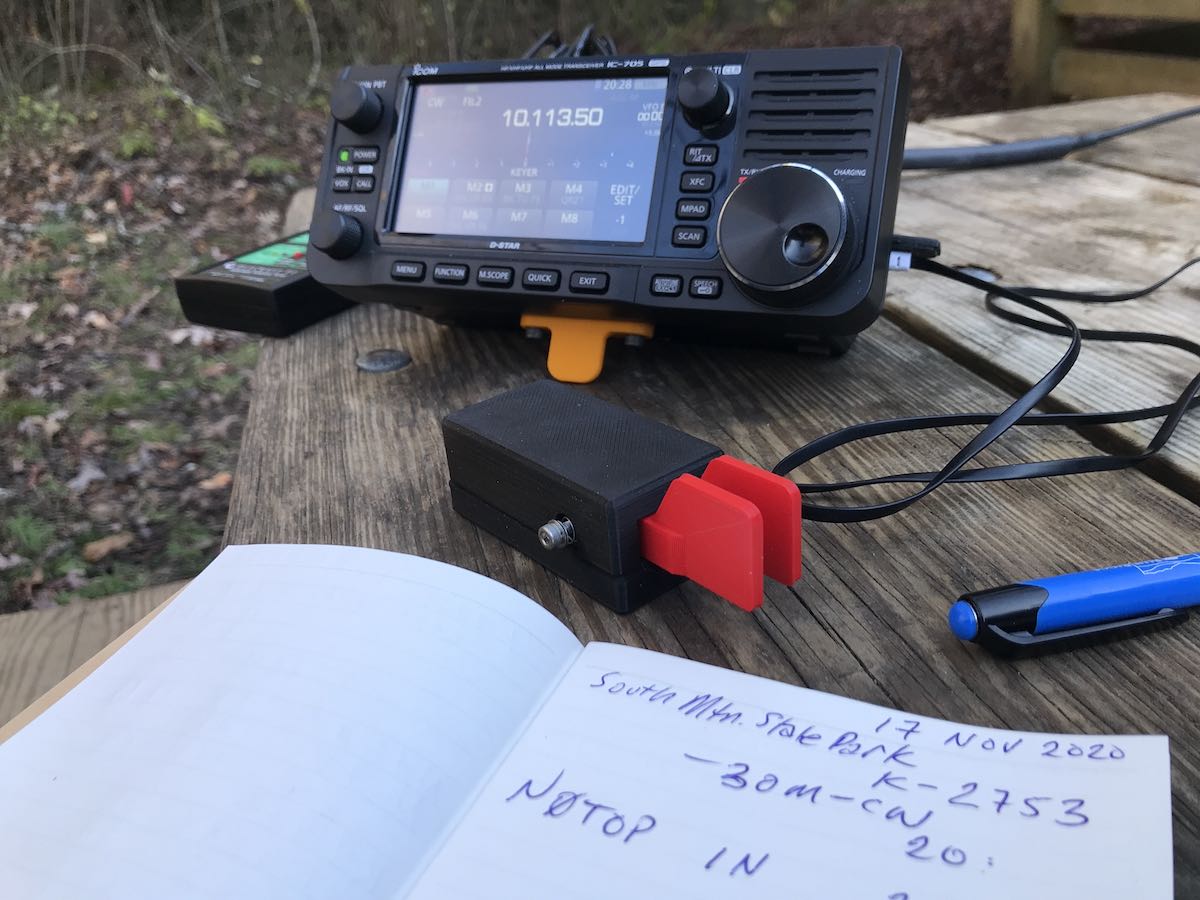
CW at South Mountains State Park

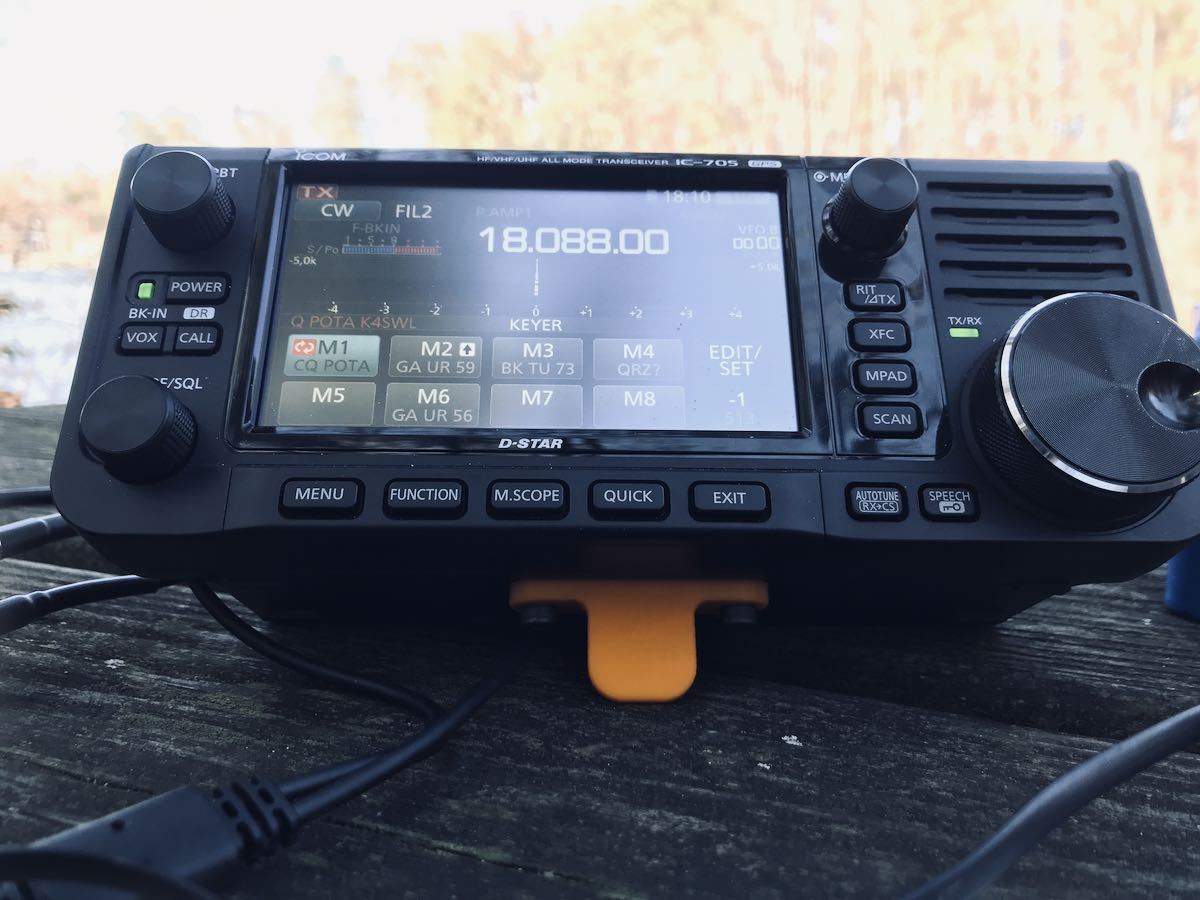
Next, I plugged in my paddles and started calling “CQ POTA” in CW.

As with the voice-memory keyer, CW-memory keying was incredibly easy to set up. Once again, the user once has eight memory positions. As the keyer plays a pre-recording sequence, the IC-705 will display the text being sent.

One of the questions I’m asked most by CW operators about the IC-705 is whether the radio has audible relay clicks during transmit/receive switching. Radios with loud relay clicks can be distracting. My preference these days is to operate in full break-in QSK mode, meaning, there is a transmit/receive change each time I form a character––it allows me space to hear someone break in, but results in much more clicking.

The IC-705 does have relay clicks, but these are very light––equal in volume to those of other Icom transceivers, neither louder nor softer. These clicks, fortunately, are not too distracting to me, and to be fair, I find I don’t even notice them as I operate. With that said, transceivers like my Elecraft KX2 and Mission RGO One use PIN diode switching, which is completely quiet.

Battery Life

Tapping the battery icon will open a larger battery capacity monitor.

My third objective at the first field outing was to test how long the Icom BP-272 Li-ion battery pack would power the IC-705 while calling CQ and working stations in both SSB and CW for an entire activation.

After nearly two hours of constant operation, the BP-272 still had nearly 40% of its capacity.

I didn’t expect this. I assumed it might power the IC-705 for perhaps 90 minutes, max. Fortunately, it seems at 5 watts, one BP-272 could carry you through more than one POTA or SOTA (Summits On The Air) activation. I was pleasantly surprised.

Four months later…

POTA activation at Tuttle Educational State Forest

Since that initial field test, I’ve taken the IC-705 on easily thirty or more individual POTA activations. I’ve also used it at home to chase POTA stations and rag chew with friends.

In short, I’ve found that the IC-705 is a brilliant, robust portable transceiver for SSB and/or CW and a pleasure to operate.

Herein lies the advantage of purchasing a radio from a legacy amateur radio manufacturer: it’s well-vetted right out the door, has no firmware quirks, and is built on iterations of popular radios before it.

I’ve found that IC-705 performance is solid: the receiver has a low noise floor, the audio is well-balanced, the AGC is stable at any setting, and it’s an incredibly sensitive and selective radio.

Digital modes

POTA activation at Lake Jame State Park

One huge advantage of the IC-705 is that it, like the IC-7300, has a built-in sound card for digital modes. This eliminates the need for an external sound card interface. After you’ve read the installation guide, and installed Icom’s USB drivers, simply plug the IC-705 into your computing device via USB cable and you can directly control the ‘705 with popular applications like WSJT-X.

I have not used the IC-705 for digital modes while in the field, but I have done so in the home shack. It was one of the easiest radios I’ve ever set up for FT8 and FT4.

I’m not the biggest digital mode operator, but if you are into it, I expect you’ll be very pleased with the IC-705. It must be one of the most portable, uncomplicated transceivers for digital mode operation currently on the market. I know a number of POTA activators have been using the IC-705 for FT8 and FT4.

D-Star

Being perfectly honest here, I have a chequered history with the D-Star digital voice mode. I purchased an Icom ID-51a and D-Star hotspot several years ago because a local ham pretty much convinced me it was the coolest thing since sliced bread.

And in truth? It is rather amazing.

But at the end of the day I had to admit to myself that I’m an HF guy, and found the user interface and operating procedures just a bit too other-worldly. I kept the ID-51a for perhaps a year, then sold it, along with the hotspot.

Although I knew the IC-705 had D-Star built in, I really hadn’t given it a second thought. But since I’m a reviewer, I simply had to check it out. I still had my D-Star credentials from some years ago, so I set up the IC-705 and connected the transceiver to the Diamond dual band antenna on top of my house.

Fortunately, I was able to hit our only local D-Star repeater and connect on the first go. Note that, like the ID-51a, the IC-705 can use your GPS coordinates, then automatically find the closest D-Star repeater and load the frequency and settings from the default database on the IC-705 MicroSD card.

After reviewing a YouTube video demonstration, I was on the air with D-Star and found the user interface much easier to use than that of the ID-51a. It really helps having a large touch screen.

I’ll admit it: I’m warming back up to D-Star, and I have the IC-705 to thank for that.

Some day, I plan to use D-Star on HF, as well. I acknowledge that it might take some pre-arranging, but perhaps I could even make a D-Star POTA––or better yet, SOTA––contact, if the stars align. It’s certainly worth the experiment.

Let’s talk about broadcast listening

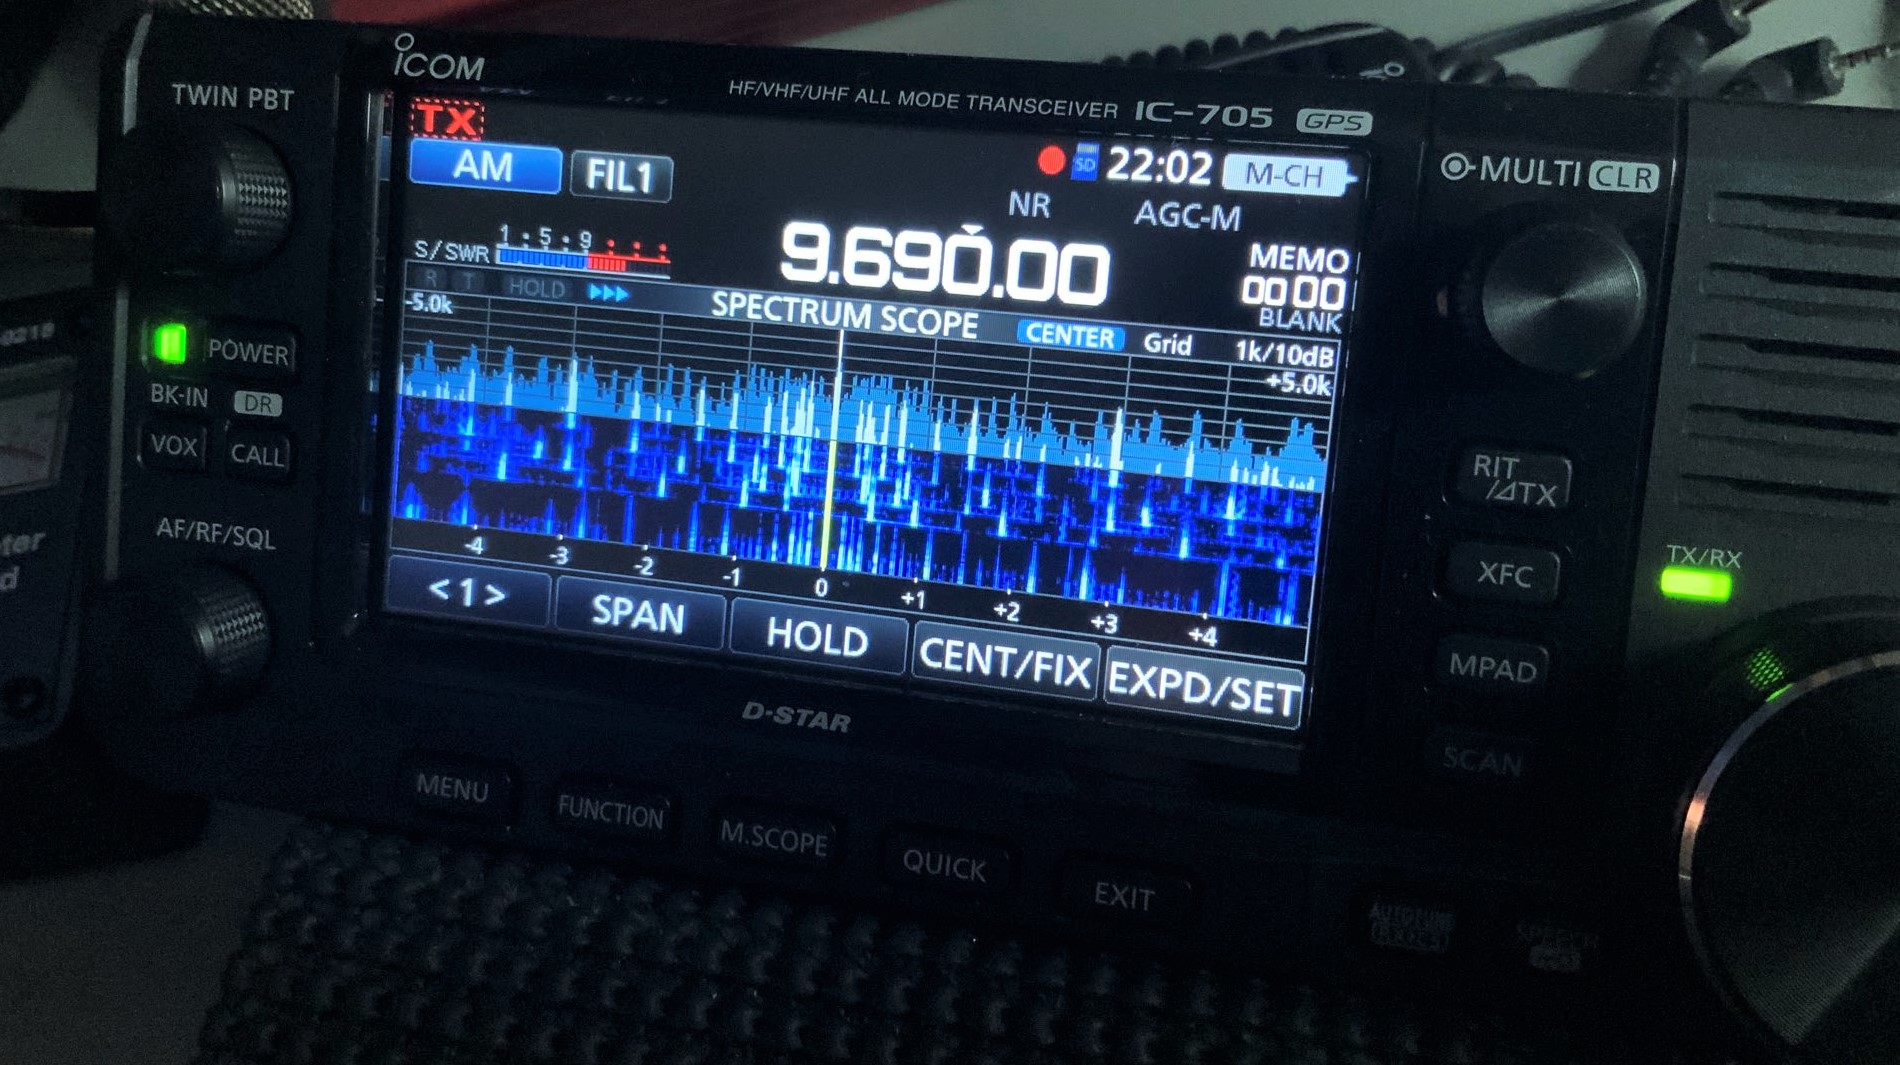
Radio Exterior de España’s interval signal on the IC-705’s waterfall display

Although I’m a pretty active ham radio operator, I’m an SWL and broadcast listener at heart. One of the appealing things about the IC-705 is its excellent receiver range (0.030-470.000 MHz) and multiple operating modes, as well as its adjustable bandwidth.  Broadcast listeners will be happy to know that the AM bandwidth on the IC-705 can be widened to an impressive 10 kHz, which is certainly a stand-out among general coverage transceivers.

After turning on the IC-705 for the very first time, I tuned to the 31-meter band and cruised the dial. I felt like I was using a tabletop receiver: for such a small transceiver, the encoder is on the large side, and the controls are ergonomically designed. The spectrum display and waterfall are amazingly useful.

The front-facing speaker on the IC-705 is well-designed for audio clarity on the ham radio bands. It’s not a high-fidelity speaker, but it’s adequate and has enough “punch” to perform well in the field. Speakers on portable QRP radios are typically an afterthought and are terribly compromised due to space constraints within the chassis. The IC-705’s speaker design feels more deliberate, akin to what you might find on a mobile VHF/UHF rig. Broadcast listeners, in other words, will certainly want to hook the IC-705 up to an external speaker––or, better yet, use headphones––for weak-signal work.

While the received audio isn’t on par with a receiver like the Drake R8B, it’s pretty darn good for a portable general coverage transceiver. The audio is what I would call “flat,” but you are able to adjust the received audio in EQ settings to adjust them to your taste. Audio is well-tailored for the human voice, so I’ve found weak signal IDs are actually easy to grab on the air.

Audio samples

One of the brilliant things about the IC-705 is the fact that it has a built-in digital recorder. Both transmitted and received audio can be recorded in real time and saved to a removable MicroSD card. I made audio recordings of two broadcast stations on the 31-meter band as samples: the Voice of Greece (9420 kHz) and Radio Exterior de España (9690 kHz). The Voice of Greece was moderately strong when I made the recording and Radio Exterior was quite strong. Click on the links to download the .mp3 files for each recording:

Voice of Greece

Radio Exterior de España

I’ve also used the built-in digital recorder to record long sessions of my favorite shortwave, AM, and FM stations. Even with the recorder on, I can typically achieve hours of listening on one battery charge and need no other power supply.

Want more audio samples?
Check out our survey results from an Icom IC-705 blind audio test.

In short? The IC-705 makes for an excellent portable shortwave, mediumwave, and FM broadcast band-recording receiver.

Charging ahead…

The supplied BP-272 battery pack snaps snugly on the back of the IC-705

Power supply is always a concern when taking a transceiver on travels. Most transceivers need a 12-13.8 volt external supply, or an external battery, one that will eventually need to be charged.

This is not the case with the IC-705, because while it can be charged or powered via a 12-13.8V source, it can also be charged via a common 5V USB power supply. Simply insert any USB phone-charging cable into the MicroUSB port on the side of the IC-705, and it will charge the fully-depleted attached BP-272 battery pack in just over four hours.

Indeed, I traveled to visit family one week, and had plotted two park activations both en route and on the way back home. After my first activation, I quickly realized I forgot the supplied IC-705 power cord that I’d normally use to hook the IC-705 up to one of my LiFePo batteries. I was quite disappointed, expecting that I’d missed this opportunity.  Then I remembered USB charging: I simply plugged the IC-705 up to my father’s phone charger, and in four hours, the battery was completely recharged.

To my knowledge, there are no other transceivers that have this capability without modification. A major plus for those of us who love to travel lightly!

Summary

POTA activation at the Zebulon Vance Historic Birthplace

Every radio has its pros and cons. When I begin a review of a radio, I take notes from the very beginning so that I don’t forget my initial impressions. Here’s the list I formed over the time I’ve spent evaluating the Icom IC-705.

Pros:

  • Frequency range
    • TX: 160 – 6 meters, 2M, 70cm
    • RX: 0.030-470.000 MHz
  • Modes include SSB, CW, AM, FM, DV, RTTY
  • 4.3 inch color touchscreen that’s (surprisingly) readable in full sunlight
  • Multiple means to power/charge:
    • Icom BP-272 battery pack (supplied) for 5 watts output
      • Can be charged via 12V power supply or
      • 5V USB phone charger with standard MicroUSB plug (admittedly, I wish they would have adopted now standard USB-C rather than MicroUSB)
    • External battery for 10 watts of output
  • Top-shelf receiver performance (see Rob Sherwood’s assessment)
  • Wireless LAN connectivity that even allows for native remote control (not tested)
  • Built-in Bluetooth
  • Built-in GPS
  • Built-in Digital Recording
  • Full D-Star functionality
  • RTTY can be sent (using macros) and received/decoded natively
  • Multiple standard connection points on base for mounting (see con)
  • Supplied speaker mic is compact and has programmable buttons
  • Frequency stability is less than ± 0.5 ppm (–10°C to +60°C; 14°F to 140°F)
  • The IC-705 ships with an abridged owner’s manual; I recommend downloading the full version via Icom

Cons:

  • No internal ATU option
  • No built-in tilt stand (see pro)
  • Some minor ergonomic issues:
    • Angled speaker/mic connectors can be challenging to insert as they are too close to the recessed area behind front face, especially for those with larger fingers and/or if in chilly conditions in the field
    • MicroSD card also difficult to access––I use needle-nose pliers to remove and insert

Conclusion

POTA activation of Second Creek Game Land

I purchased the Icom IC-705 with the idea that I would review it and then sell it shortly thereafter. Much to the dismay of my (rather limited) radio funds, I find that I now want to keep the IC-705…indefinitely.

I didn’t think the IC-705 would fit into my QRP field radio “arsenal” very well because I tend to gravitate toward more compact radios that I can easily operate on a clipboard on my lap when necessary. My Elecraft KX2 (TSM November 2016), Elecraft KX1, LnR Precision LD-11 (TSM October 2016), and Mountain Topper MTR-3B probably best represent my field radio interests.

But I’m loving the versatility and overall performance of the IC-705. It’s providing an opportunity to do much more than most of my QRP radios allow.

Here are just a few of the things I’ve done with the IC-705 thus far:

  • Activated numerous parks in SSB and CW
  • Connected to a local D-Star repeater and talked with a fellow ‘705 owner in the UK
  • Listened to ATC traffic (and recorded it)
  • Listened to NOAA weather radio
  • Listened to and recorded local FM stations
  • Enjoyed proper FM DXing
  • Recorded GPS coordinates during a POTA/WWFF activation
  • Made numerous digital mode contacts by connecting the IC-705 directly to my Windows tablet
  • Made a 2-meter SSB contact

POTA activation of the Blue Ridge Parkway

Indeed, there are more features on this transceiver than I can fully cover in one review; truly, I consider that a very good thing.

So if you’re looking for a portable transceiver that can truly take you on a deep dive into the world of QRP HF, VHF, UHF, and even satisfy the SWL in you, look no further than the Icom IC-705.

Well played, Icom.

More Icom IC-705 articles, information, and resources:


Do you enjoy the SWLing Post?

Please consider supporting us via Patreon or our Coffee Fund!

Your support makes articles like this one possible. Thank you!

Spread the radio love

What’s your favorite general coverage transceiver for shortwave listening?

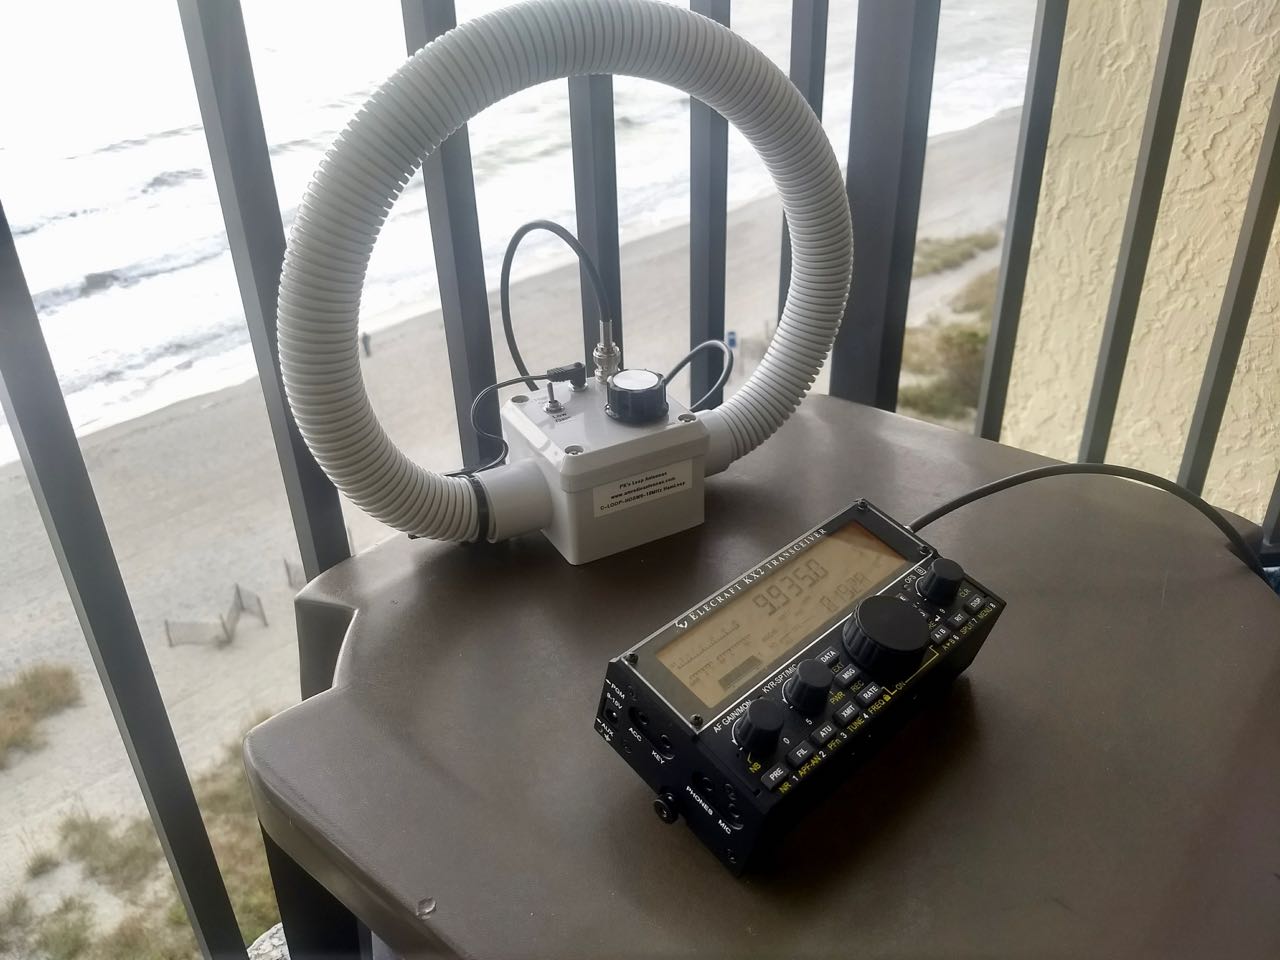
The Elecraft KX2 doing a little coastal SWLing.

Yesterday, at the (Virtual) 2021 Winter SWL Fest, I gave a presentation about QRP general coverage transceivers that I regularly use for shortwave broadcast listening (SWLing).

My discussion was limited to QRP–or low-power–transceivers designed for portable use, but they only represent a small fraction of the new and used transceivers on the market.

So what is “general coverage”––?

A ham transceiver with “general coverage” means that the receiver portion of the radio is not limited to the ham bands only; these receivers typically receive between 100 kHz and 30 MHz (i.e., the full medium and shortwave radio spectrum). Many transceivers, starting in the 1980s, employed a general coverage design as a feature of the radio. Some radios implemented general coverage receiving better than others. In most cases, there was a compromise to performance when the receiver was opened to general coverage reception, so many manufactures held to a ham-band-only platform to optimize performance where hams sought it most. Today, receiver architecture can better accommodate general coverage without compromising sensitivity and selectivity on the ham bands. This is especially true with new SDR-based transceivers that employ direct conversion or a hybrid architecture.

My favorite?

My current favorite is the new Icom IC-705. I purchased this rig last year and have done a tremendous amount of SWLing and MW DXing with it. I love its overall performance, portability and recording/playback features.

What’s your favorite?


I’m betting a lot of us use transceivers for shortwave broadcast listening.

What’s your favorite general coverage rig and why? I’m also curious how many of you almost exclusively use a transceiver for SWLing. Please comment!

Spread the radio love

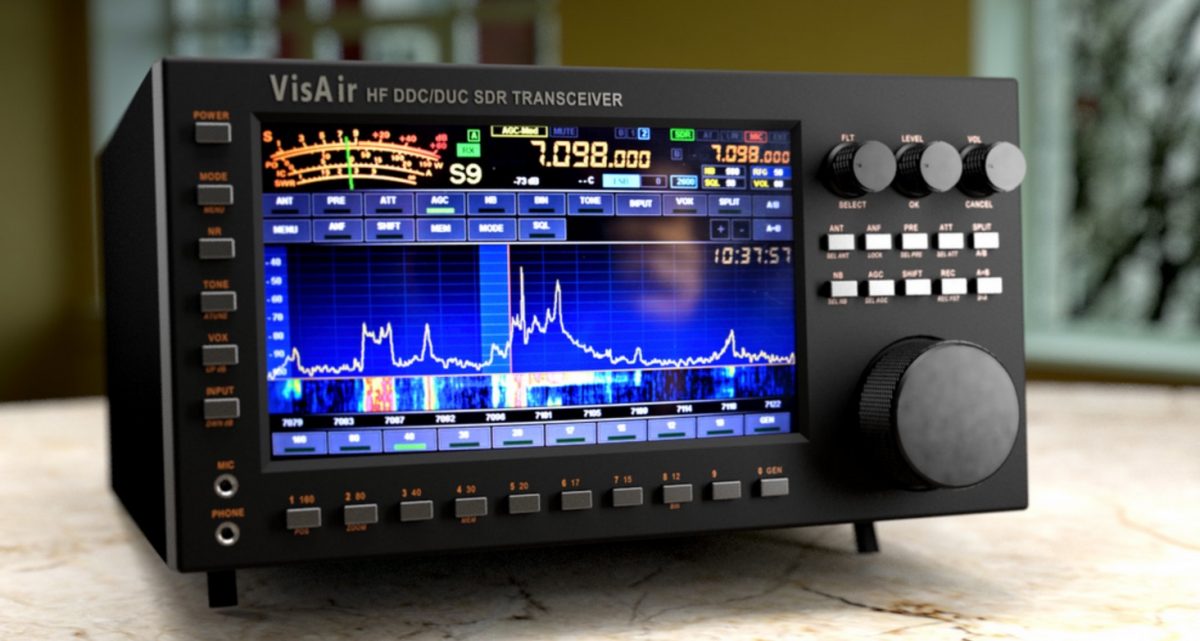
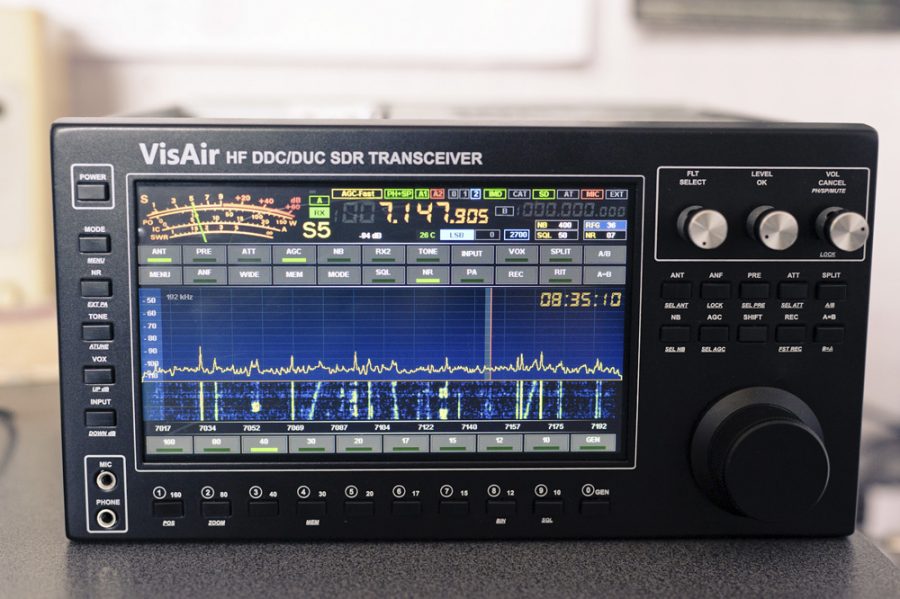
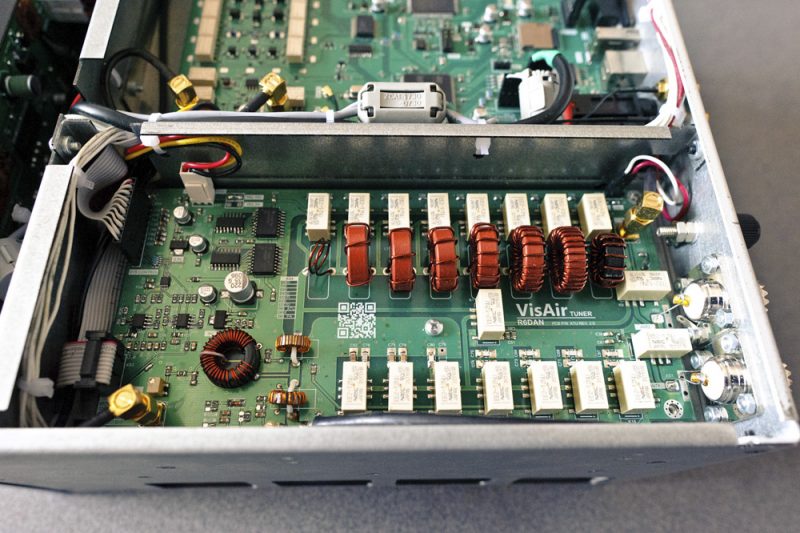
VisAir HF DDC/DUC Transceiver: Randy purchased one exclusively for shortwave radio listening

Many thanks to SWLing Post contributor, Dan Robinson, who recently shared a message he received from his friend Randy regarding the VisAir HF DDC/DUC Transceiver:

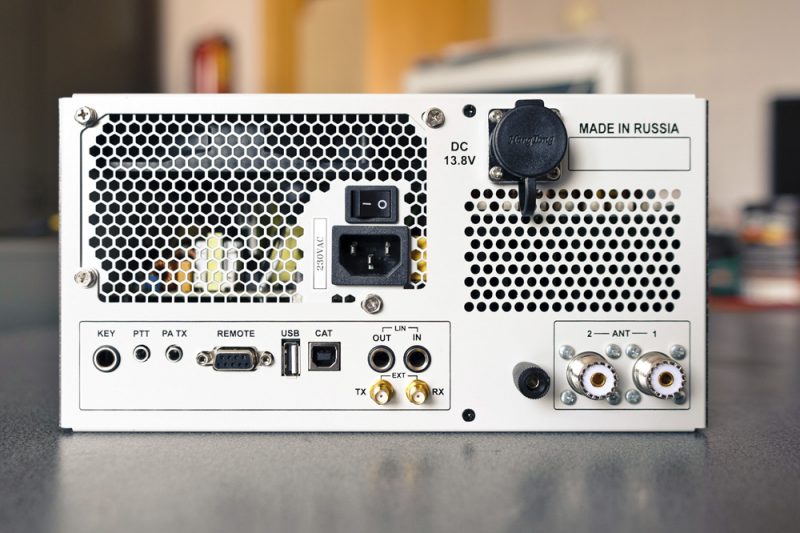
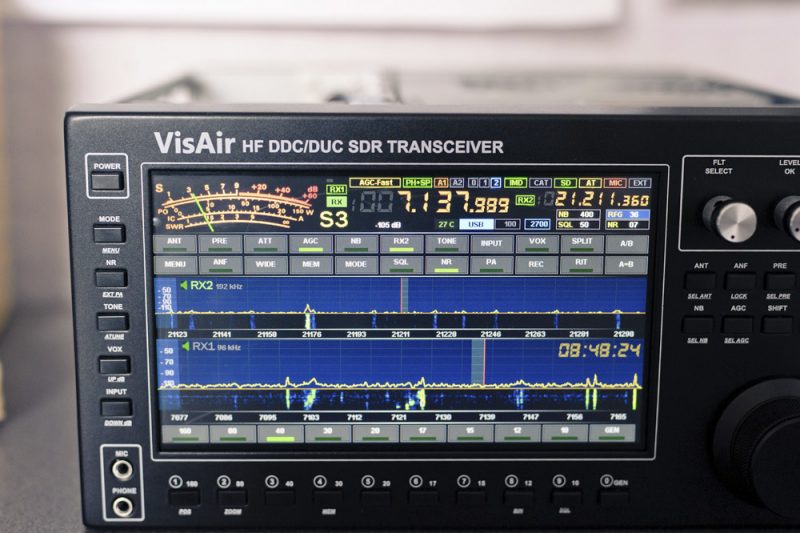
I recently acquired a VisAir transceiver from Russia. It is an amazing SDR unit developed by two amateur radio operators. It is about the same size as the RDR55, but at about 1/3 the cost. While it does not have FM or amateur 2/6 meter, GPS, and a couple of features, this VisAir has other features not found on the RDR55 such as dual receivers, waterfall, receiving audio equalizer, CW decoder, etc. It is a true SDR receiver. The user manual was in Russian and I had to break it into thirds so that I could get it translated into English. Interestingly, the user interface is completely in English despite its Russian origins. While designed primarily for amateur radio operators, it works especially well on the shortwave bands.

[…]I have really been enjoying this “transceiver” and as you imagine, I use only the receiver portion of the unit. It has two antenna connectors and you can configure these however you prefer. I set one as a receive antenna and the other as a transmit antenna to avoid accidentally hitting the antenna match or some function and sending power into my equipment. I also disabled the transmitter portion to further protect against any accidental transmissions.

Unfortunately, virtually all the YouTube videos and information are in Russian and also its use is shown only on the amateur radio bands, but I can tell you that this is a very nice SW DX receiver with lots of interesting user defined menus whereby the unit can be modified to match the user’s preferences. Here is a website with some information on the unit.

As you know, I have enjoyed using a wide variety of communications receivers from simple beginner’s units to the more complex and highly esteemed units built to exacting standards for government use. This VisAir is built by two guys in Russia and amazingly it was designed by them in 2017 and not a whole team of design engineers such as found at Yaesu, Kenwood, and Icom. From what I understand, the unit sells in Russia in rubles for the equivalent of about $1800 USD. Unfortunately it is not exported to the USA and it only comes with a 220 VAC power supply and so I operate it exclusively off of DC current without any issue. It is my understanding that this low production transceiver has sold between about 200 – 300 units and virtually all of these were in Russia. To my knowledge, I am the only person in the USA with this unit. Further, it is my understanding is that there is a wait list of about 2 years to obtain the unit. The VisAir is upgraded via firmware and my unit has the latest firmware installed.

When I got information about the transceiver to consider for purchase, there was only a Russian user manual available. I have access to an online PDF translator, but it can only accept up to 10 MB files and so I had to break the Russian manual into 3 sections, translate each section into English, and then stitch the 3 sections back together to make a complete English manual (which is too large to email as a whole). Attached are sections 2 and 3 of this English user manual for the VisAir:

You can look at the manual and see what features are available with this transceiver. While the translator worked nicely overall in getting the manual from Russian into English, there are issues whereby the illustrations have Russian language information and these did not translate, but this did not thwart me from understanding and using the VisAir as most of the Russian information relates to connecting the transmitter to microphone and other devices.

As with most all low production units from small producers, the user manual is good at pointing out controls, but lacks in explaining what is the purpose of settings or offering suggestions on the settings other than telling you what is a “default” setting from the factory. I found this same dilemma with the manuals for the Fairhaven RD500, the Reuter RDR55, the Kneisner & Doering KWZ30, etc. But an experienced DXer can generally figure out operations and establish the appropriate settings with a little time. For the first 3 days of operation, it was a discovery for me as I kept learning about new features that I didn’t know about previously and weren’t highlighted in the user manual. It was like reading the user manual for my Toyota Highlander in that there are options and controls that are found in menus and not particularly obvious at first glance or with casual use.

Randy

Thank you, Randy, for sharing your comments about the VisAir transceiver here on the SWLing Post. Looks like a fascinating tabletop SDR.

Click here to check out VisAir’s website.

Spread the radio love

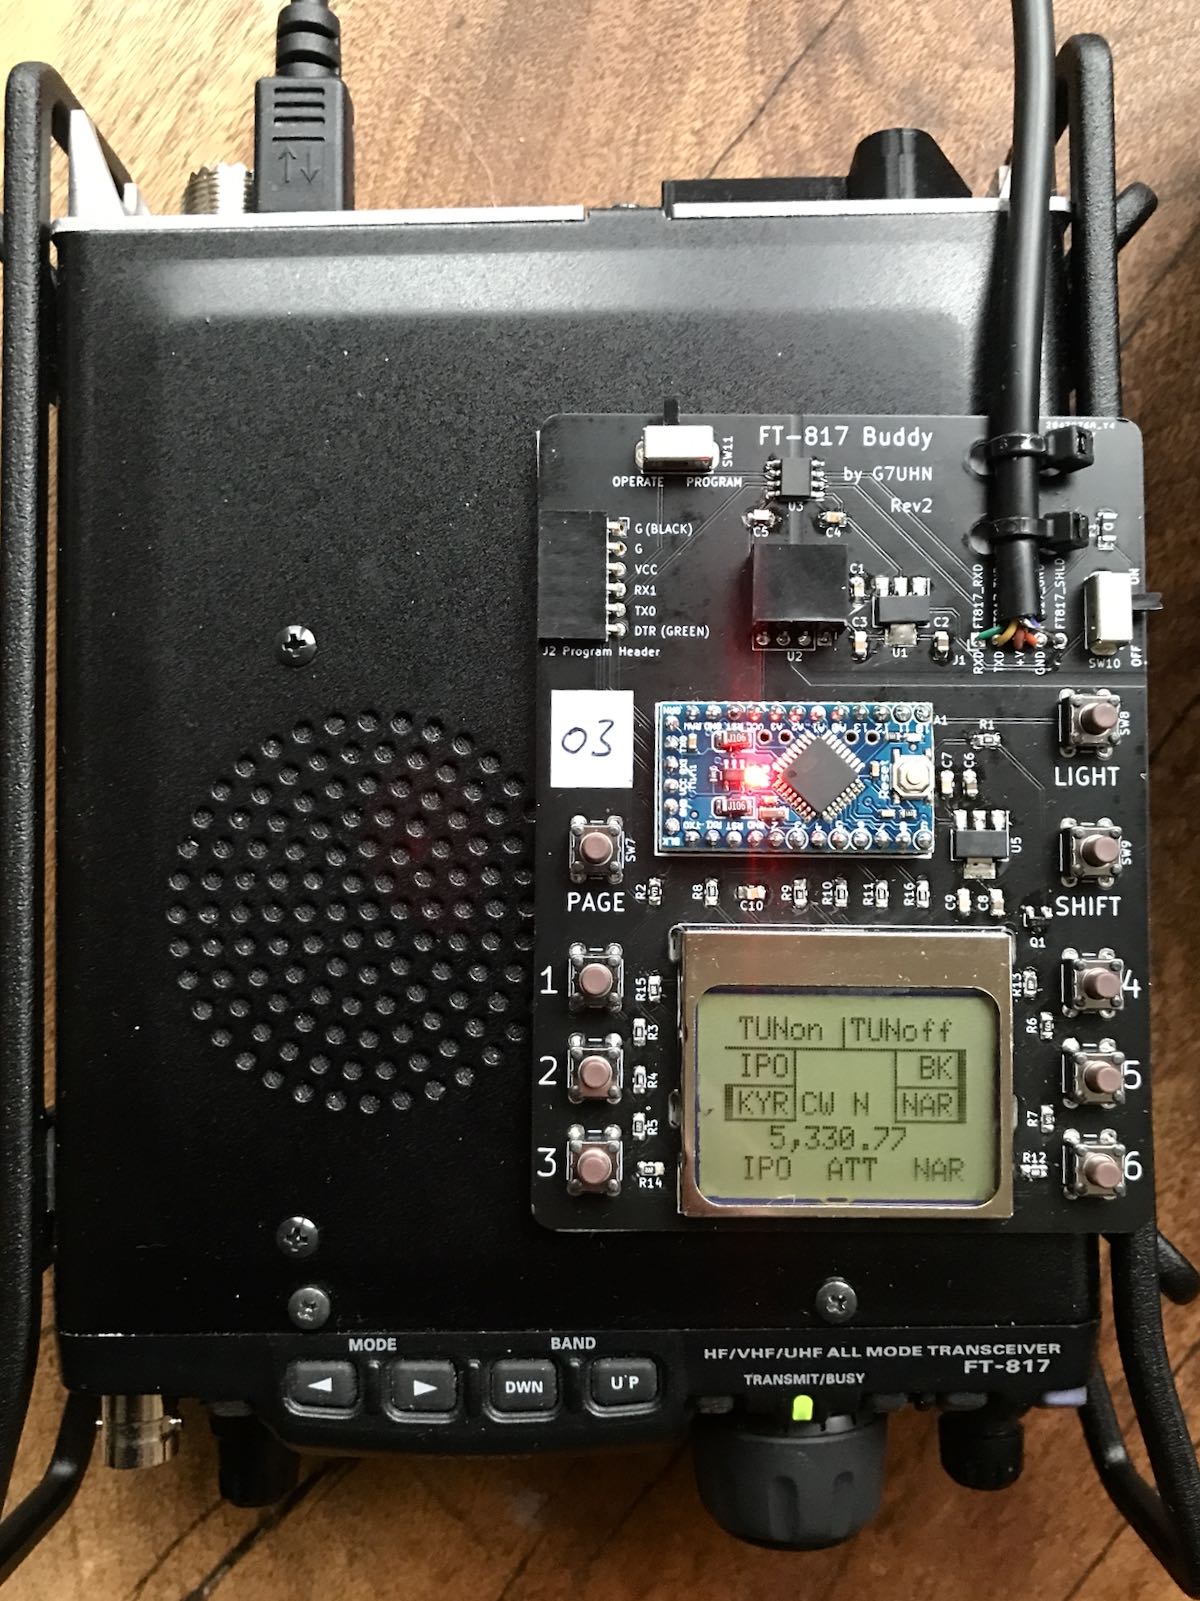
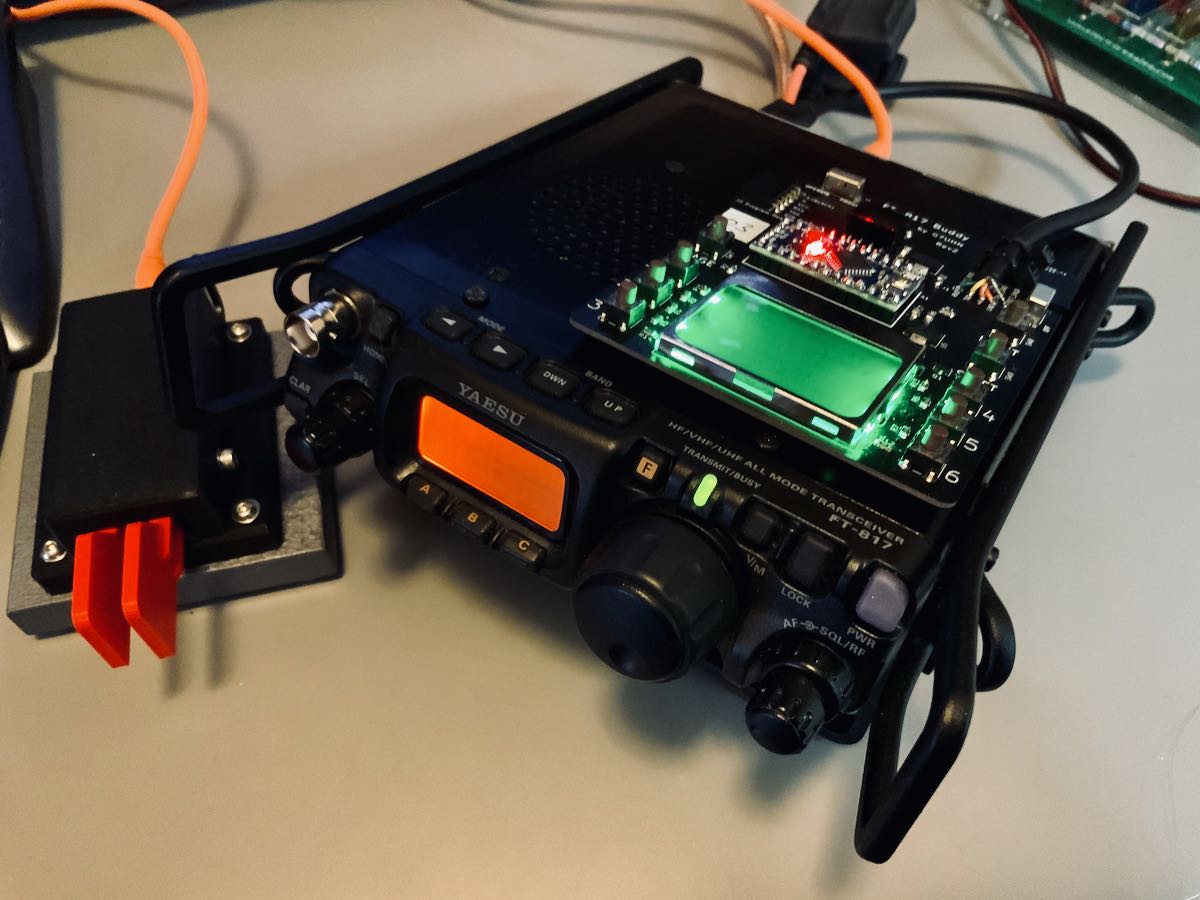
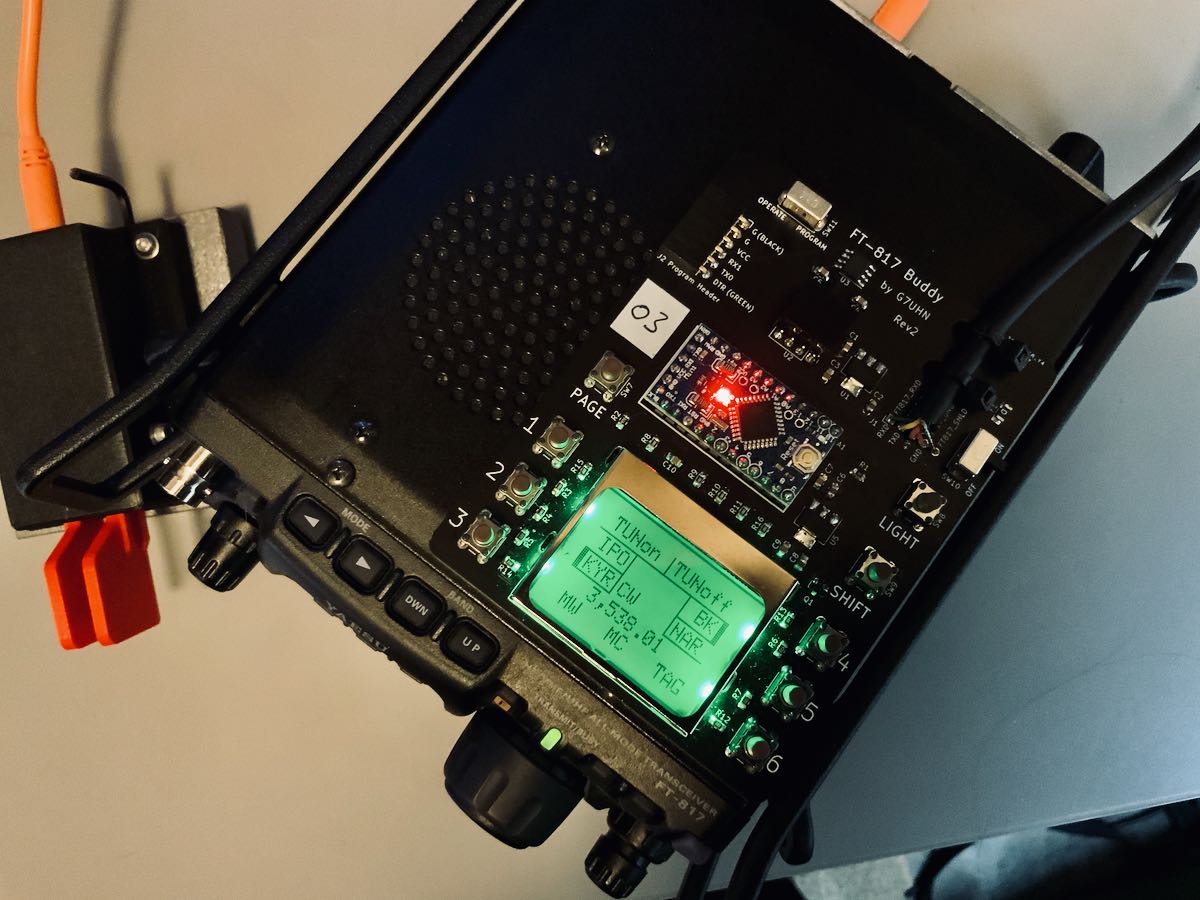
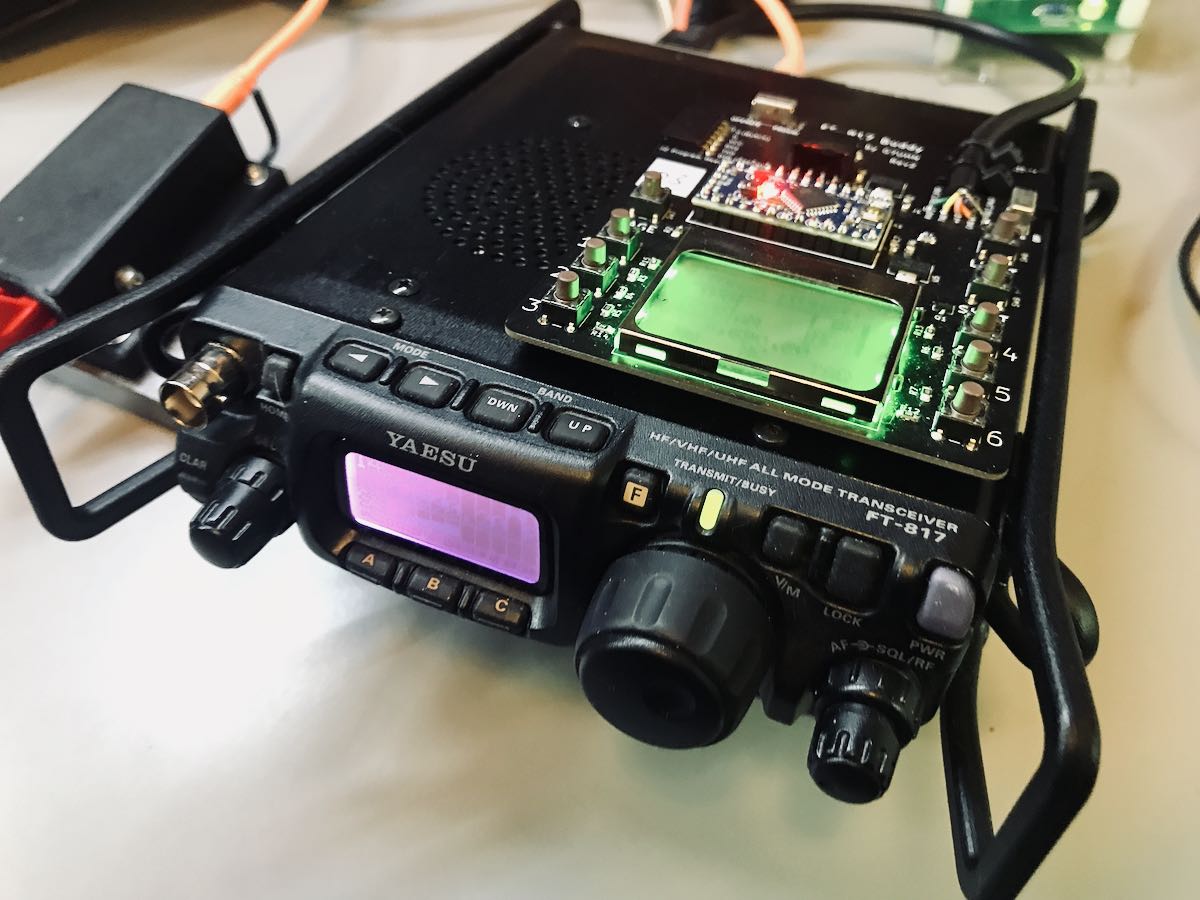
Upgrading my Yaesu FT-817 transceiver with the G7UHN rev2 Buddy board

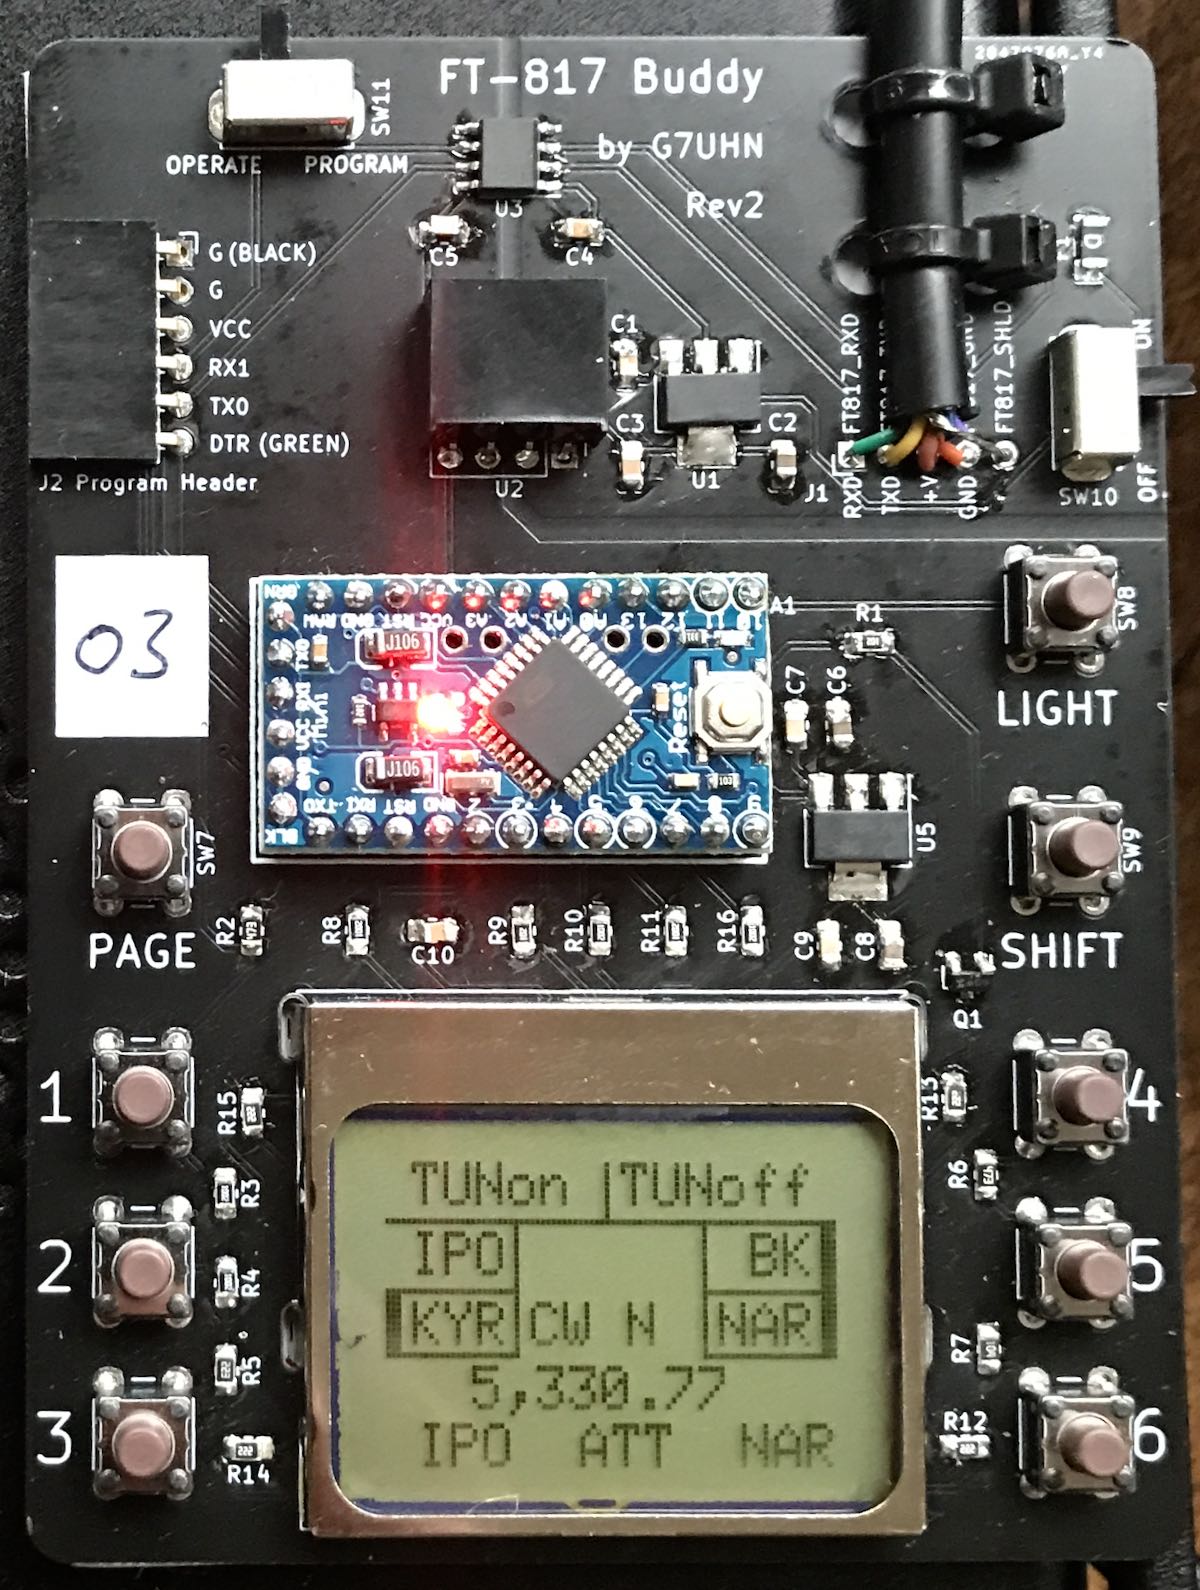
Last August, SWLing Post contributor, Andy (G7UHN), shared his homebrew project with us: a genius companion control display for the venerable Yaesu FT-817 general coverage QRP transceiver.

Andy’s article caused me (yes, I blame him) to wax nostalgic about the popular FT-817 transceiver. You see, I owned one of the first production models of the FT-817 in 2001 when I lived in the UK.

At the time, there was nothing like it on the market: a very portable and efficient HF, VHF, UHF, multi-mode general coverage QRP transceiver…all for $670 US.

In 2001? Yeah, Yaesu knocked it out of the ballpark!

In fact, they knocked it out of the ballpark so hard, the radio is still in production two decades later and in demand under the model FT-818.

I sold my FT-817 in 2008 to raise funds for the purchase of an Elecraft KX1, if memory serves. My reasoning? The one thing I disliked about my FT-817 was its tiny front-facing display. When combined with the embedded menus and lack of controls, it could get frustrating at home and in the field.

I mentioned in a previous post that I purchased a used FT-817ND from my buddy, Don, in October, 2020. I do blame Andy for this purchase. Indeed, I hereby declare him an FT-817 enabler!

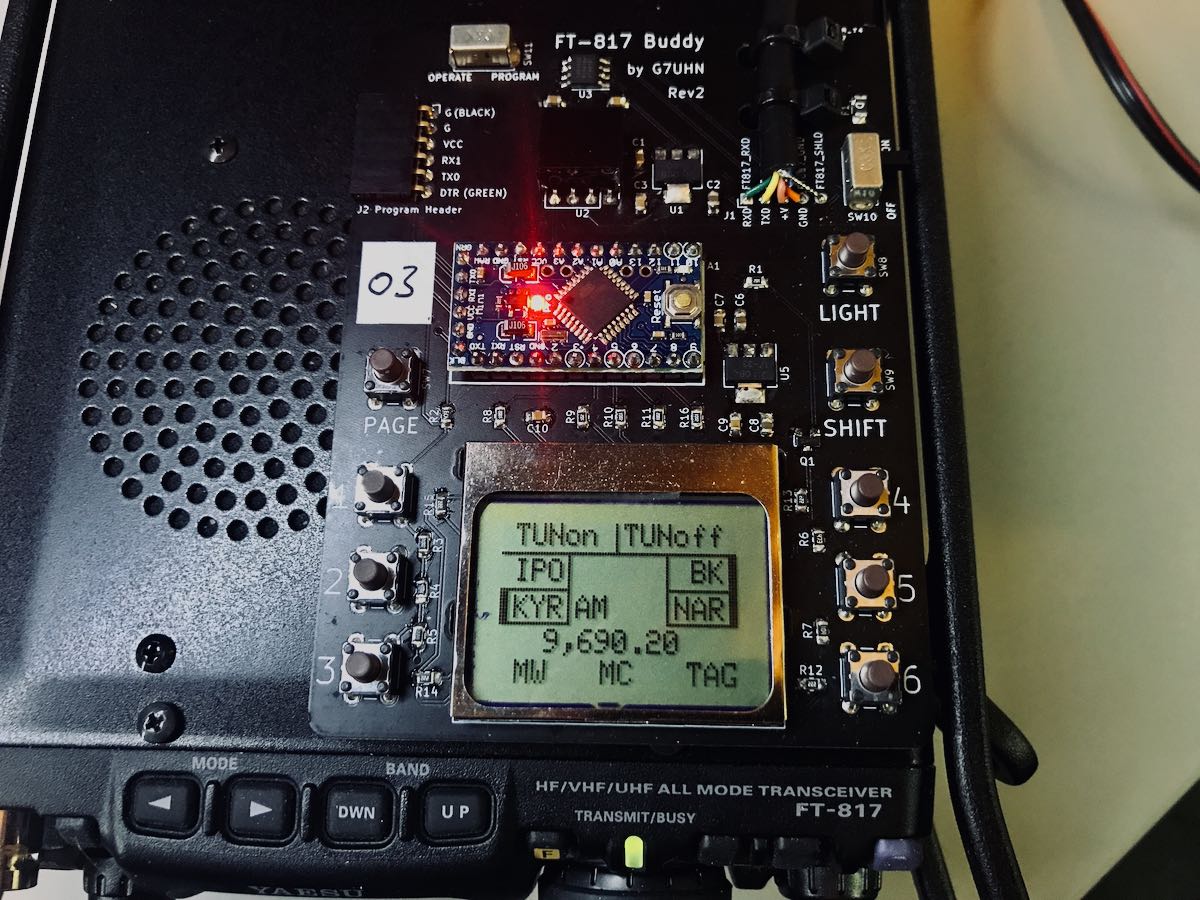
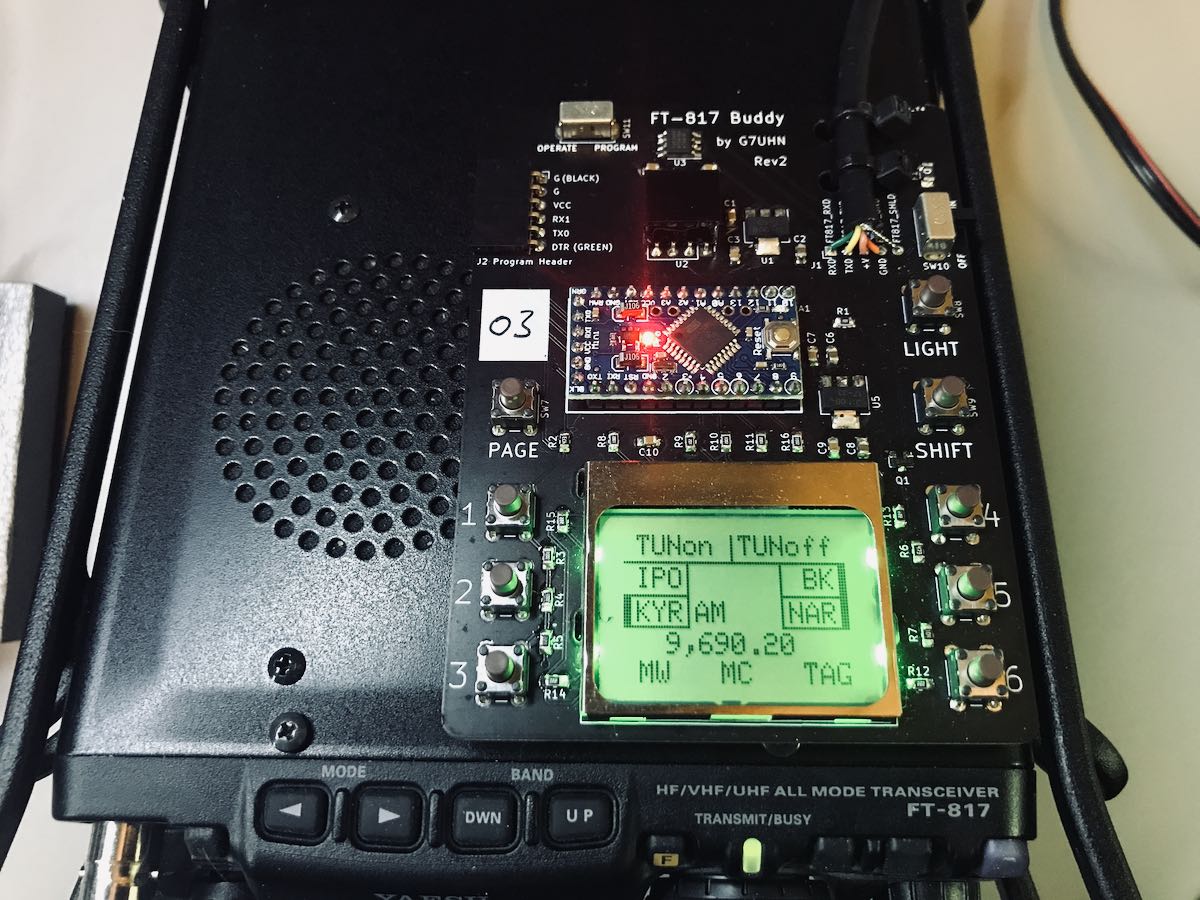
FT-817 Buddy board

When I told Andy about my ‘817ND purchase, he asked if I’d like to help him test the FT-817 Buddy board versions. How could I refuse?

Andy sent me a prototype of his Version 2 Buddy board which arrived in late November. I had to source out a few bits (an Arduino board, Nokia display, and multi-conductor CAT cable). Andy kindly pre-populated all of the SMD components so I only needed to solder the Arduino board and configure/solder the cable. I did take a lot of care preparing and soldering the cable, making sure there was no unintentional short between the voltage and ground conductors.

Overall, I found the construction and programming pretty straight-forward. It helped that Andy did a remote session with me during the programming process (thanks, OM!). Andy is doing an amazing job with the documentation.

I do love how the board makes it easier to read the frequency and have direct access to important functions without digging through embedded menus. While there’s nothing stopping you from changing the program to suit you, Andy’s done a brilliant job with this since he’s an experienced FT-817 user.

The Nokia display is very well backlit, high contrast, and easy very to read.

“Resistance is futile”

I mentioned on Twitter that, with the backlight on, the FT-817 Buddy makes my ‘817ND look like it was recently assimilated by The Borg.

Don’t tell any Star Trek captains, but I’m good with that.

Andy has a rev3 board in the works and it sports something that will be a game-changer for me in the field: K1EL’s keyer chip!

For more information about the FT-817 Buddy, check out Andy’s website. At time of posting, it’s not available yet, but as Andy says, “it’s nearly there!”

Of course, we’ll keep you updated here as well. Many thanks to Andy for taking this project to the next level. No doubt a lot of FT-817 users will benefit from this brilliant project!

Spread the radio love

A comprehensive review of the Mission RGO One general coverage 50 watt transceiver

The following review was first published in the November 2020 issue of The Spectrum Monitor magazine:


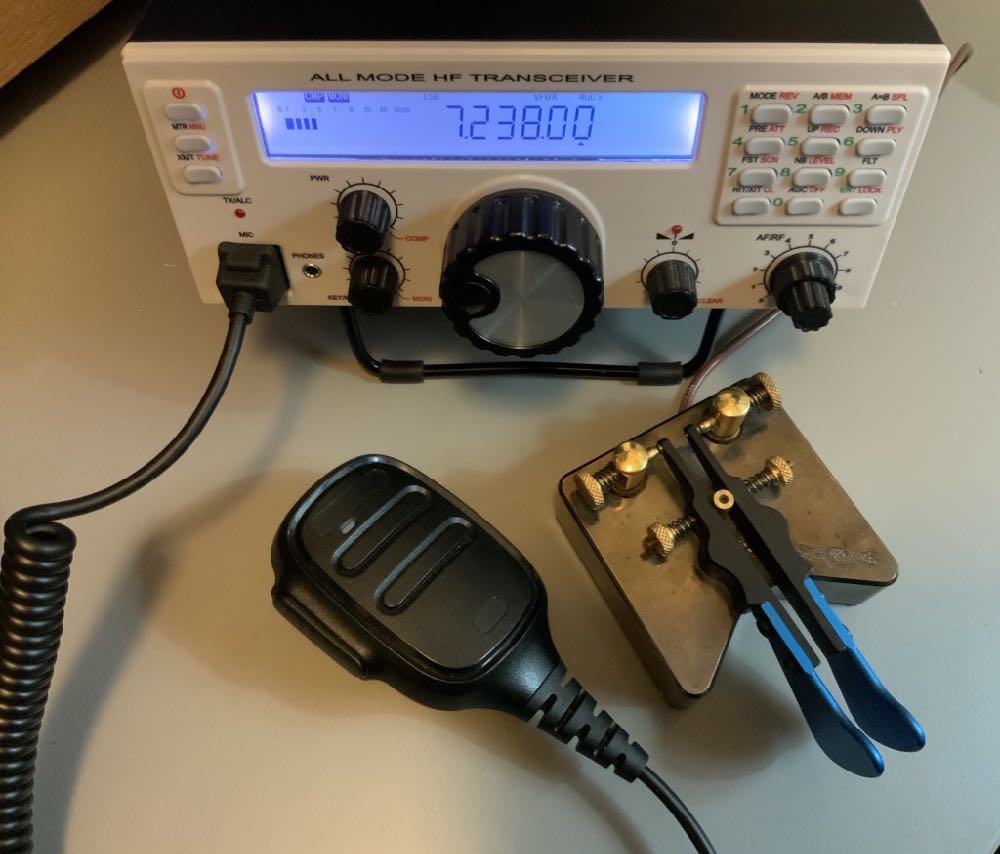
A review of the Mission RGO One ham radio transceiver

by Thomas (K4SWL / M0CYI)

Wow…I love this!

If I am perfectly frank, that would sum up my initial impression of the Mission RGO One.

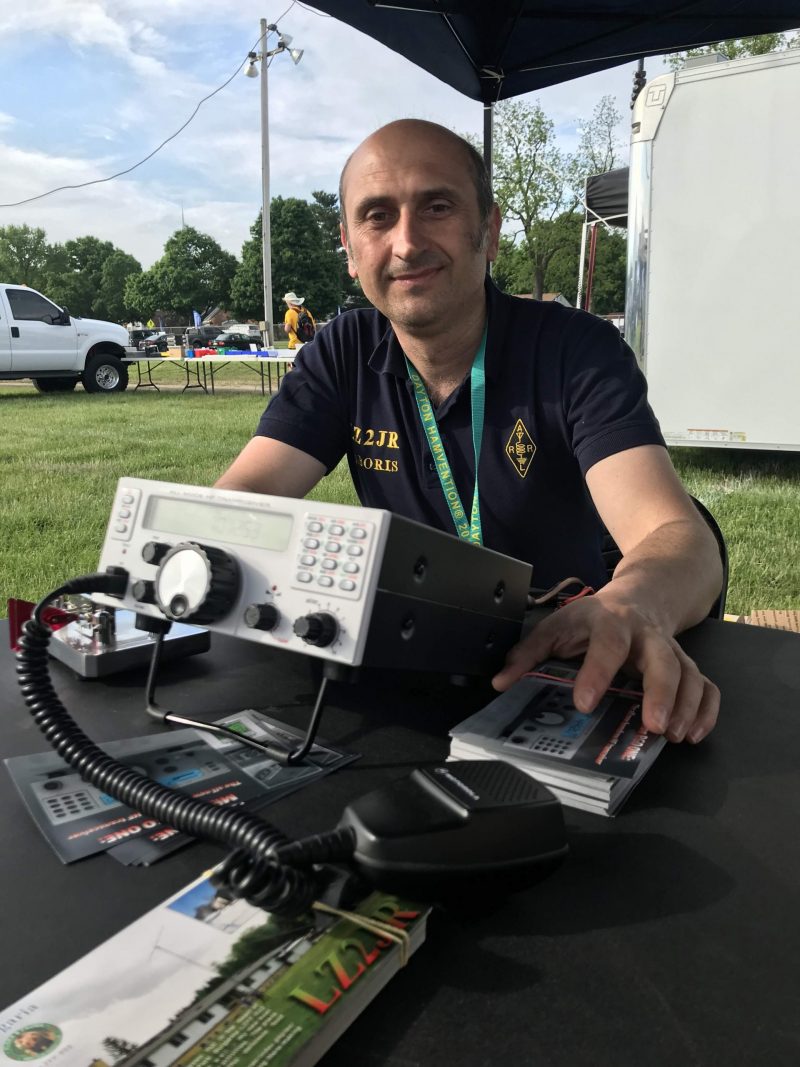
It was the 2018 Hamvention in Dayton, Ohio, and I had just met up with radio engineer Boris Sapundzhiev (LZ2JR) who was debuting the prototype of his 50-watt transceiver kit, the Mission RGO One. With its clean, functional design and simple front face, large weighted encoder, and enough tactile buttons and multi-function knobs to keep one’s most needed features within reach, the kit was certainly pushing all the right buttons for me.  Without a doubt, I was impressed from the start.

Boris (LZ2JR) the designer and engineer of the Mission RGO One.

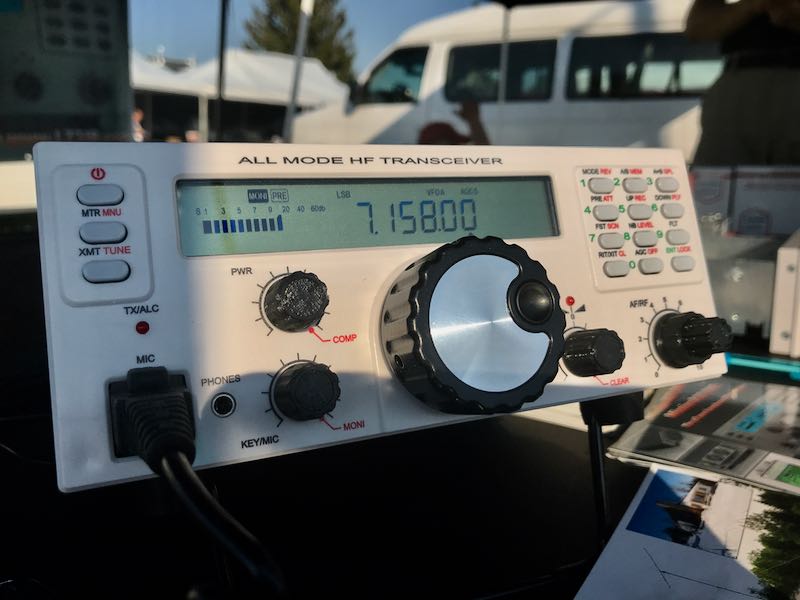
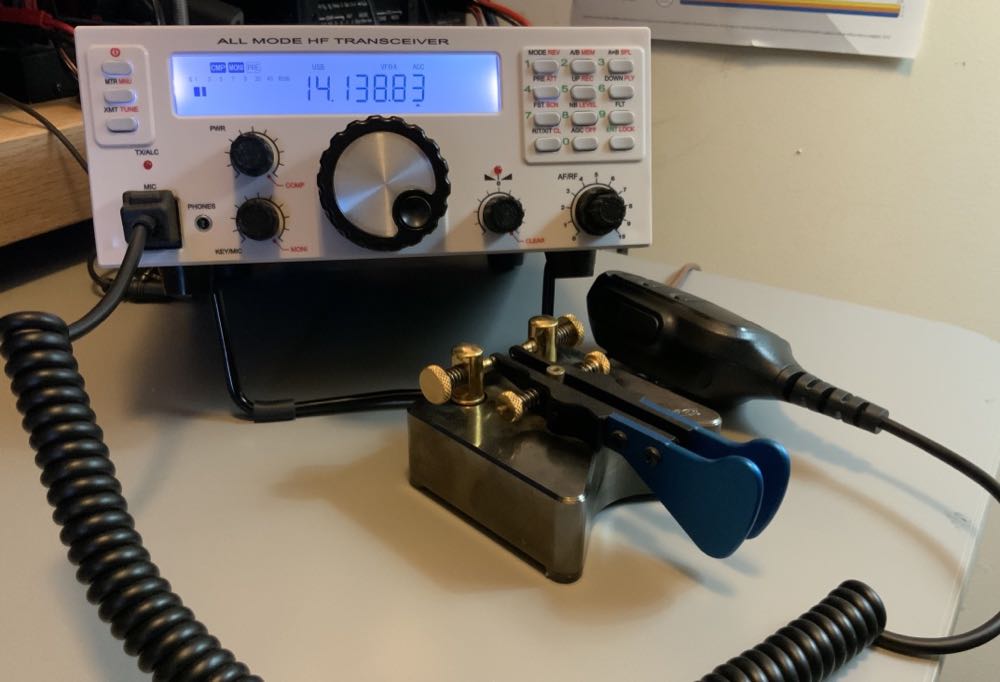
To my mind, the RGO One smacks of classic 1990s-era transceivers:  a traditional tabletop front-facing panel, a large fold-out bail, and a unfussy backlit LCD display that’s large enough to read in the field and viewable at any angle.

Perhaps it’s only because I can’t turn off the innate radio reviewer, that I was rapidly checking mental boxes in this first encounter with the RGO One.  Indeed, when I first set eyes on any new radio, I do skim through my mental “operations checklist” to see how difficult the rig might be to use at home and/or in the field. Specifically, I’m looking for the following controls:

  • Encoder
  • AF Gain
  • RF Gain
  • Mode switch
  • Power output adjustment
  • Tune/Xmit button
  • Preamp/Attenuator
  • VFO A/B
  • Split and A=B
  • Mic gain and keyer speed
  • RIT
  • Filters
  • Band switching and direct frequency entry
  • Key and encoder lock

Of course, these days it’s fairly rare that radios actually contain all of these functions without the user having to dig into layers of menus, multi-function controls, or touch-screen options to access them.

Remarkably enough, the Mission RGO One, despite simple design, manages to include all of these features on the front panel without the need of embedded menus. In contrast with some of the radios I’ve tested and evaluated over the past several years, I could tell by the layout alone that the Mission RGO One was developed by an active ham radio operator and DXer: the controls are that intuitive.

Alas, the tantalizing prototype on Boris’ table in the 2018 Hamvention flea market was for show only.

Boris promised that he’d have fully-functional models available at the 2019 Hamvention. Because of this, following that first meeting in 2018, I kept in touch with Boris; we arranged to meet again at the 2019 Hamvention so I could take a second, much closer look at the RGO One––especially since he intended to start shipping the first very limited, early-production-run rigs shortly afterward.

So…did Boris deliver?  And more importantly: did the RGO deliver––?  Let’s find out.

On The Air

Within hours of taking delivery of the prototype radio, I had it in the field activating parks.

It was May 2019 when Boris delivered on his promise, handing me a loaner prototype RGO One. He did so with the understanding that the prototype was still a little rough around the edges. I acknowledged this, thinking in terms of a late Beta-test model since he welcomed reports of any bugs or anomalies I encountered and was fully prepared to address them.

After taking the initial RGO One to the field, I did note a few bugs, but nothing major.  All of my field notes were then sent to Boris and turned into action items.

Then, in July of 2020, Boris sent me a fully-upgraded Mission RGO One with the new internal ATU and optional adjustable filter. This radio represented the “fully-grown” production model, and in preparation to put it through its paces, I returned the prototype.

Although there are planned hardware upgrade options and, of course, firmware upgrades, the RGO One has now reached full maturity as a transceiver.

However, it was one thing to have ham-friendly ergonomic controls. The real question was, how did the RGO One stack up against the competition? It was time to find out.  After all, this is the danger of a “love at first sight” radio encounter––it often leaves the door open for disappointment, and of this I was well aware.

What follows is my full review of this 2020 Mission RGO One transceiver. Let’s take a deep dive into this rig…

Features and specifications


What follows are some of the RGO One features and highlights as written in the product manual (PDF):

  • QRP/QRO output 5 – 50W [can actually be lowered to 0 watts out in 1 watt increments]
  • All-mode shortwave operation – coverage of all HAM HF bands (160m/60m optional)
  • High dynamic range receiver design, including high IP3 monolithic linear amplifiers in the front end, and diode ring RX mixer or H-mode first mixer (option)
  • Low-phase noise first LO – SI570 XO/VCXO chip
  • Full/semi (delay) QSK on CW; PTT/VOX operation on SSB. Strict RX/TX sequencing scheme with no “click” sounds
  • Down conversion superhet topology with popular 9MHz IF
  • Custom-made crystal filters for SSB and CW and variable crystal 4 pole filter – Johnson type 200…2000Hz
  • Fast-acting AGC (fast and slow) with 134kHz dedicated IF
  • Compact and lightweight body, only 5 lbs
  • Custom-made multicolor backlit FSTN LCD
  • Custom-molded front panel with ergonomic controls
  • Silent operation with no clicking relays inside – solid state GaAs PHEMT SPDT switches on RX (BPF and TX to RX switching) and ultrafast rectifying diodes (LPF)
  • Modular construction – Main board serves as a “chassis” also fits all the external connectors, daughter boards, plus inter-connections, and acts as a cable harness
  • Optional modules – Noise Blanker (NB), Audio Filter (AF), ATU, XVRTER, PC control via CAT protocol; USB UART – FTDI chipset
  • Double CPU circuitry control for front panel and main board – both field programmable via USB interface
  • Memory morse code keyer (Curtis A, CMOS B); 4 Memory locations 128 bytes each

Build quality

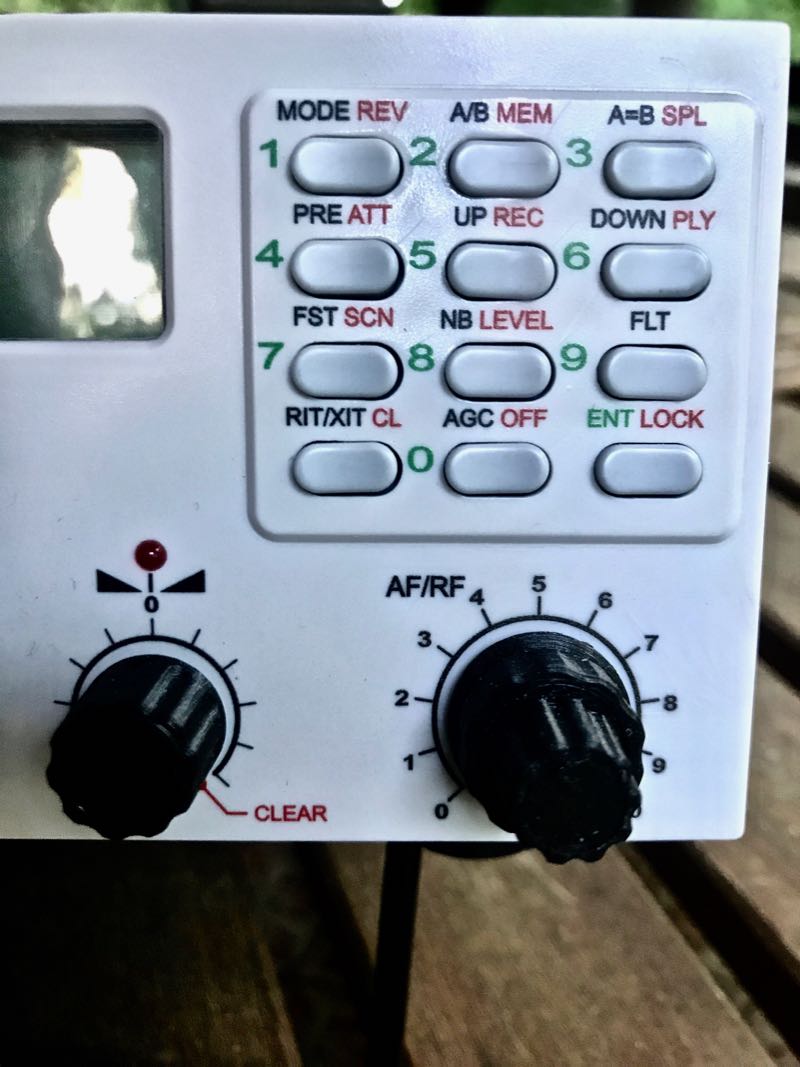
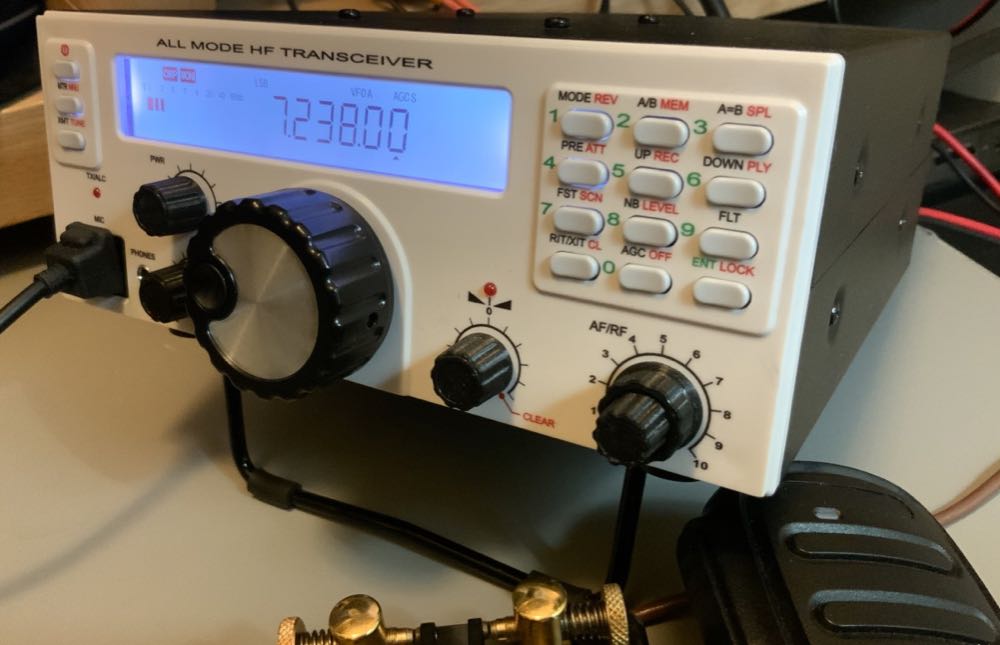
First impressions proved accurate in terms of construction.  I’m very pleased with the build quality of the Mission RGO One. Keep in mind, however, you might note from the photos that some items––like the volume and multifunction knobs––are 3D printed, and I’m not certain if they’ll ever have custom knobs manufactured.  But I really don’t even think this is necessary, as the 3D printed ones are very nice, indeed––moreover, should a replacement ever be needed, I love the idea I could simply print one myself!

The RGO One main optical encoder/tuning knob is just brilliant. It’s weighted properly for the right amount of “heft” while tuning. I’m very pleased with the overall feeling and quality. It’s substantial, yet silky-smooth in operation, just what I look for in a tuning knob.

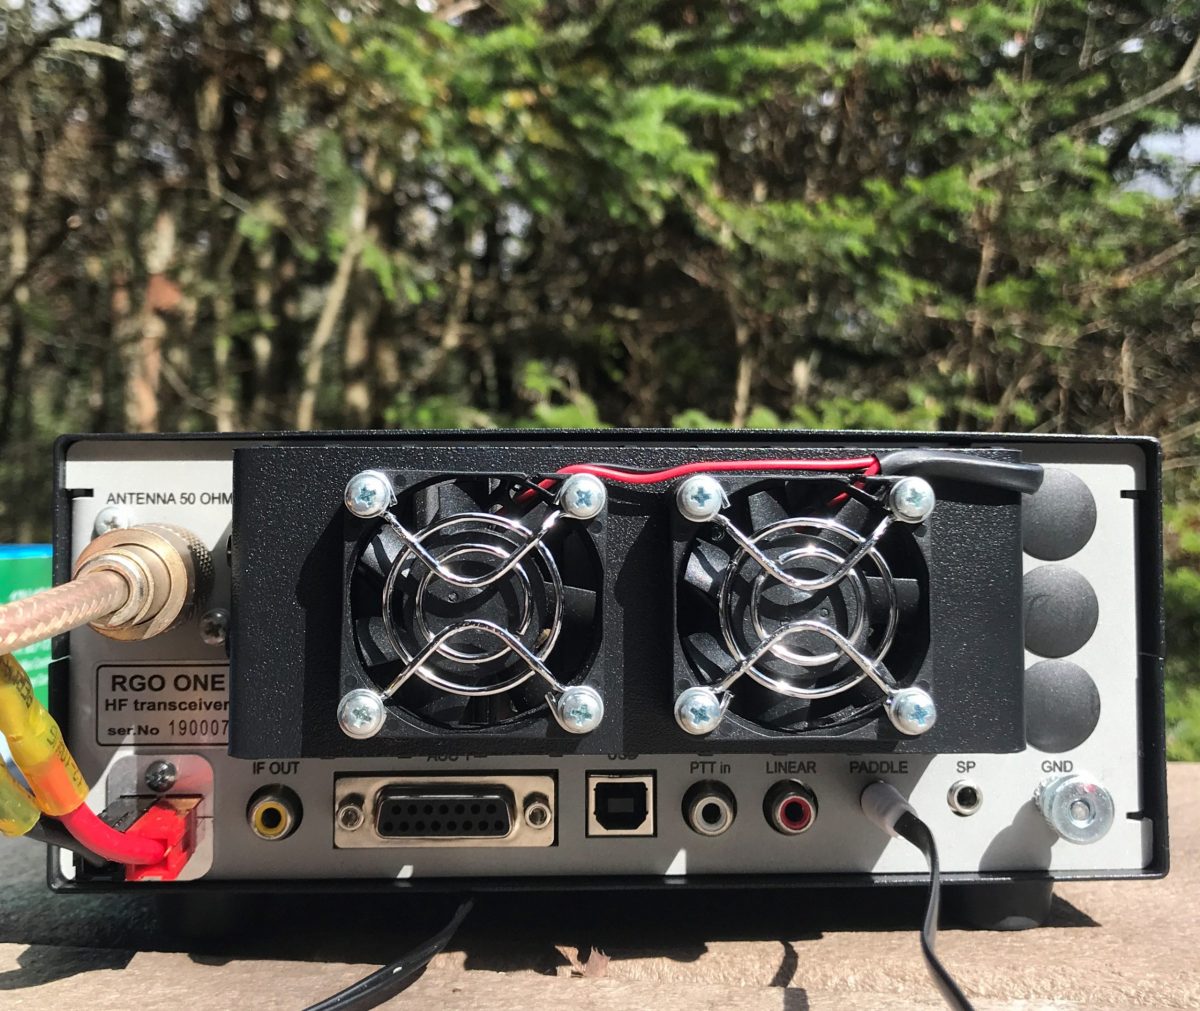
On the back of the unit, there is an externally-mounted heat sink with two small fans. These fans are quiet and efficient.

The chassis and bail are both top-shelf quality and should withstand years of field use. Just do keep in mind that like almost every other amateur transceiver currently on the market (save the recently reviewed lab599 Discovery TX-500), the chassis is neither water-proof nor weather-proof, so will require common-sense care to protect it from the elements.

Portability

The Mission RGO is relatively compact, lightweight (only 5 lbs without the ATU), and has a power output of up to 55 watts, even though the specs list just 50 watts. As a point of comparison, most other rigs in this class have a maximum output of 10 to 20 watts, and require an external amplifier for anything higher. The form factor is very similar to the Elecraft K2.

The light weight of the rig and the extra power makes the RGO One a capable and versatile field radio. Although the RGO One is configured like a desktop radio (with a front-facing panel), it’s still relatively compact and can easily be set up on a portable table, chair, or on the ground. Unlike field-portable rigs with top-mounted controls (think the Elecraft KX3 or KX2), obviously, it would be tough to do handheld or laptop operation.

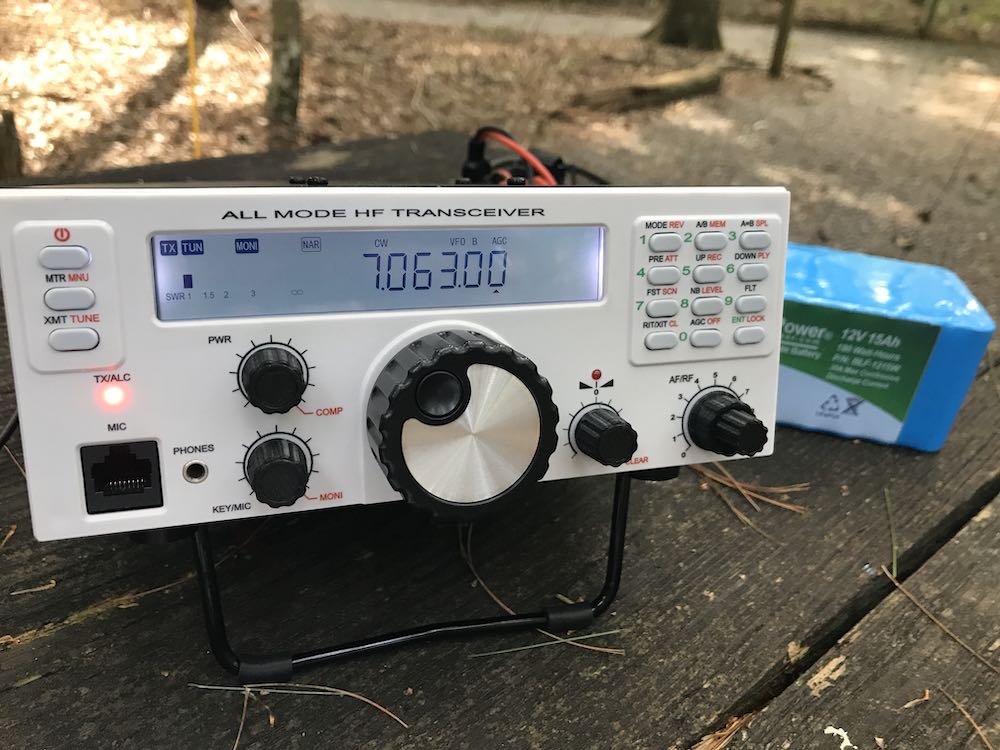
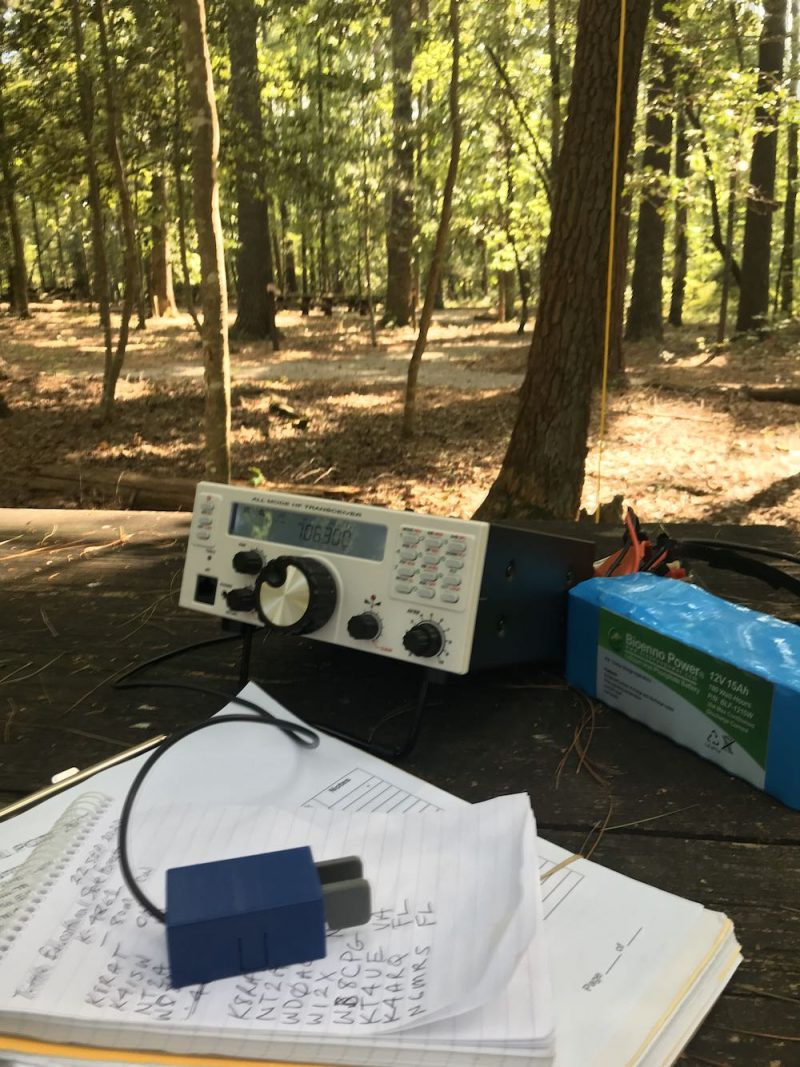
The RGO One should also play for a long time on battery power as the receive current drain is a respectable 0.65A with the receiver preamp on. It’s not as efficient as, say, an Elecraft KX3 or the new Icom IC-705, but keep in mind the RGO One can provide 50 watts of output power and has a proper, internally-mounted, amplified speaker. The popular 100 watt Yaesu FT-891, in comparison, has a current drain closer to 1.75 to 2.0 amps [update: actually the specifications indicate 2 Amps in receive, but user reports are less than half that amount].  I pair the RGO One with my larger 15 aH Bioenno LiFePo battery. When fully-charged, I can operate actively for hours upon hours without needing to recharge.

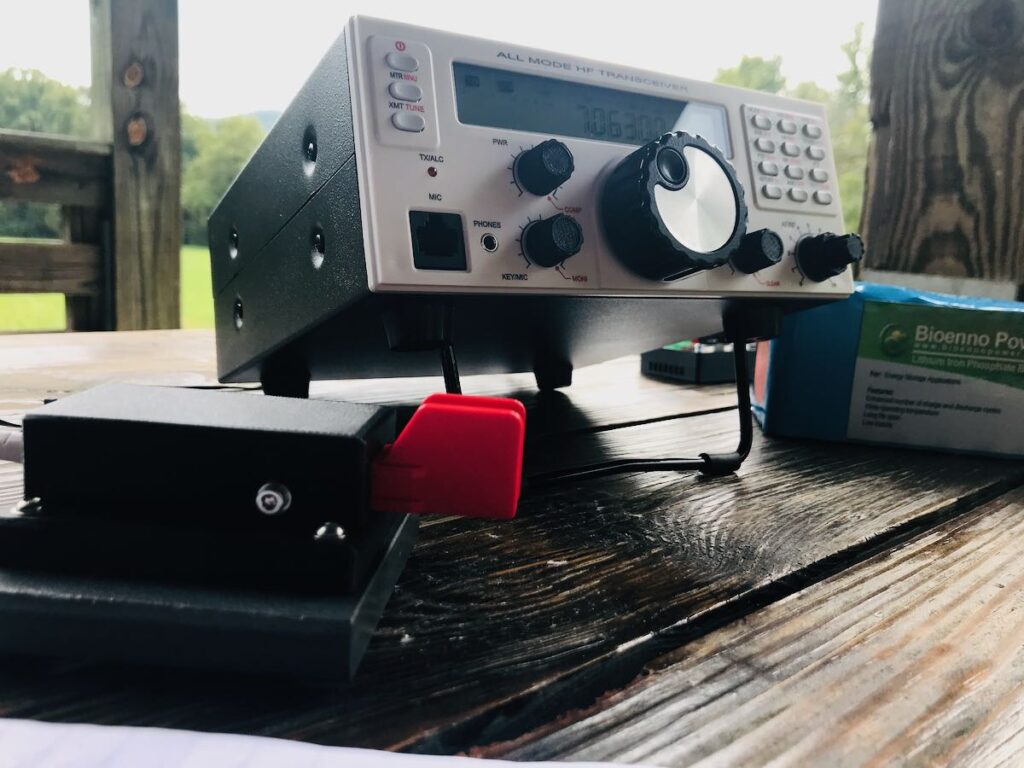
Mission RGO One Bioenno LiFePo

The Bioenno 15aH battery powers the Mission RGO One for hours at a time in the field.

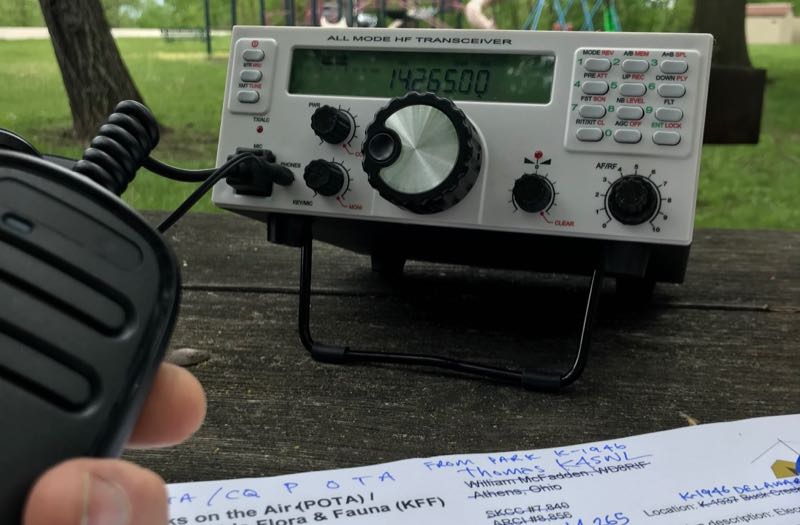
If it’s any indication of how much I wanted to take this rig to the field, when Boris handed me the prototype RGO One on Saturday at the 2019 Hamvention, I had it on the air that same day doing a Parks On The Air activation at an Ohio State Park.

Since then, I’ve easily taken the Mission RGO One on 30 or more park activations.

Performance

What’s most striking and obvious about the Mission RGO One’s receiver from the moment you turn it on is the low noise floor. It’s incredibly quiet. So much so that more than once, I’ve double checked to make sure RF gain hadn’t been accidentally altered as I started a field activation. I’d call CQ a few times, though, and when stations return they literally pop out of the ether. The RGO One currently has no digital noise reduction (DNR) but frankly, I don’t miss it like I might in other transceivers. Indeed, the RGO One is a radio I’ve reached for when the bands are noisy because the AGC and receiver seem to handle rough atmospheric conditions very well.

The RGO One’s built-in, top-mounted speaker provides ample audio levels for the shack, but in a noisy field environment, I wish it had a little more amplification. I’ve also used my Heil Pro headset and even inexpensive in-ear earphones connected to the front panel headphones jack in the field. The audio via headphones is excellent.

Let’s take a look at how well the RGO One performs by mode:

CW

First and foremost, CW operators will appreciate the RGO One’s silky-smooth full break-in QSK. The  RGO One employs clickless and quiet pin diode switching–a design feature I’ve become particularly fond of as traditional T/R relays can be noisy and distracting when not using headphones.

The RGO One also has a full compliment of adjustments for the CW operator including adjustable delay (default is 100ms), iambic mode, weight ratio, hand key/paddle, adjustable pitch, and sidetone volume.

The key jack is a standard three conductor 1/8” jack found on most modern transceivers. It’s located on the back of the radio.

My review unit has the optional variable width narrow filter which I highly recommend if operating in crowded conditions. I’ve used the RGO One on ARRL Field Day and found that it easily coped with crowded band conditions. Even after a few hours on the air, I had very little listener fatigue.

I also find that, as I mentioned earlier, CW signals just seem to “pop” out of the ether due to the low noise floor and excellent sensitivity/selectivity.

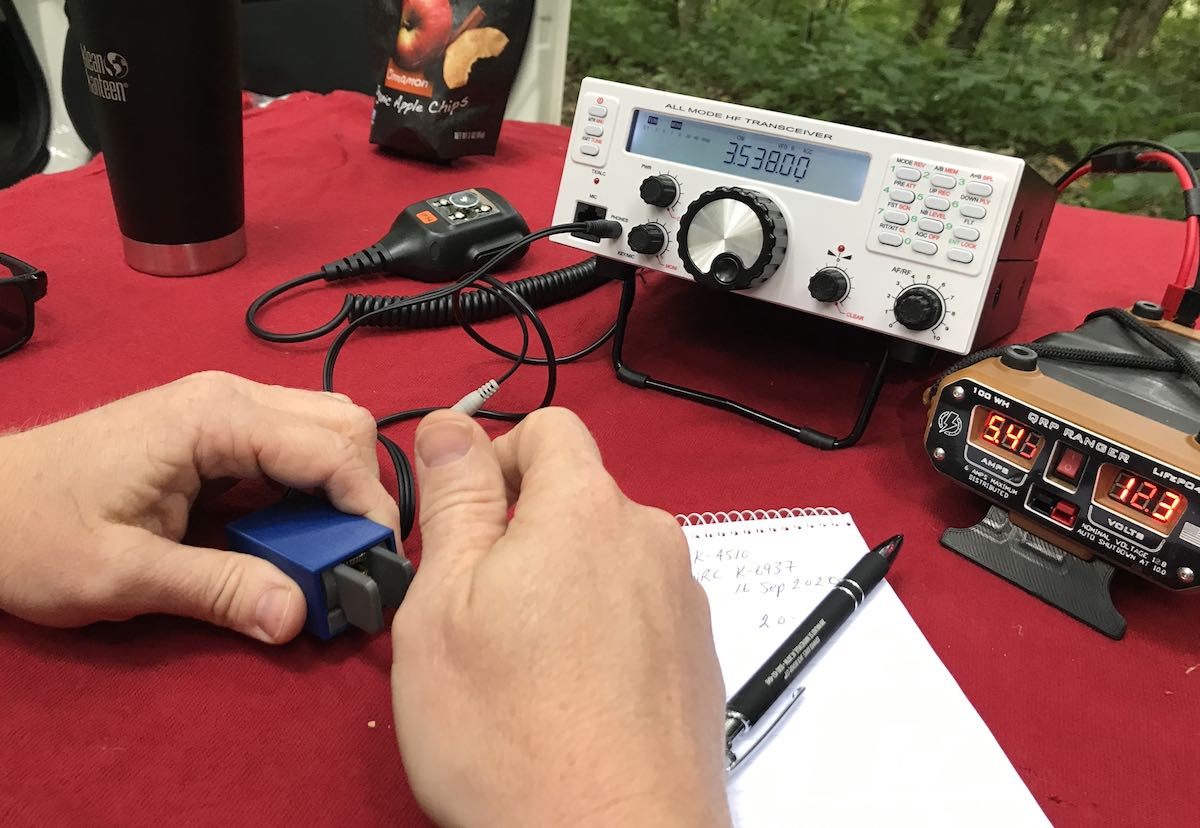
The RGO one also sports four CW keying memories where you can record your CQ, callsign, or even contest exchange. I’ve become incredibly reliant on memory keying to help facilitate my workflow in the field—while the radio is automatically sending my CQ or my regards and callsign to an station I’ve just worked, my hands are free to log the contact, adjust the radio, or even eat lunch!

Memory keying does require one long-press of the “6” button followed by either the “1,” “2,” “3,” or “4” button to play a message. Occasionally I won’t hold the 6 button long enough and accidentally move my frequency down one meter band since the 6 button is also the band “down” button. While it doesn’t happen often, it’s frustrating when it does but I think it could easily be fixed in the firmware as it’s really a timing issue.

SSB

Likewise, phone operators will be very pleased with the Mission RGO One. During all of my testing, I’ve only used the microphone supplied with the radio mainly because I don’t currently own another radio with an RJ-45 type microphone connector.

I do love the fact the microphone port is on the front panel of the radio—it’s very easy to connect and disconnect (in contract to the recently released Icom IC-705, for example). I’ve gotten excellent audio reports with the RGO One in SSB mode and have even monitored my own tests and QSOs via the KiwiSDR network.

Compression, gain, and VOX controls are easily accessible. One missing feature at present is a voice memory keyer. For field operators activating sites for the POTA, WWFF, or SOTA program, voice memory keying is huge as it saves your voice from calling “CQ” over the course of a few hours. I understand Boris does plan to implement voice memory keying in a future speech processor board.

AM Mode

Since the RGO One has general coverage receive and since I’m a shortwave broadcast listener, I was disappointed to find that there is presently no AM mode. Boris told me he does plan to add AM mode, “to be implemented in future versions of the IF/AF board only on RX.”

With that said, I can always zero-beat a broadcaster and use a wide SSB filter to listen to broadcasts which is more than I could do, for example, with my (ham band only) Elecraft K2.

At the end of the day, the RGO One is a high-performance, purpose-built ham radio transceiver, so the current lack of AM mode isn’t a deal-breaker for me, but I would love a wide AM filter on this rig.

ATU

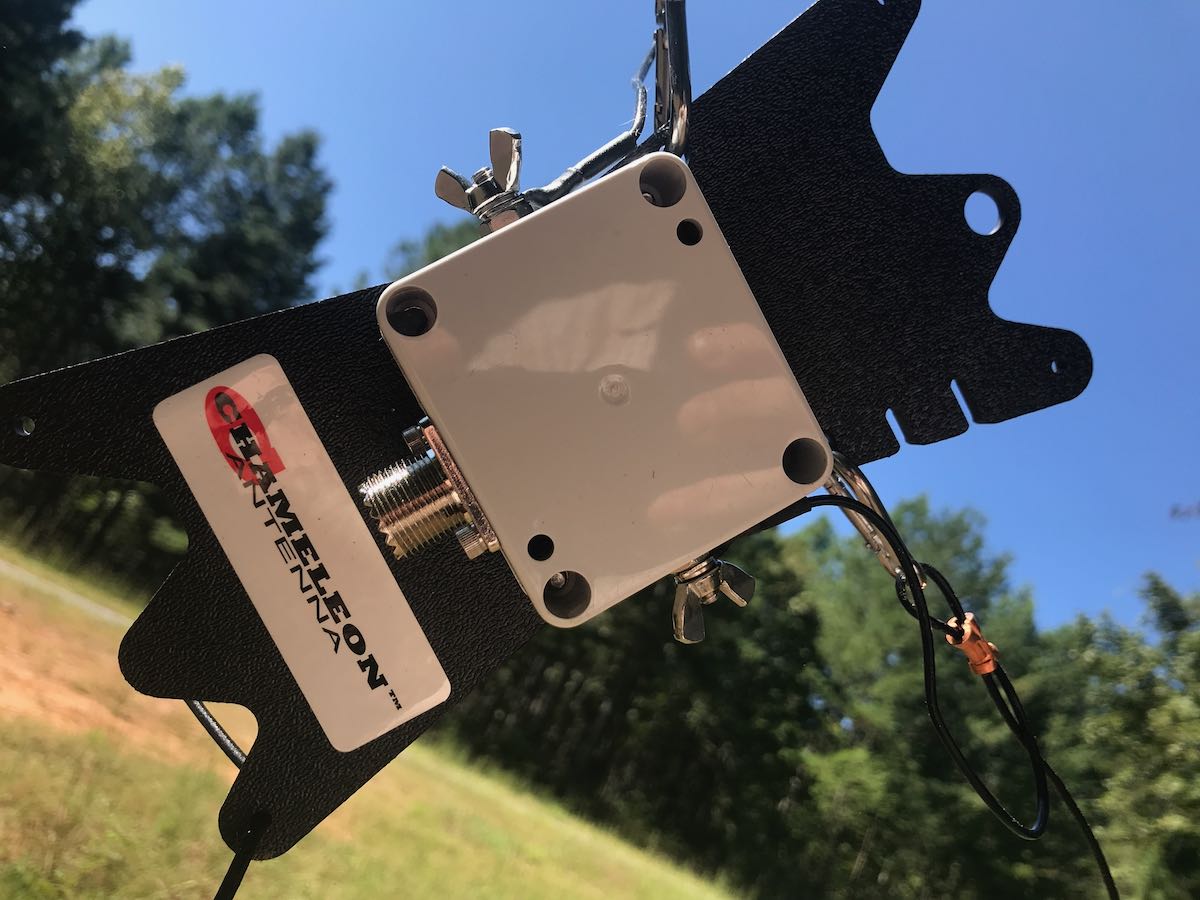
The 2020 review model I received has the internal automatic antenna tuner which I feel is a worthy upgrade/addition. In the field, I’ve paired the RGO One with my Chameleon CHA Emcomm III Portable random wire antenna which requires an ATU in order to find matches across the bands. The pairing has been a very successful one because the Emcomm III can handle up to 50 watts power output in CW and covers the entire HF band when emptying the RGO One ATU.


Even though it’s a minor thing, I also like the fact that the RGO One ATU operates so quietly, even though with the present firmware it takes longer than some of my other ATUs to find a match.

Power

One thing I’ve found very useful in the field and, no doubt others will as well is the power output. In many ways, the RGO feels like a larger QRP radio (think Ten-Tec Argonaut V or VI) but it’s actually able to pump out 55 watts (often five watts more than specified). In single sideband mode, this is a meaningful amount of power output compared to, say, 5 or 10 watts. When I activate a rare park, or an ATNO (All Time New One), I’ve been taking the RGO One more times than not in order to get the best signal possible and maximum amount of contacts. Running full power, the rig never feels warm—heat dissipation is superb—and the fans on the back of the heat sink are super quiet.

I actually feel like the 50 watts of output power gives the RGO One a market niche since it sports top-shelf performance as you might expect in the venerable Elecraft K2, for example, but  not being a 10 watt or 100 watt radio, rather something in between which saves a little weight and also the need for heftier heat dissipation.

Other unique features

The RGO One has some interesting features not found in similar radios.

For one, there are no less than ten color options for the custom backlit LCD display, along with adjustable contrast and backlighting intensity.

The RGO One team also documents how to access hidden admin menus for granular adjustments to transceiver parameters, but of course you’d want to adjust those with caution and note values prior to changing them. When you receive your RGO One, Boris includes a sheet with all default values to make stepping back much easier.

Hands-on philosophy

At the end of the day, the Mission RGO One is a kit that can eventually be purchased in kit form, or as a fully assembled transceiver. It’s modular: you can add and upgrade features as you wish. Some field operators, for example, may wish to omit the ATU to save a little extra weight or cost. I actually love this philosophy and I think it’s one that’s made Elecraft such a successful manufacturer.

The process of upgrading firmware is slightly more involved than you might find with, say, an Elecraft, Icom, or Yaesu product. It’s a two stage process where one upgrades both the front panel and the main board separately. I completed a firmware update only a few weeks prior to publication. It took me perhaps 15 minutes with my PC as I followed Boris’ step-by-step instructions (http://lz2jr.com/blog/index.php/rgo-one-firmware-update-procedure/).

There is also an active email discussion group for the Mission RGO One (https://groups.io/g/RGO-ONE/) where participants share experiences, modifications, and even any glitches or bugs that are discovered. This group is closely monitored by the RGO One team, so items are addressed very quickly. I highly recommend joining this discussion group if you see an RGO One in your future.

Also, I’ve gotten great customer support from Boris (LZ2JR) and have heard the same from group members. He’s very much open to critical customer feedback.

Summary

Mission RGO One POTA

Every radio has its pros and cons. When I begin a review of a radio, I take notes from the very beginning so that I don’t forget some of my initial impressions. Here is the list I formed over the time I’ve spent evaluating the 2020 production model Mission RGO One.

Pros:

  • Excellent sensitivity and selectivity
  • Very low noise floor
  • Excellent, clean audio (see con)
  • Silky-smooth QSK
  • Full compliment of CW and SSB features and adjustments
  • CW memory keyer
  • Superb ergonomics with no need to access embedded menus for common features
  • 50 watts output power with effective quiet heat dissipation
  • Lighter weight compared with comparable transceivers
  • Direct frequency entry
  • Standard Anderson Powerpole power port on rear panel

Cons:

  • No voice keyer memory (at time of posting, but is planned in upgrade)
  • No notch or auto notch filter (at time of posting, but is planned)
  • No 6 meter option
  • No AM mode (at time of posting, but is planned)
  • Firmware updates are a two stage process
  • Would like slightly more audio amplification while using internal speaker in noisy outdoor environments

Conclusion

If you can’t tell, I’m impressed with the Mission RGO One because it does exactly what it sets out to do.  The RGO One is designed for an operator who appreciates rock-solid performance with simple, intuitive ergonomics.

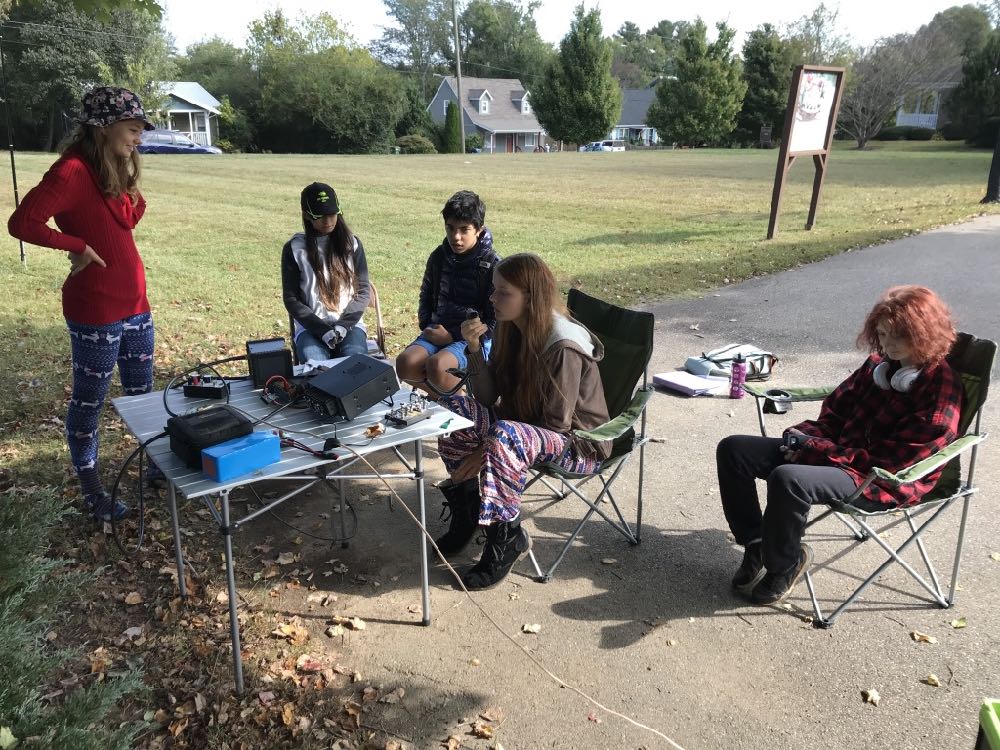
While teaching an amateur radio course to our homeschool cooperative high school students last year, I picked the RGO One as the best field radio for HF demonstrations.

I’ll never forget setting the (prototype) RGO One for the first time on a folding table outside the classroom under a large tree. I had the students erect both an end-fed resonant antenna and a simple 20 meter vertical. I picked the RGO one because all of the adjustments we had talked about in the classroom—AGC, Filters, A/B VFOs, Direct Frequency Entry, Pre Amp, Attenuation—are on the front panel and one button press away.

We hopped on the air with one of my students calling CQ single sideband on the 20 meter band.  Her very first contact was with a station in Slovenia—and she simply beamed with excitement. All of my female students that term passed their Technician exam by the end of the term.

The RGO One is a very inviting radio.

I’ve had the luxury of testing, evaluating, and working with everything from one of the first prototypes to the latest updated version of the RGO One. It’s rare that I’m able to evaluate a radio over such a long period of time.

Even with the very early, bare-bones prototype, I was impressed with this transceiver’s performance characteristics. I’m not the only one either. It’s almost become routine new discussion group members join prior to receiving their radio, then announces how blown away they are with its performance. Check out eHam reviews, too—at time of posting, it’s a solid five stars at time of posting.

The RGO One reminds me of simple, classic radios of the 1980s and 90s, but underneath, it’s packing state-of-the-art performance.

Is it perfect? No radio is perfect, but I must say that for what it offers, it really hits the sweet spot for this radio operator.  It’s a joy to use.

There are still features in the works that will either be implemented with future firmware updates, or with future boards. In terms of performance and appearance, it reminds me of the Ten-Tec Eagle and Elecraft K2—both benchmark rigs in my world. And like the Eagle and K2, the RGO One is happy in the field, at home, or even on a DXpedition. It’s a simple radio that beckons to be on the air.

If you’re interested in the Mission RGO One, check the following web page for the pre-order form and pricing list. The RGO One is produced in batches, so you’ll need to reserve your model.

Click here to view the Mission RGO One order page.

Spread the radio love

Review Notes: Xiegu GSOC Firmware updated to version 1.1–still a number of issues

For those of you who have been asking about the new Xiegu GSOC controller, I just updated my unit with the latest firmware (version 1.1).

Firmware notes show that it addresses the following items:

Xiegu GSOC FW V1.1
1. Solved the CW sidetone delay problem
2. Solved the problem of unstable system and occasional crash
3. Added RTTY modem
4. Added CW decoder
5. Added SWR scanner
6. Added FFT/Waterfall level adjustment
7. Added FFT line/fill color mixer

The list above was copied directly from the version notes.

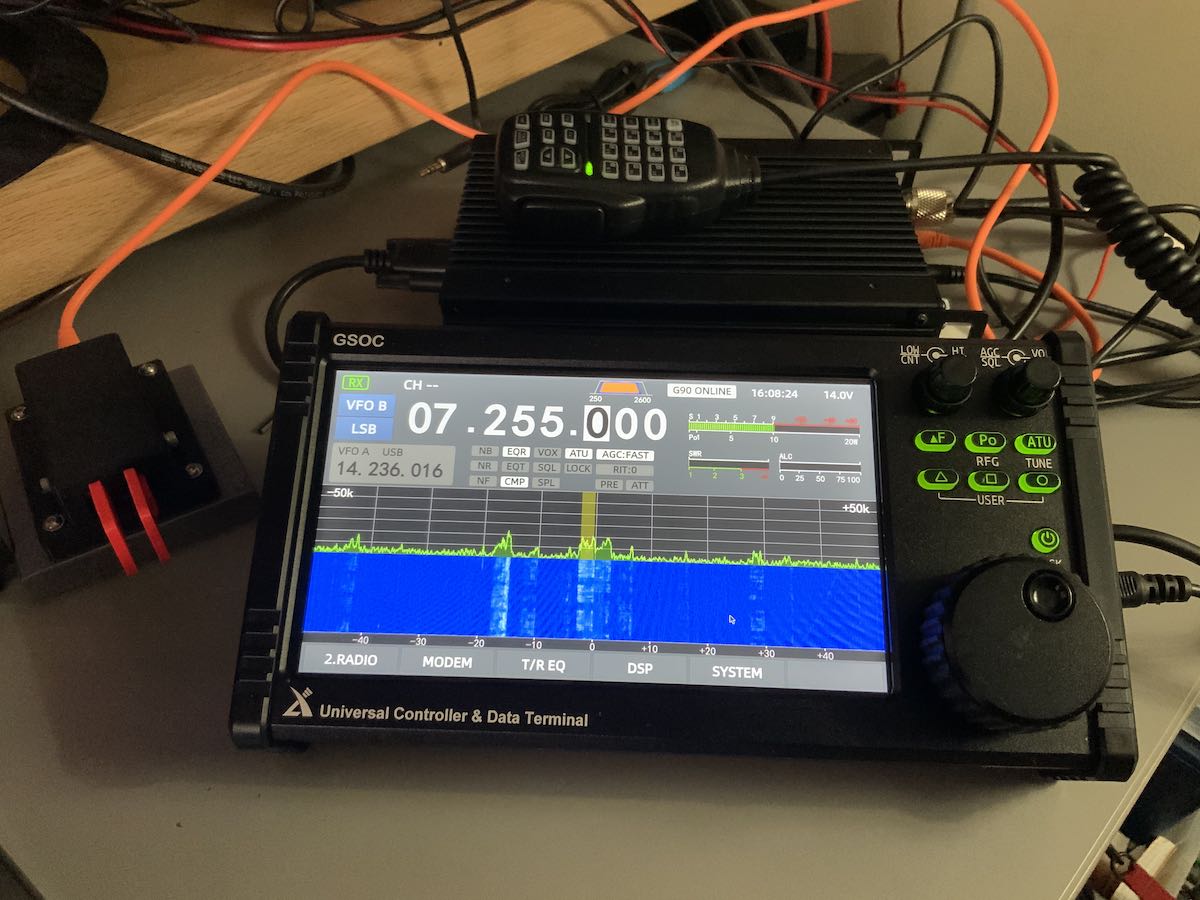
I’m currently evaluating the GSOC/G90 pair which were kindly sent to me on loan by Radioddity. I upgraded the GSOC firmware to v1.1 this weekend.

What follows are some of my evaluation notes an observations after performing the upgrade.

Updating firmware

Updating the GSOC firmware is a pretty straight-forward process.

First you must download the GSOC firmware package (about 330 MB!) which includes a disk image and application to flash the image to a MicroSD card.

Yes, you’ll need a dedicated MicroSD card to upgrade the GSOC firmware–meaning, you can’t simply use a MicroSD card with data on it you’d like to keep because the process of flashing the ISO file also includes a full format with multiple partitions.

You’ll also need an SD Card reader/writer if your Windows PC doesn’t include one.

The included firmware application/tool makes it quite easy to flash a disk image on the MicroSD card.

After the MicroSD card has been prepared, simply turn off the GSOC, insert the MicroSD card on the left side of the GSOC, turn it back on and the GSOC will automatically boot from the MicroSD card and install the new OS/firmware.

Once the upgrade has completed, the GSOC will turn itself off and you must remove the MicroSD card.

If you want to restore the MicroSD card to one partition, you’ll need to perform another format and shrink the volumes.

CW sidetone latency (still issues)

After performing the upgrade, I hopped on the air and tried to make a few CW contacts since I noted in the version notes that the CW sidetone latency had been addressed. So far, my evaluation has pretty much been on hold because I’m unable to use CW mode with any sense of sending accuracy.

Unfortunately, I’m still finding that there’s still a bit of sidetone latency or keyer timing interfering with my ability to correctly send words and letters.

To my ear, it sounds like there’s much less latency in the sidetone audio now (compared with v1.0 which was a little insane) but I still struggle sending characters that end in a string of dits or dashes. For example, when I try to send a “D” the radio will often produce a “B” by adding one extra dit. Or if I try to send a “W” it might produce a “J”. I know something is a little bit off because I botched up two CW contacts with POTA stations yesterday as I tried to send my own callsign correctly.  And “73” was even problematic.

I’m guessing that there may still be a bit of audio lag between the G90 body (where the CW key is plugged in) and the GSOC (where the sidetone audio comes out). At the end of the day, the keying information must be sent to the GSOC from the G90 transceiver body and I assume the processor on the G90 is causing a bit of audio latency. Hopefully, Xiegu can sort this out. It’s a serious issue for anyone who wants to operate CW with the GSOC.

If you own the GSOC and operate CW, I’d love your comments and feedback.

Other updates

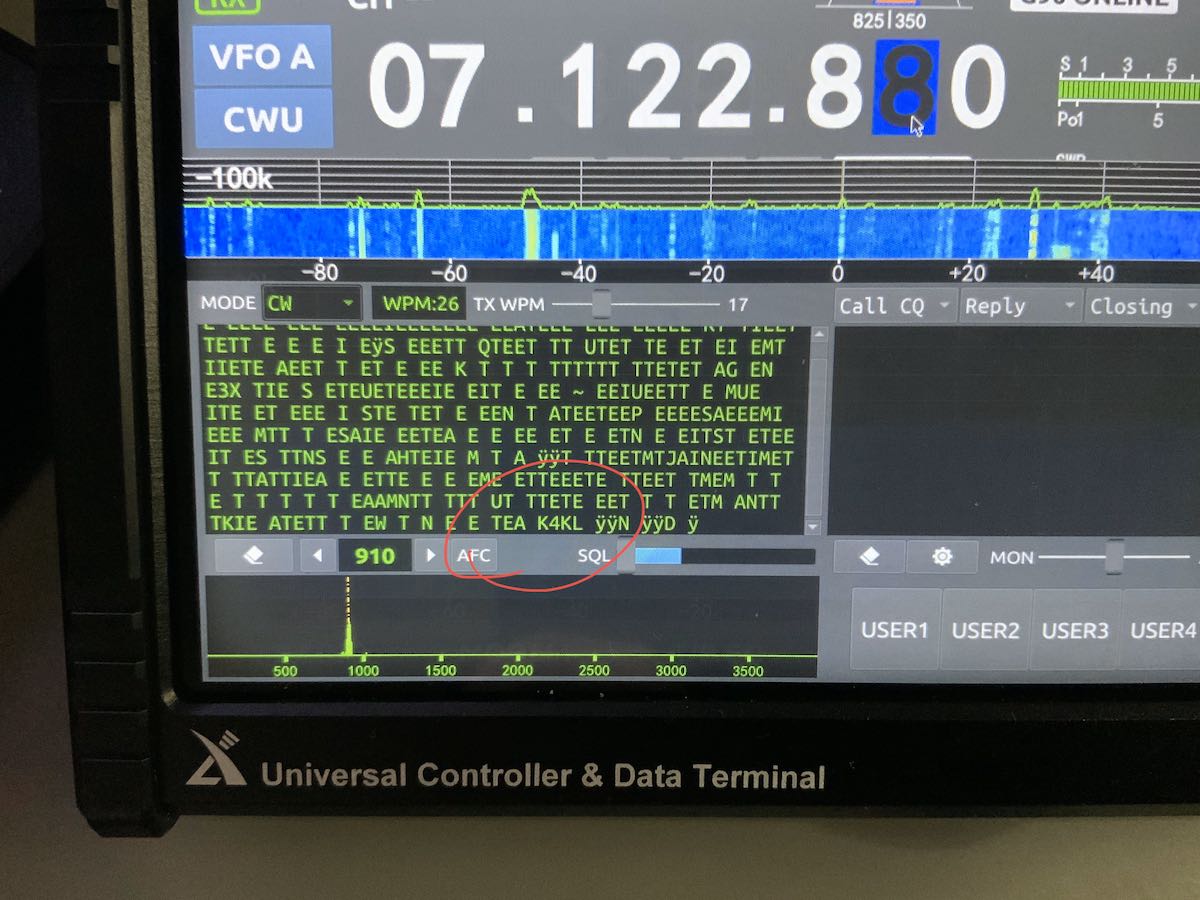
I tried using the CW decoder yesterday via the “Modem” menu and had limited success decoding a CW rag chew.

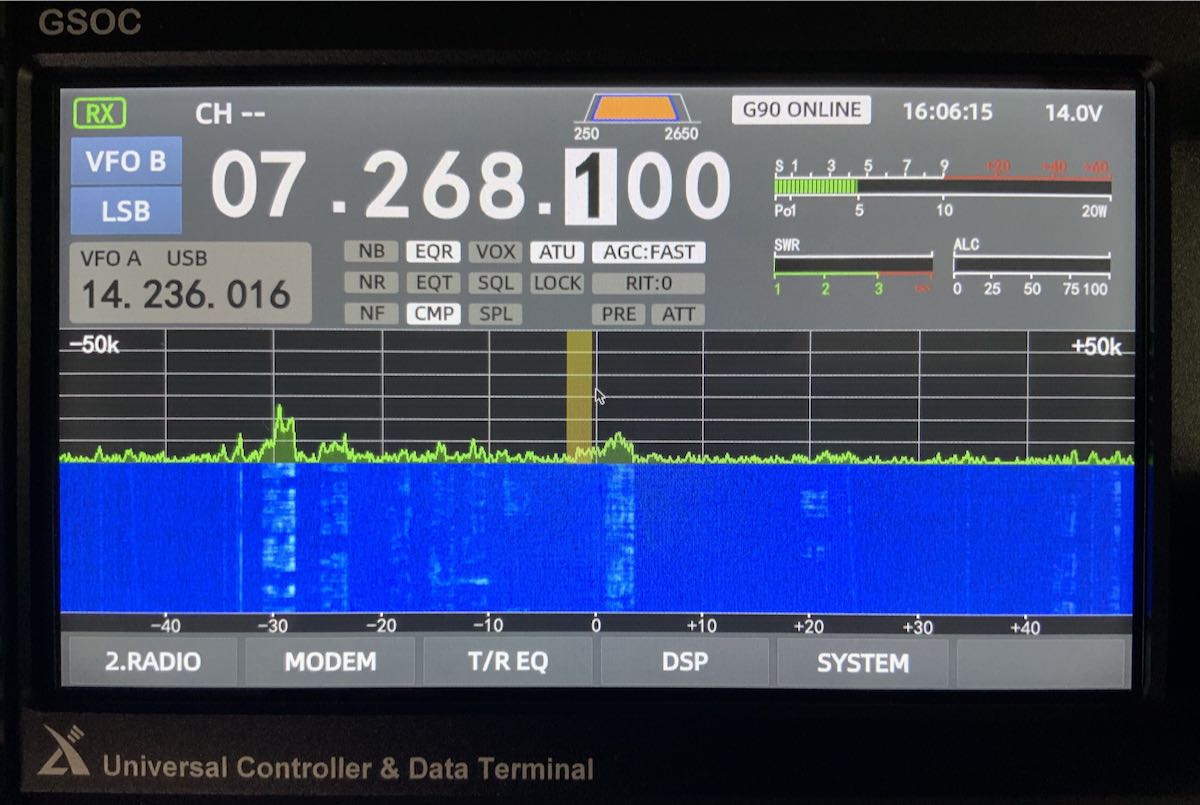
My markup in red: You can see at the very end of this conversation, it decoded the call sign, but interpreted “TU” as “TEA”

The decoder seemed to adjust the WPM rate automatically at one point, but as you can see in the image above, almost every dit was interpreted as an “E” and every dash a “T”. I must assume I don’t have it configured properly, but I don’t have an operator’s manual for reference and instruction.  I’ve also tried RTTY decoding, but haven’t been successful so far–I’m pretty sure this is also because I haven’t configured it properly.

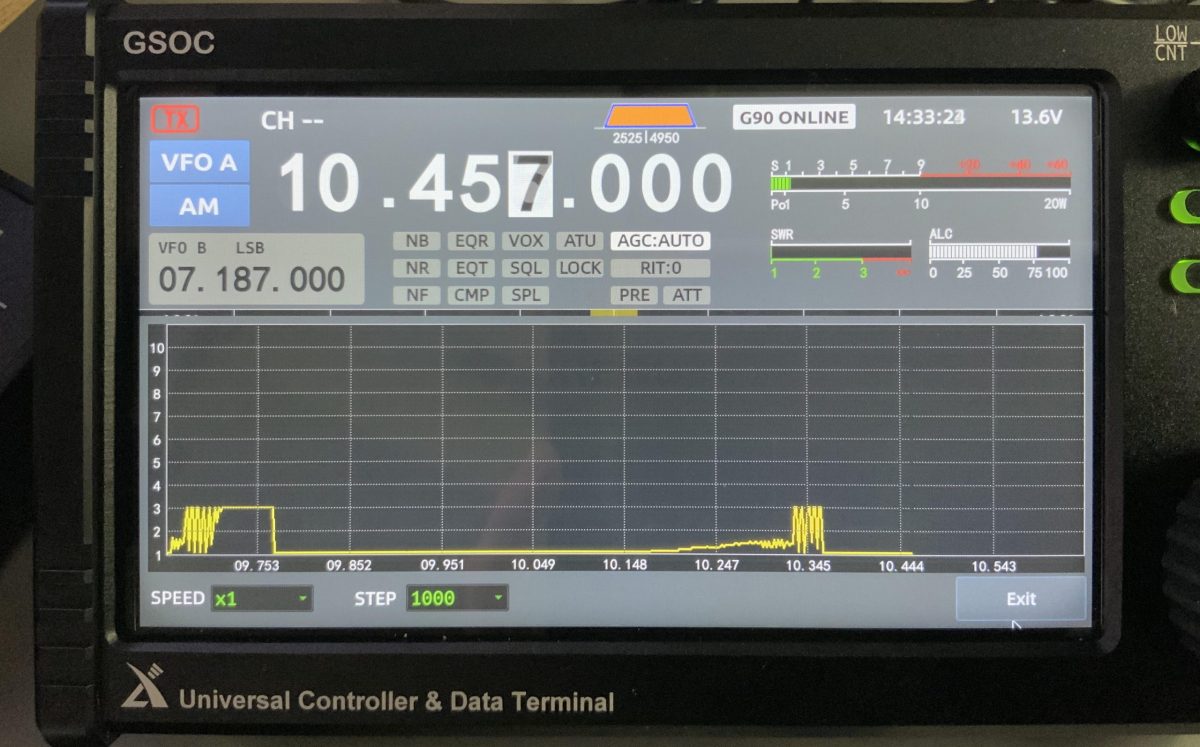
SWR Scanner

I tested the new SWR scanner and it seems to work quite well, plotting SWR across a given frequency range. I did note, however, that it doesn’t seem to confine itself to the ham bands at all. It does inject a signal as it scans (I read 1.5 to 2 watts on my CN-801 meter).

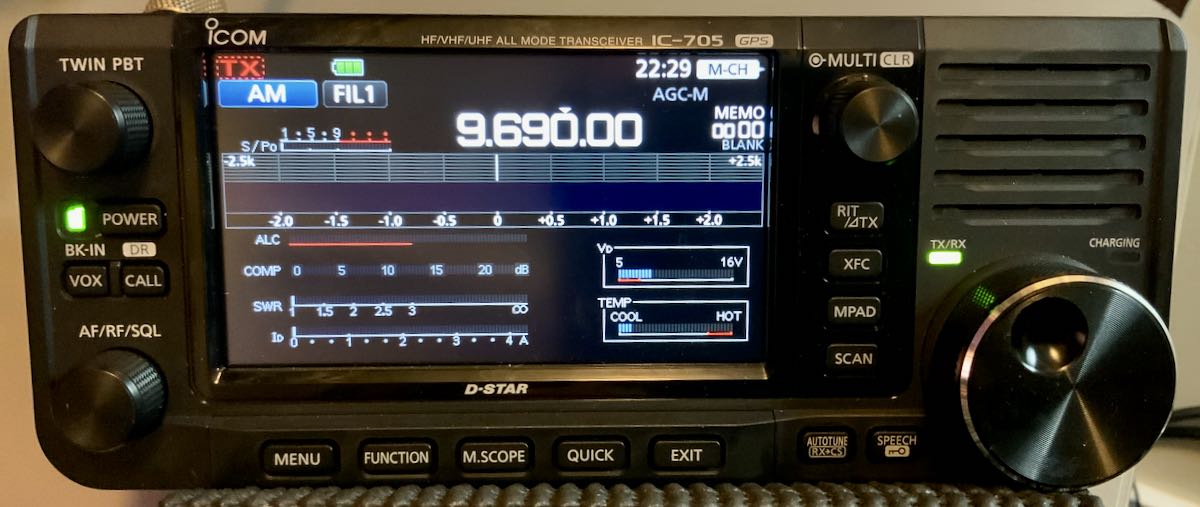
I discovered out-of-band scanning when I took the photo above while trying to do a scan of the 30 meter band. It started around 9.6 MHz–well into the 31M broadcast band where it shouldn’t be transmitting. Xiegu needs to limit transmitted signal to the ham bands.

Memory Keying

I had hoped Voice Memory Keying would be added along with TX/RX recording. I do believe this will eventually be included in a future update. It appears via the “Modem” menu that CW Memory Keying has been added, but I can’t sort out how to make it work (again, a operation manual would be quite handy).

Audio recording

I had hoped transmit and received audio recording would be added in this firmware update; I understand this will eventually be added.

Combined current drain

As I mentioned in a previous GSOC update, the GSOC controller and G90 transceiver both need a 12V power source–indeed, each has a dedicated power port. The GSOC does not derive power from the G90.

I was originally told that the G90 and GSOC both pull about .60 amps in receive which would total 1.2 amps combined. My Hardened Power Systems QRP Ranger battery pack displays voltage and current; it’s not a lab-grade measurement device, but it’s pretty accurate. When I operate the GSOC and G90 at a moderate volume levels in receive, it appears to draw 0.95 to 0.97 amps–basically, 1 amp.

At home on a power supply, this is inconsequential, but in the field you’d need to keep this in mind when choosing a battery. It’s on par with a number of 100 watt transceivers.

Spectrum display images

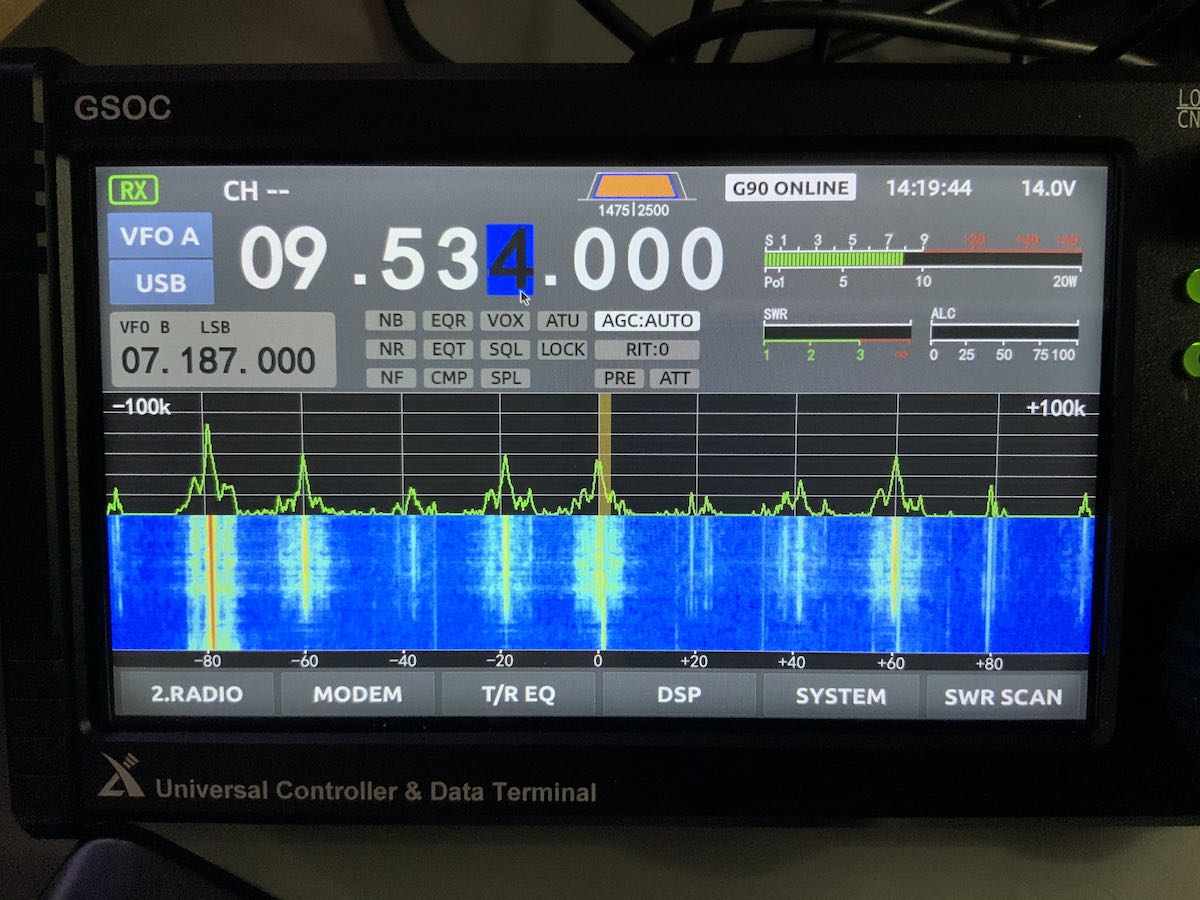
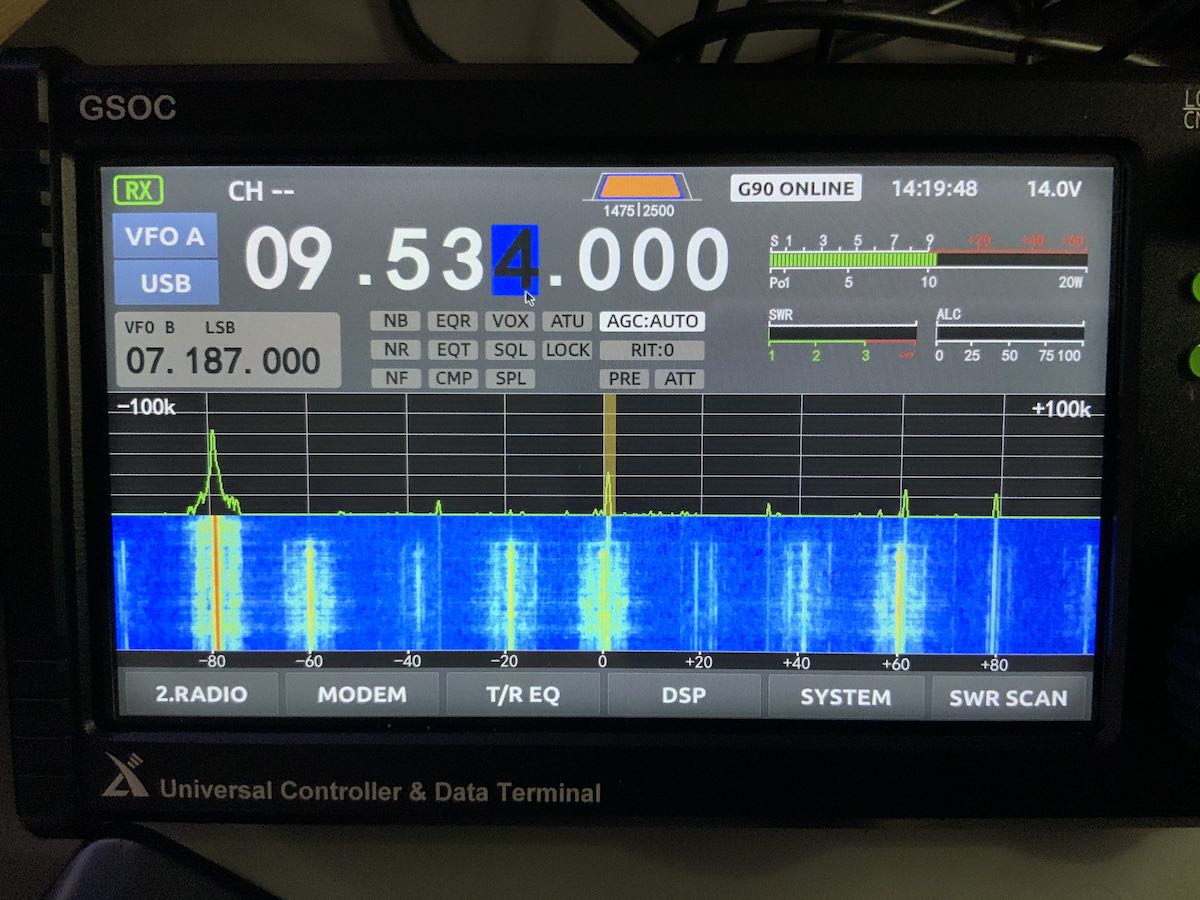
I’m still finding images on the GSOC display that are not present in the received audio. I mentioned this in my initial overview and it doesn’t seem the firmware update addressed this.

I can only assume the spectrum imaging might be due to the I/Q input being too “hot” coming from the G90 via the shielded audio patchcord. Perhaps there’s a function to manually lower the I/Q gain, but I haven’t found that yet.

Spectrum images are most noticeable on the 31 meter band, but found them on the 20 meter ham band as well.

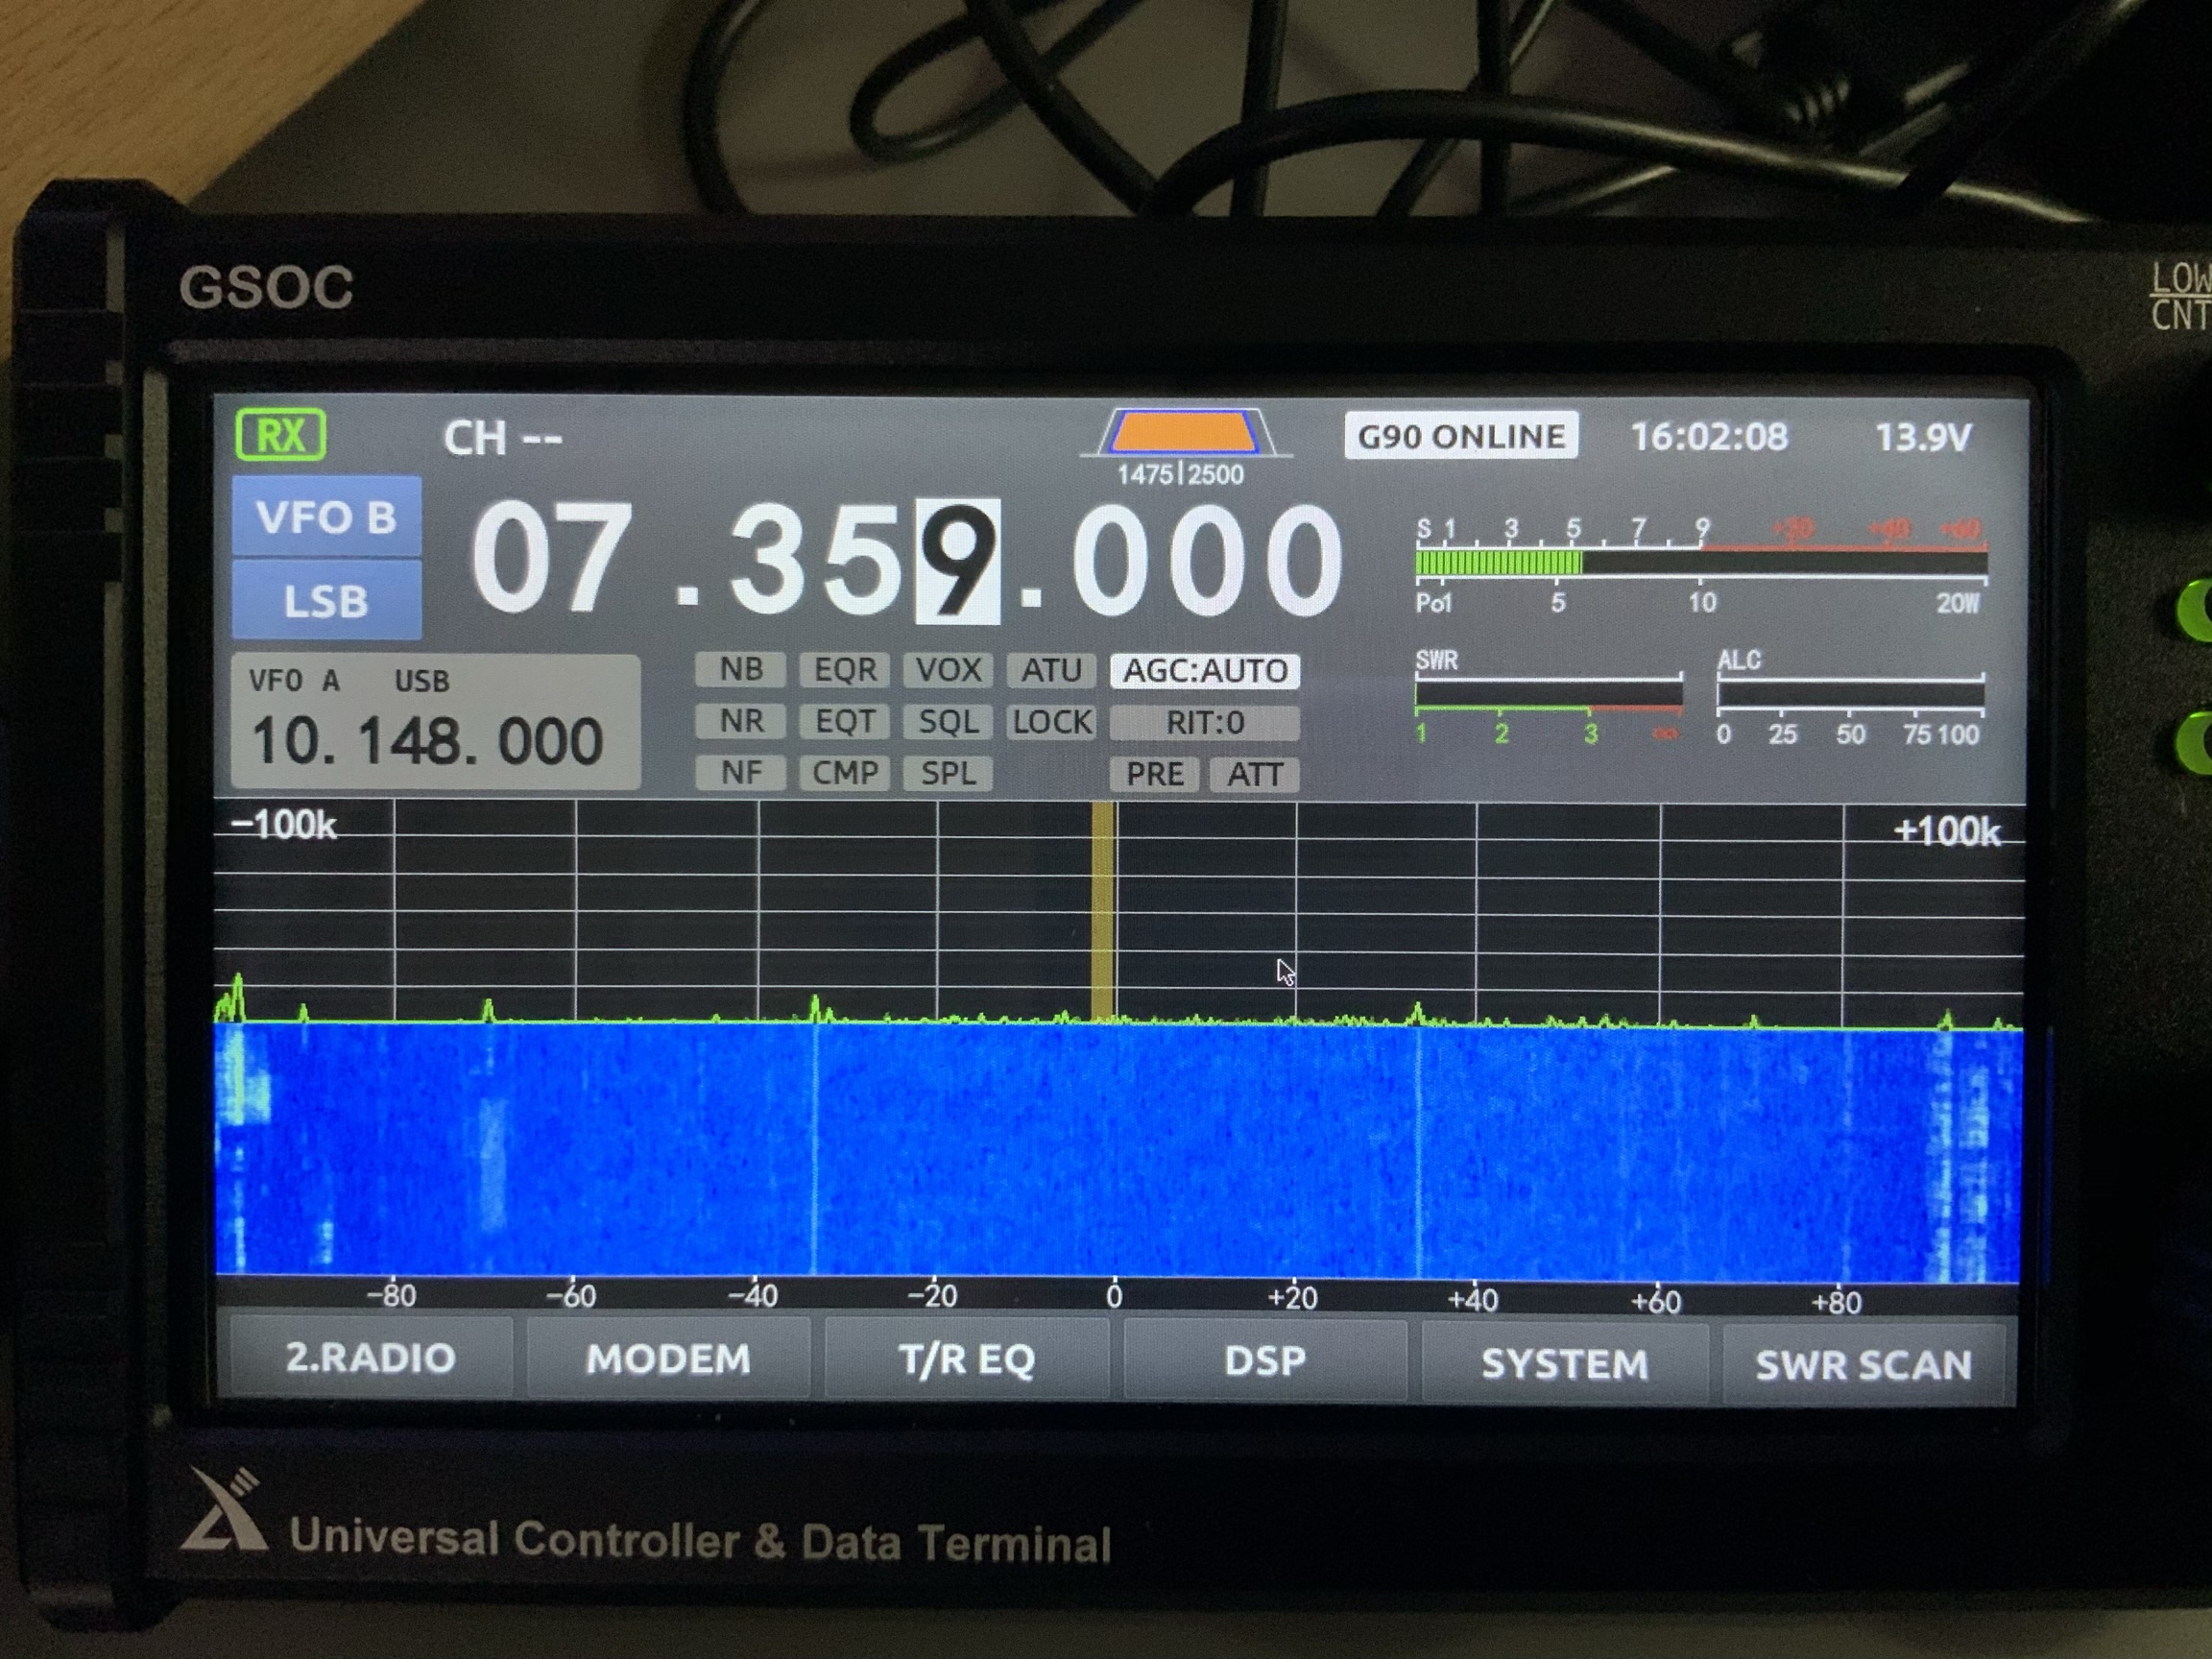
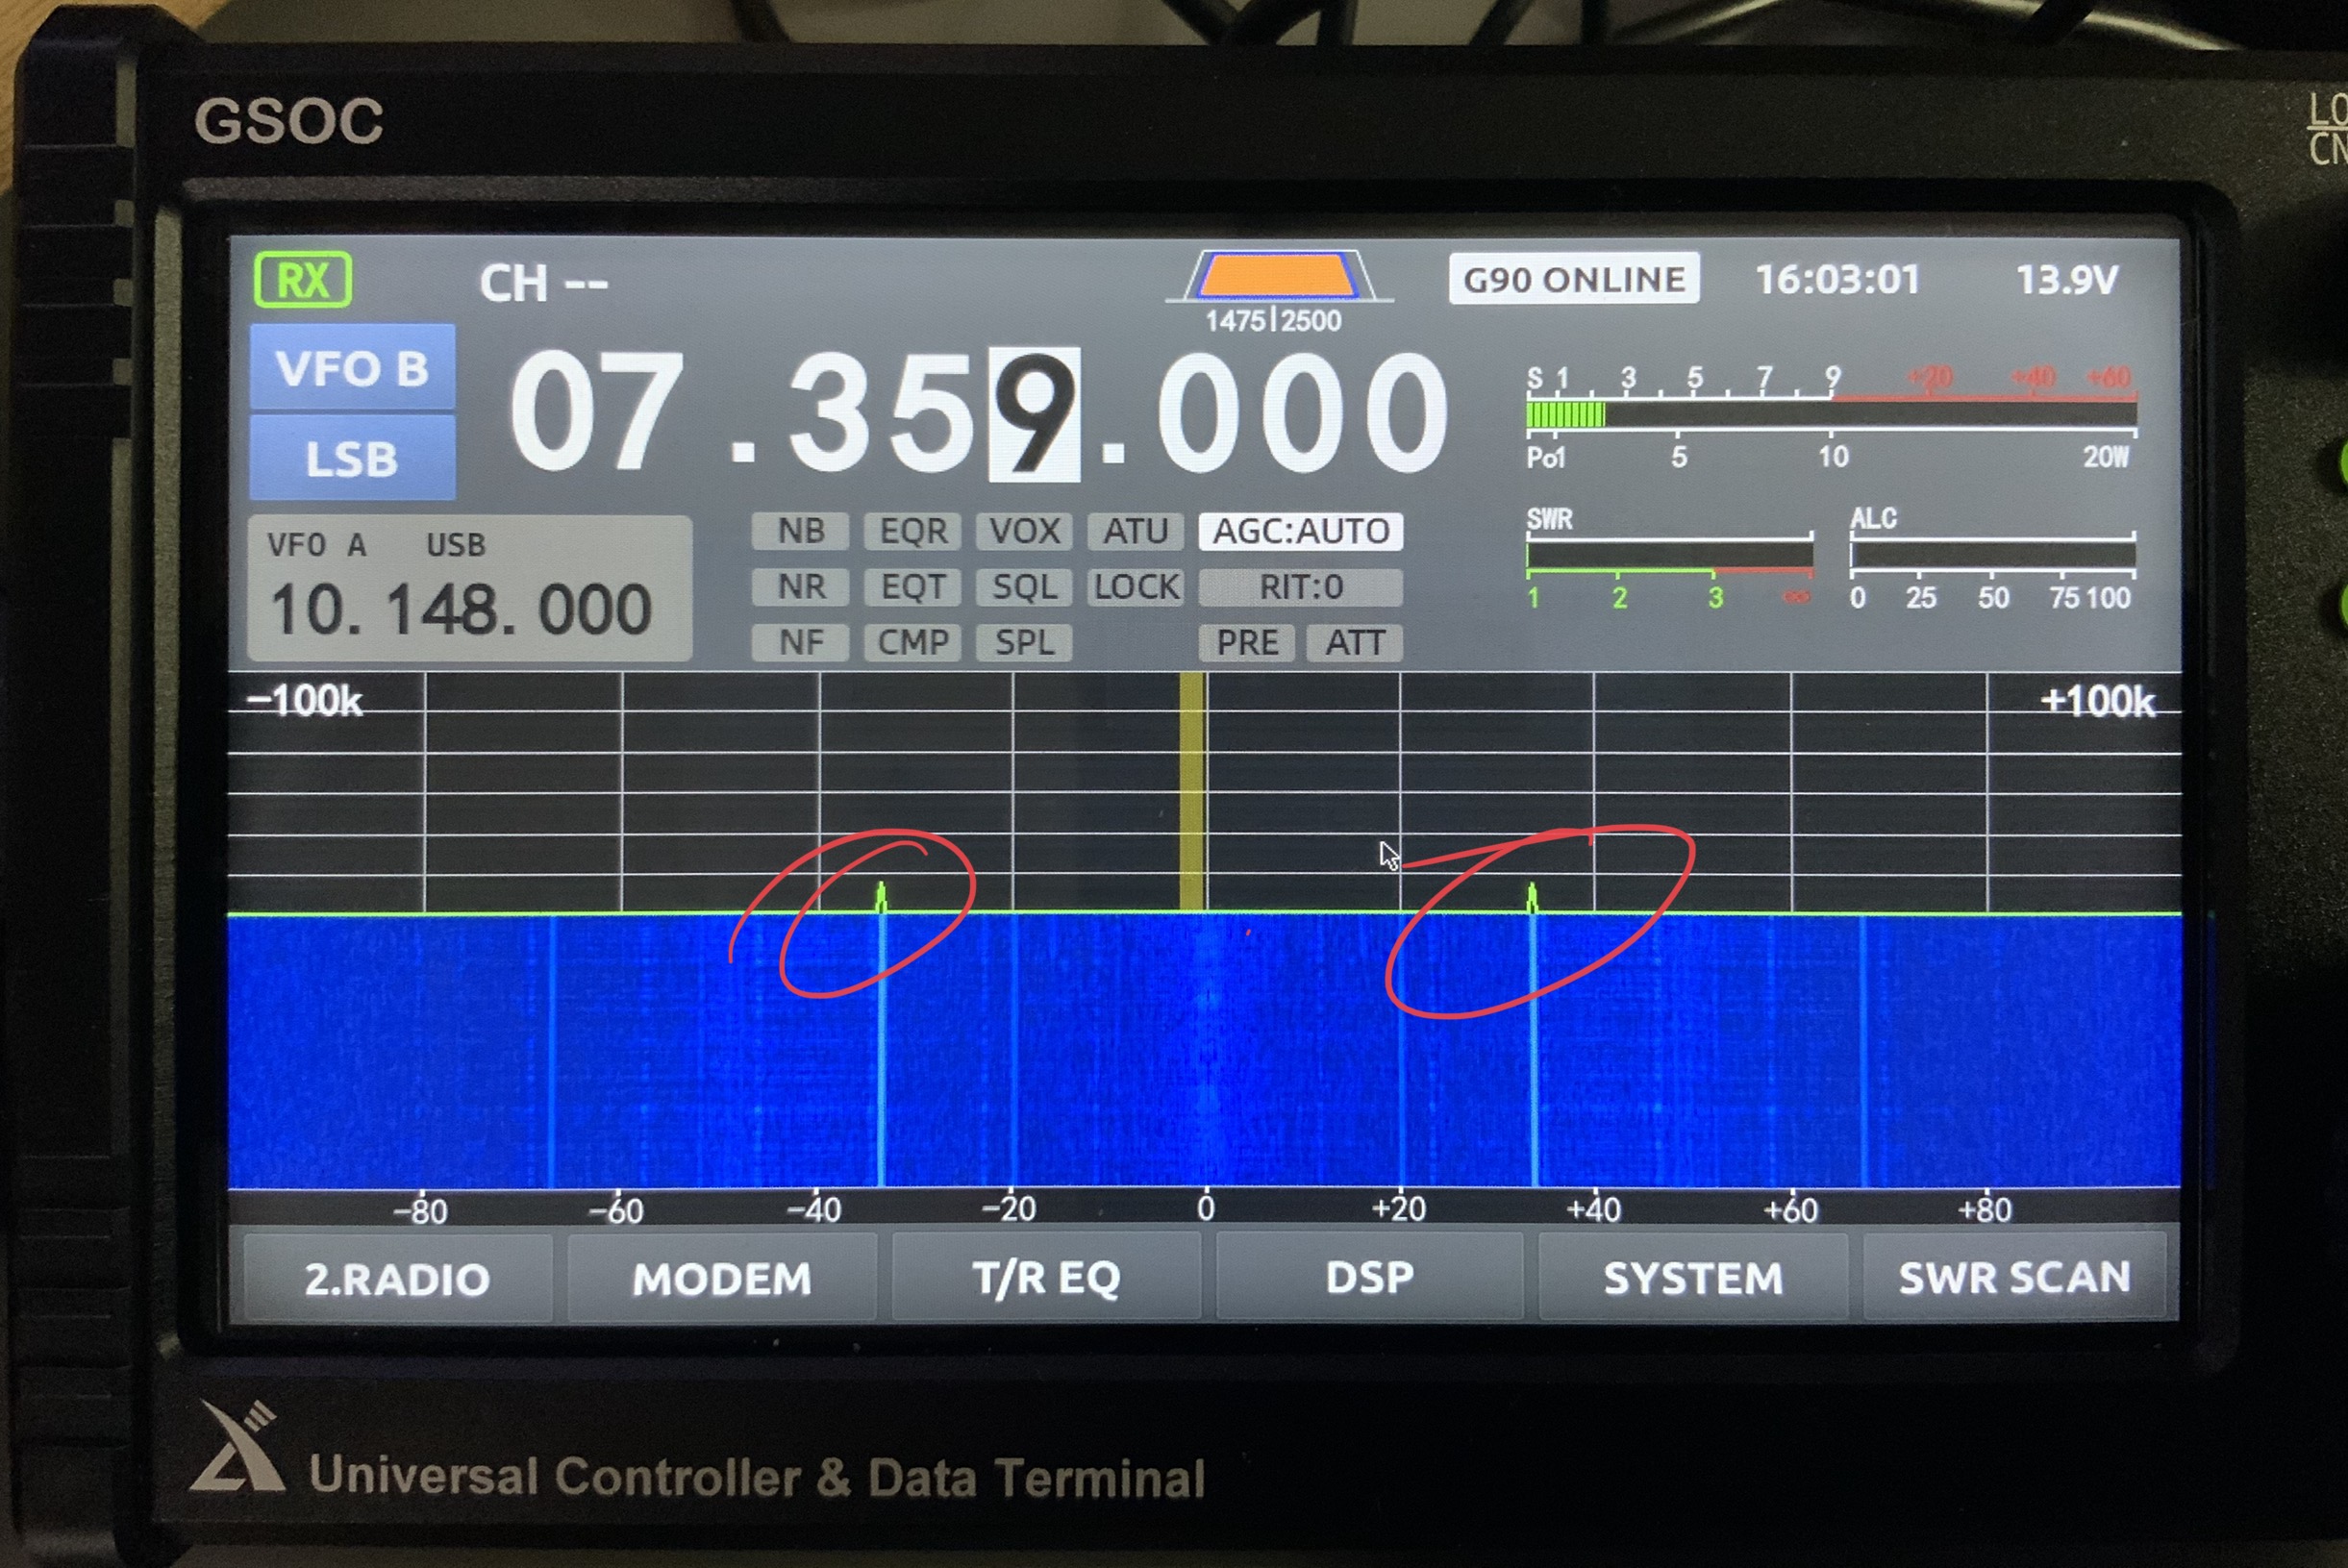
Here are two screen shots that show how images appear when a nearby signal overwhelms the GSOC:

Images are not present all of the time, only when a strong signal intrudes.

Ever-present noise and spurs in portions of spectrum

Perhaps this is related to the issue above, but there are some spurs on the spectrum display that seem to be present whether the G90/GSOC is hooked up to an antenna or dummy load.

Here’s a photo of the GSOC hooked up to an antenna:

And to a dummy load:

I’ve highlighted the spurs in red and as you can see, the intensity is stronger without an antenna thus I’m guessing this is internally-generated. The spurs do not move on the display as you change frequency.

Other notes

Again, I feel like the GSOC firmware isn’t mature and I can’t yet recommend purchasing it. I feel like Xiegu have rushed this unit to market.

I know that, over time, more features will be added and Xiegu certainly has a track record of following up.

When I evaluate a product, I keep a list of notes that I send to the manufacturer and to keep for my own reference. In Alpha and/or Beta testing, I’d share this info only with the manufacturer. Since the GSOC is a product that’s in production and widely available, however, I thought I’d share them here publicly:

  • GSOC volume control scale is 0 to 28. The difference between 0 (muted) to 1 seems to be the biggest increment. Volume 1 is actually a low to moderate volume level (i.e. a bit high).
  • Boot up time for the GSOC is 30 seconds
  • A keyboard and mouse or capacitive stylus are almost required for accurate operation. Many of the touch screen buttons are quite small and difficult to accurately engage with fingertip. The pointer seems to fall slightly below where fingertip makes contact on the screen.
  • Notch Filter seems to have no effect even after the v1.1 upgrade. There is no Auto Notch feature either.
  • I can’t seem to engage split operation even though there are A/B switchable VFOs and a “Split” button above the spectrum display. Using a keyboard and mouse doesn’t engage it either.
  • There are a number of announced features that I haven’t discovered including some WiFi and Bluetooth wireless functionality.
  • For field use, you must pack quite a bit of kit: the transceiver, the controller, CW key cable, microphone, serial cable, I/Q cable, G90 Power cable, and GSOC power cable. It would also be advisable to take a wireless keyboard and mouse especially if you plan to use any advanced functions like CW memory keying.
  • It doesn’t appear that you have CAT control of the GSOC which complicates digital operation. I believe many of us hoped the GSOC would make digital mode operation easier with the G90, but it hasn’t. Indeed, I assumed the GSOC would have an internal sound card for digi modes much like the Icom IC-7300 and IC-705. Use of VOX control is still  the best way to control transmit. I hope this can be upgraded else this would be a missed opportunity.
  • Since the v1.1 upgrade, the GSOC hasn’t crashed (it did frequently with the v1.0 firmware).
  • Not a pro or con, but I wish the AF Gain/Squelch was AF Gain/RF Gain like most HF transceivers. I’ve accidently engaged squelch twice which essentially muted audio. Pressing and holding the PO (Power Output) button opens the RG Gain control function).

The GSOC Universal Controller is an interesting accessory for the G90 and I’ve read comments from users that love the interface and added functionality.

If I’m being honest, I feel like I’m Beta testing the GSOC. I’ve yet to find a GSOC operation manual–this makes it very difficult to know if one has correctly configured the controller and engaged features/functions correctly. A quick start guide is included with the product, but it really only helps with connections and starting up the GSOC the first time. If you’re a GSOC early adopter, just be aware of this. Again, I’m pretty confident Xiegu will make refinements and include promised features in future firmware updates. I understand their software engineer closely monitors the GSOC discussion group as well. If you’re considering the purchase of a GSOC, I’d encourage you to join the GSOC group.

Questions? Comments?

As I said, I can’t recommend purchasing the GSOC controller yet. So much can change with firmware updates, however, I would encourage you to bookmark the tag GSOC to follow our updates here on the SWLing Post. I will update the GSOC controller each time a new firmware version is issued and until Radioddity asks for the loaner units to be returned. Again, many thanks to Radioddity for making this GSOC and G90 evaluation possible.

Feel free to comment with any questions you might have and I’ll do my best to answer them!

Spread the radio love