 Many thanks to SWLing Post contributor, Paul, who asks:
What are good choices for ATU and 100W amplifier for the IC-705? [Also] will the Icom AH-4 antenna tuner work well with the IC-705?
Great questions, Paul!
100 Watt Amplifiers
I’ve limited experience pairing the IC-705 with external 100 watt amplifiers. I own the Elecraft KXPA100 and it pairs well with the IC-705 via RF sensing. My hope is that SWLing Post readers may be able to chime in here and offer more suggestions as there are a number of inexpensive, basic, amplifiers on the market now but I’ve never personally used or tested them. I can say that the KXPA100 is a beautifully-engineered amplifier.
Antenna tuners
Icom AH-4
First off, regarding the Icom AH-4 ATU, I’m not certain if the IC-705 has the same control commands as the AH-4 (I’m guessing it does, but perhaps someone can confirm–?).
It would not be my first choice as a portable antenna tuner for field work. For one thing, it’s a pricey at $300. That, and I’ve always viewed the AH-4 as more of a remote antenna tuner for those who need a permanent matching box outside the shack near the antenna feed point. For that application, I’m sure it’s amazing.
According to the AH-4 specifications, it requires “10 W (5–15 W)” of tuning power. I’m not quite sure what the “5-15” watts means, but the IC-705’s max output power is 10 watts using an external 12-13.8V battery, and only 5 watts using the BP-272 Li-ion Battery. Not sure if that would be adequate to trigger the AH-4 to find a match without some sort of command cable connection.
For portable ATUs, let’s take a look:
IC-705 Portable ATU Options
The Icom IC-705 actually has a port on the side of the radio that allows one to connect the rig to an ATU for some level automatic ATU control. At time of posting, there are two ATUs in the works that are able to use this port: the Mat-Tuner mAT-705 and the Icom AH-705 (there could be more, but I’m not aware of them).
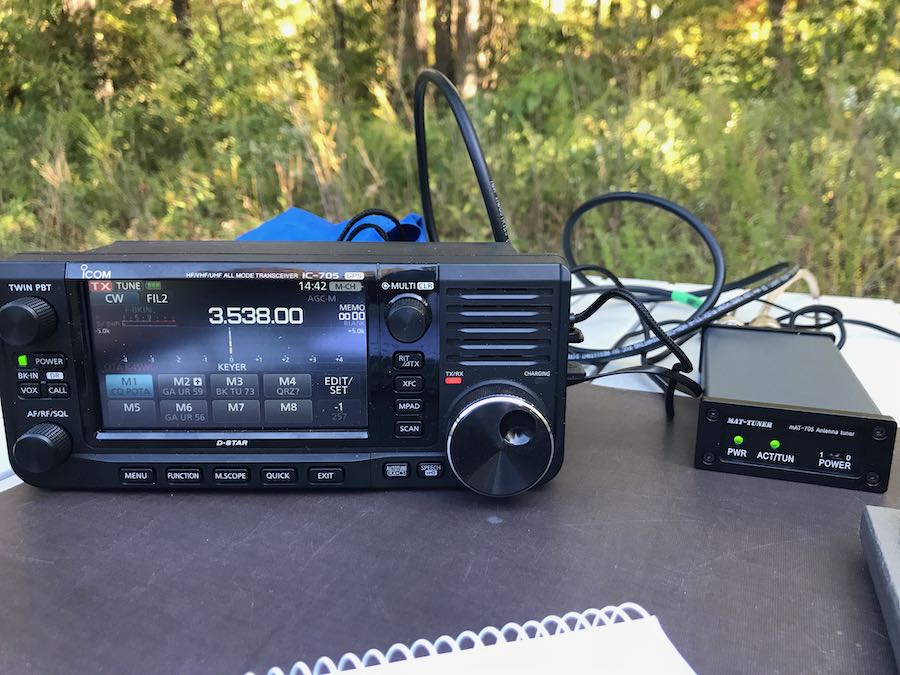
Mat-Tuner mAT-705 ($220 US)

I reviewed the mAT-705 on QRPer.com (click here to read). In short, it’s absolutely brilliant at matching antennas quickly and efficiently, but it has a few design shortcomings. The main issue is that you must use a mechanical switch to turn it on and off, else you deplete the internal 9V battery within a week. Most similar ATUs either have auto-off functionality, or at least an external power option. Since the mAT-705 can connect directly to the IC-705, it automatically knows when you need to tune to a frequency and will do this anytime you send a carrier, hit PTT, or initiate tuning via the menu option. It can also remember frequencies you’ve already matches to make the process quicker. The mAT-705 is also RF-sensing, thus can work with other radios. Vibroplex is the US distributor of the mAT-705. Note, too, that there are a number of portable Mat-Tuners that will work with the IC-705–the mAT-705 is the only one that uses the IC-705 control cable (which I feel is actually unnecessary). Check out their full product line before ordering.
Icom AH-705 ($T.B.A.)
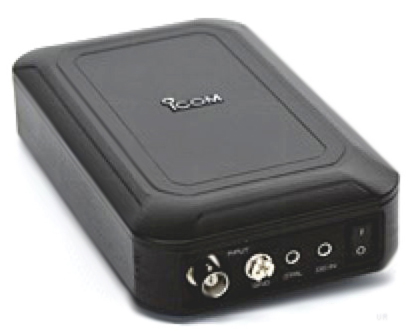
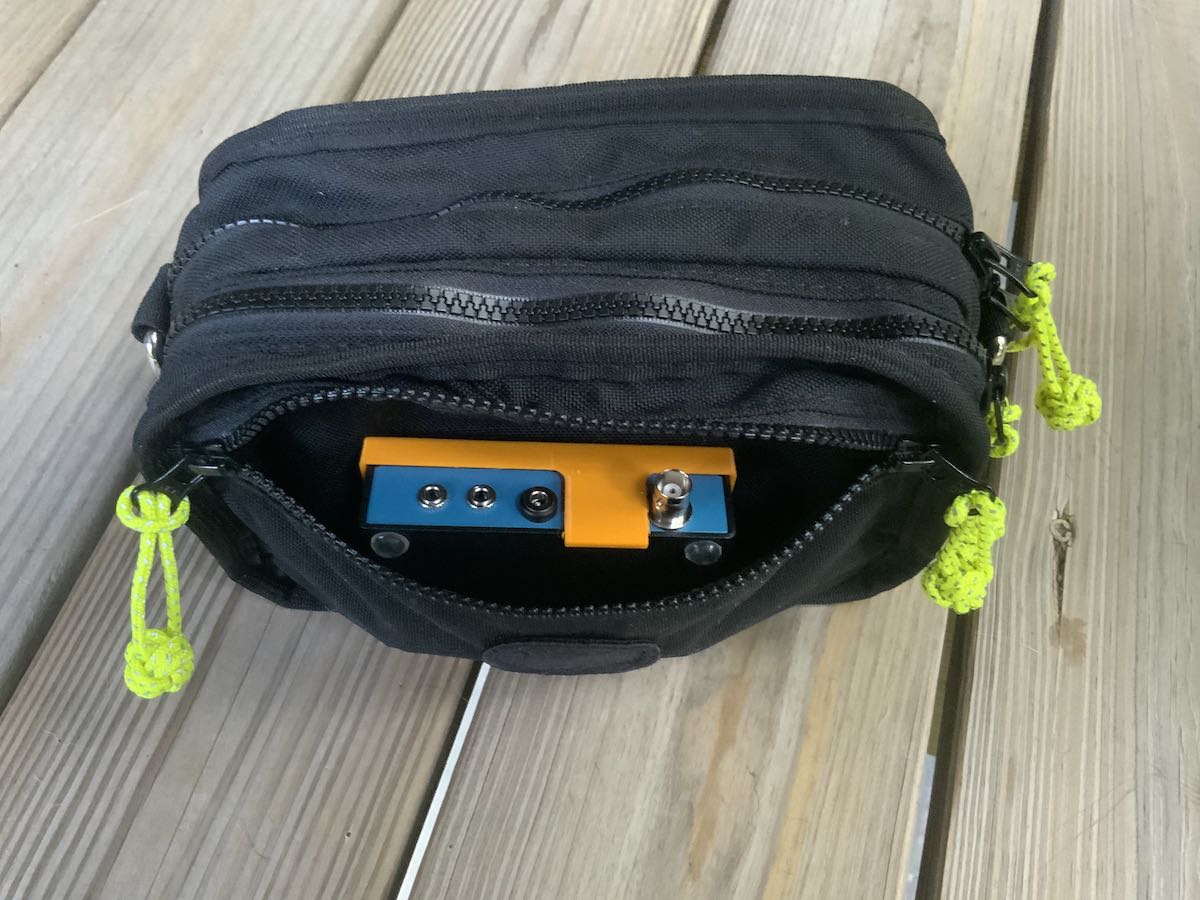
The Icom AH-705 is Icom’s own external ATU designed to work with the IC-705 and fit in the LC-192 backpack. Since the AH-705 will be able to connect directly to the IC-705, its functionality will be very similar to the mAT-705. I’m speaking in future tense here because, at time of posting (18 November 2020), the AH-705 is not yet in production and we’ve no retail price. With that said, Icom has a legacy of making fine ATUs, so I’ve no doubt it’ll function well. Like the mAT-705, it has a mechanical on/off button so you may have to be aware of turning it off when not in use to preserve the internal alkaline batteries. Unlike the mAT-705, it has an external 13.8 VDC power connection. Universal Radio will update their site with pricing and shipping information once available.
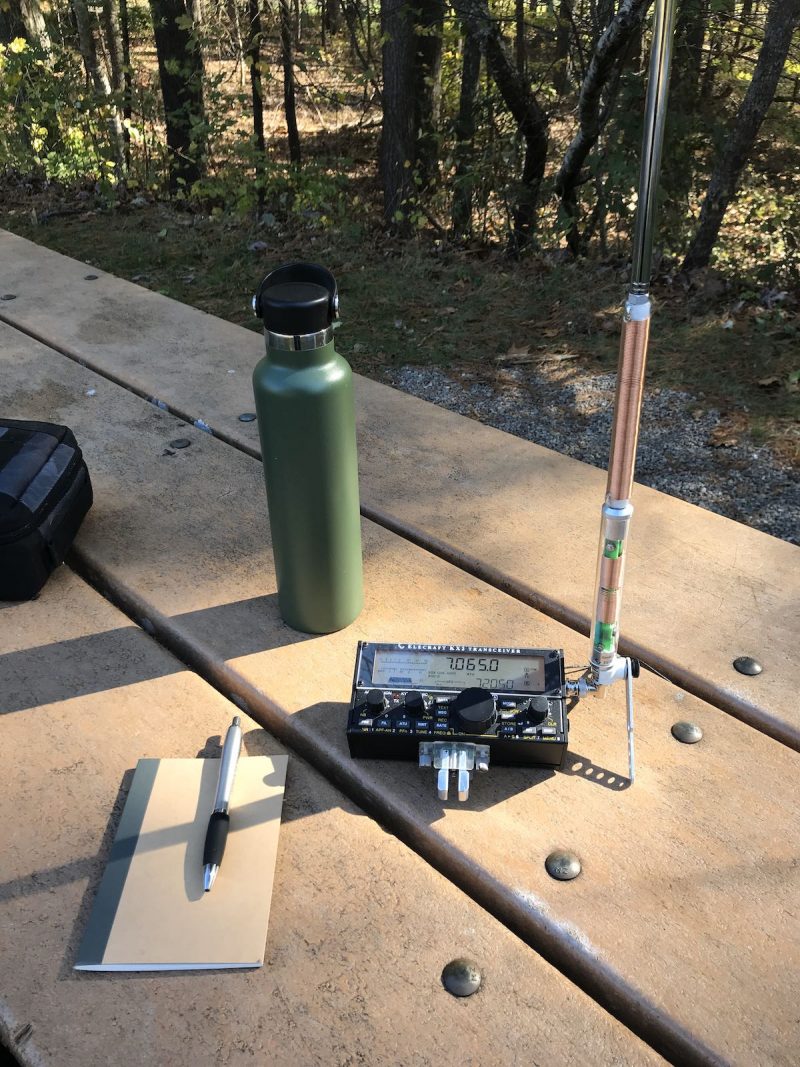
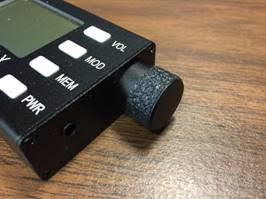
Elecraft T1 ($160-$190 US)
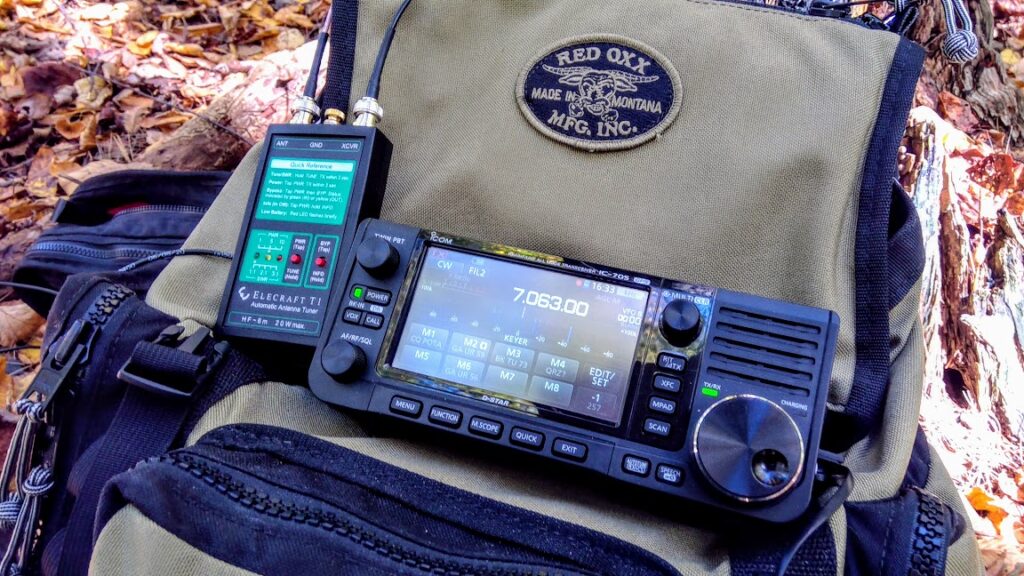 The Elecraft T1 ATU has been in production for many years now and is a fabulous portable ATU. Not only is it incredibly adept at finding matches, but it’s also efficient in terms of power usage. It will run for months on an internal 9V battery (that’s very easy to replace in the field). The T1 has no special connection for the IC-705, but it does have an optional T1-FT817 adapter for the Yaesu FT-817 series transceivers. In truth though? I find control cables unnecessary because tuning the T1 only requires pressing the tune button on the ATU, then keying the transceiver. Once it finds a match, it shuts down and locks it in. You can purchase the T1 directly from Elecraft ($160 kit/$190 assembled). The Elecraft T1 is my portable ATU of choice.
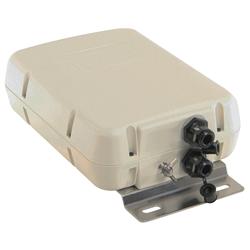
LDG Z-100 Plus ($150) / Z-100A ($180 US)
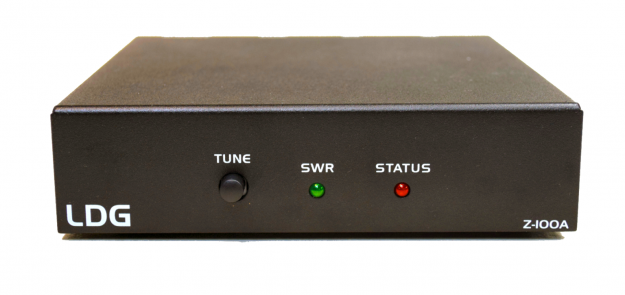
I’ve owned a number of LDG tuners over the years an absolutely love them. I find that they offer great bang-for-buck, perform amazingly well, and are built well. In fact, I designed an outdoor remote antenna tuning unit around their original Z-11 Pro auto tuner. It’s housed in a sealed waterproof enclosure, but is completely exposed to outdoor humidity and temperature changes (which can be dramatic here on the mountain). I’ve been powering the Z-11 Pro for 10 years off of a discarded sealed lead acid battery that’s being charged by a Micro M+ charge controller and 5 watt BP solar panel. I’ve never needed to maintenance it. One of LDG’s latest portable ATUs is the Z-100A. I’ve never used it, but I imagine it’ll perform well and I may very well reach out to LDG and ask for a loaner to review with the IC-705. It does have a command cable port that works with Icom radios, but I’m checking with LDG to see if it works with the IC-705 (I’ll update this post when I hear back). The LDG Z-100A retails for $180 via LDG’s website.
UPDATE (August 20, 2021): I’ve been using an LDG-Z100 Plus for several months now and have been incredibly pleased with it. I find that its matching range is very wide and it’s more power efficient than the mAT-705 Plus if left connected to my radio (the mAT-705 Plus has no “sleep” mode and will drain the internal battery within hours if left plugged into the IC-705). The price is incredibly competitive as well; at $150, this ATU is a bargain. The only con is that it’s a bit larger and heavier than other options on this list, but I wouldn’t hesitate to use it for POTA and even SOTA. Here’s a field activation report and video from earlier this year using the Z-100 Plus.
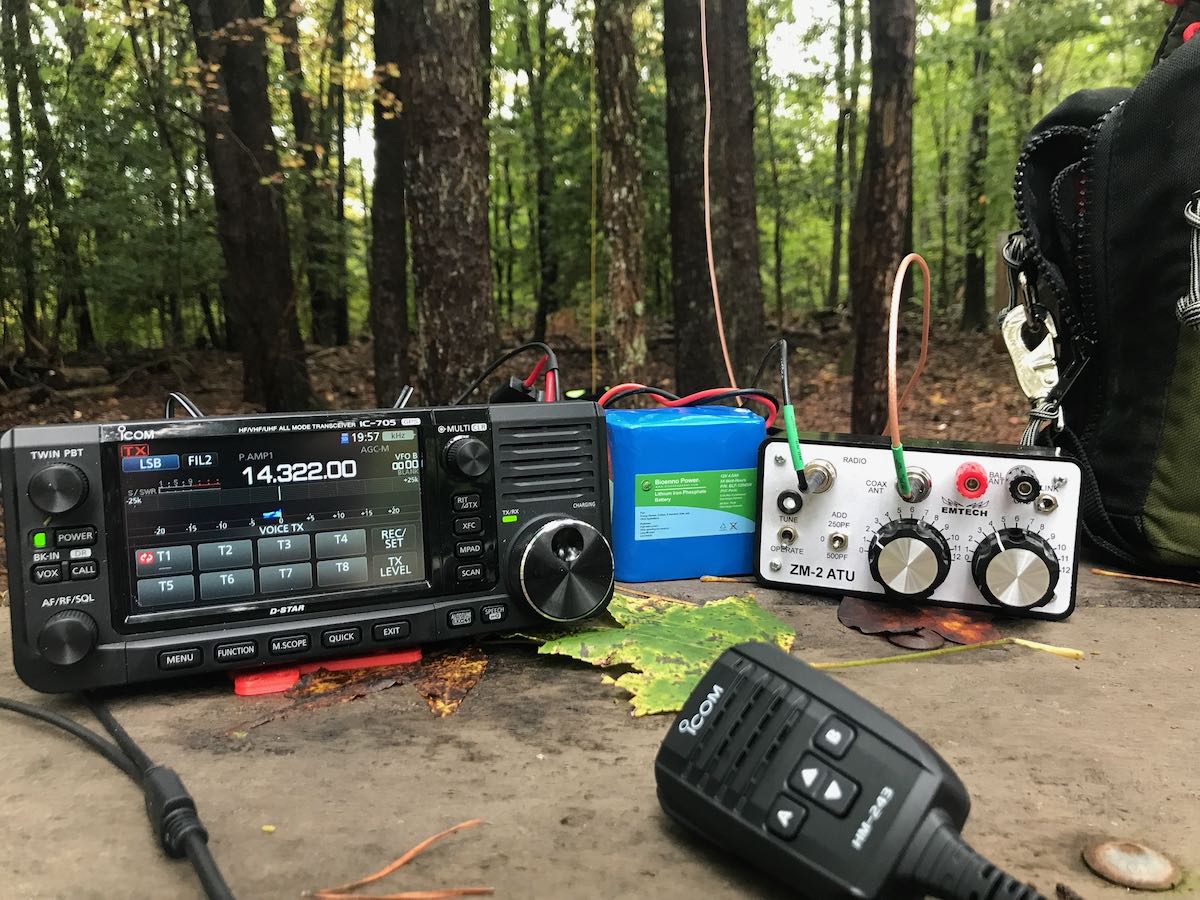
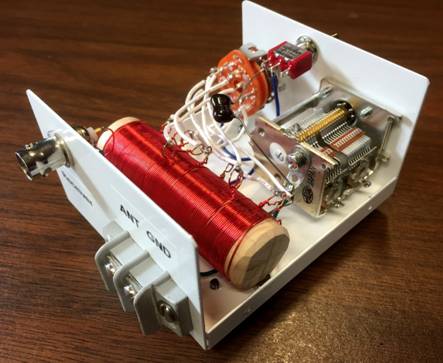
Emtech ZM-2
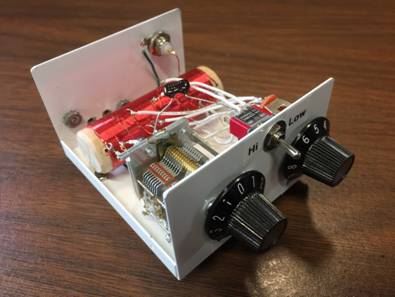
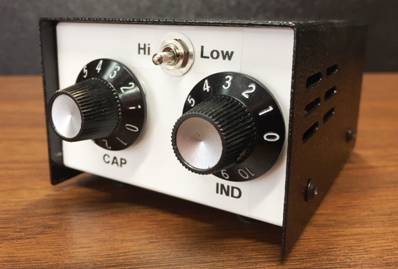
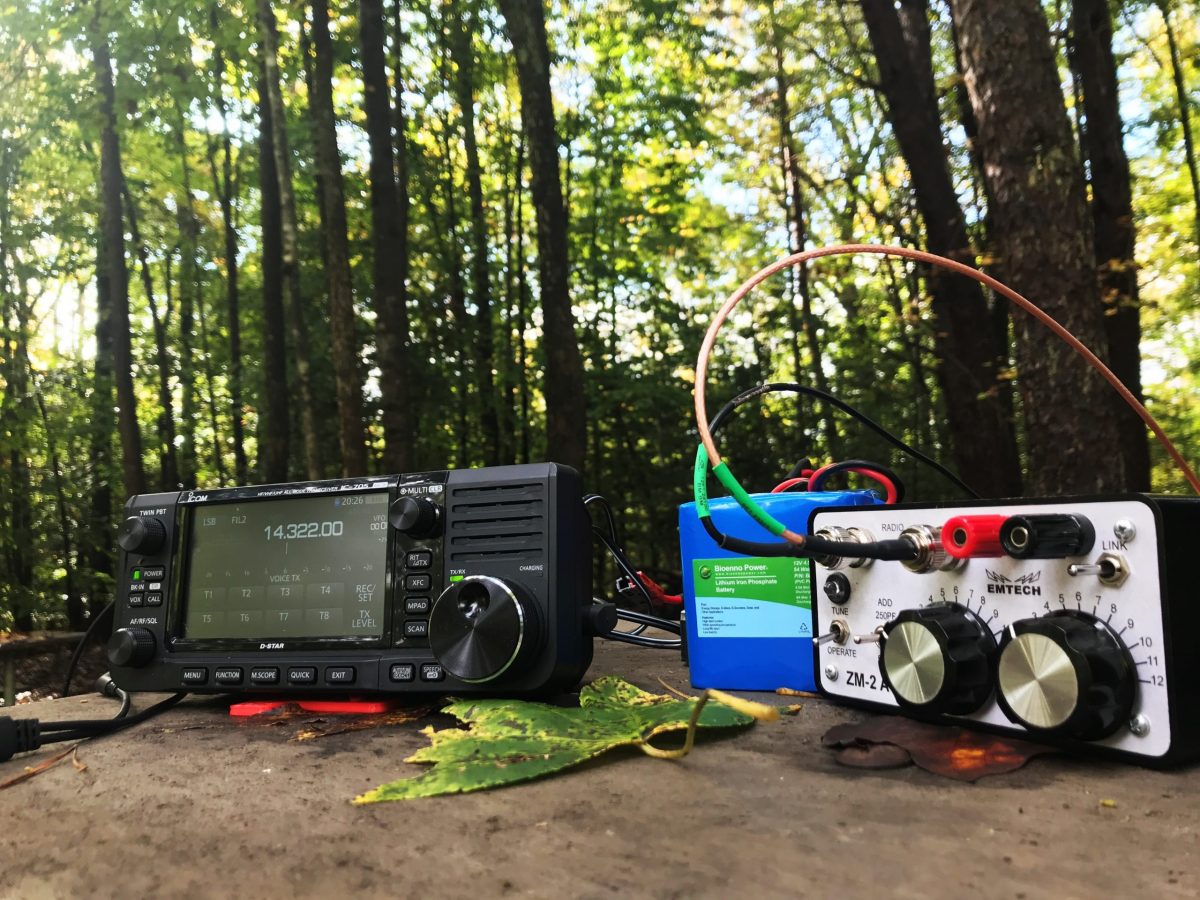 Shortwave radio listeners, especially, should take note of the Emtech ZM-2 balanced line tuner! Unlike the ATUs above, the ZM-2 is manual–meaning, you manually adjust the tuner’s L/C controls to achieve a match with your antenna. I’ve owned the ZM-2 for many years and have used it with a number of QRP transceivers. Since it’s not automatic, it might take a minute or so to find a match, but it’s worth the wait. The ZM-2 requires no batteries to operate, which makes it an invaluable and reliable little tool in the field. In addition, since the ZM-2 doesn’t require RF energy in order to find a match, it’s a brilliant choice for SWLs who want to tweak their wire antennas. I find it functions as well as if not better than other manual tuners designed specifically for receivers. The ZM-2 is also the most affordable of the bunch: you can purchase a pre-built unit for $87.50 from Emtech or $62.50 as a kit. I would advise purchasing one even if you also have an automatic antenna tuner–makes for a great back-up!
Other options?
This is by no means a comprehensive list of portable ATUs to pair with the IC-705, just a few suggestions. In fact, companies like MFJ Enterprises make a number of manual tuners that could easily be taken to the field and require no power source (much like the ZM-2 above).
Please comment if you have experience with other types of ATUs and please include links if possible!