Many thanks to SWLing Post contributor, TomL, who shares the following guest post:
Using Computer Audio PlugIns with Older Radios
by TomL
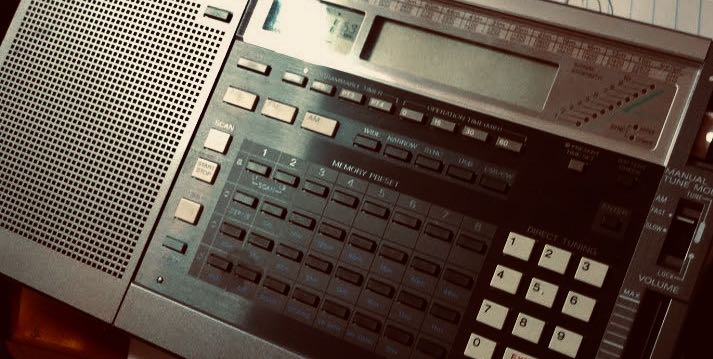
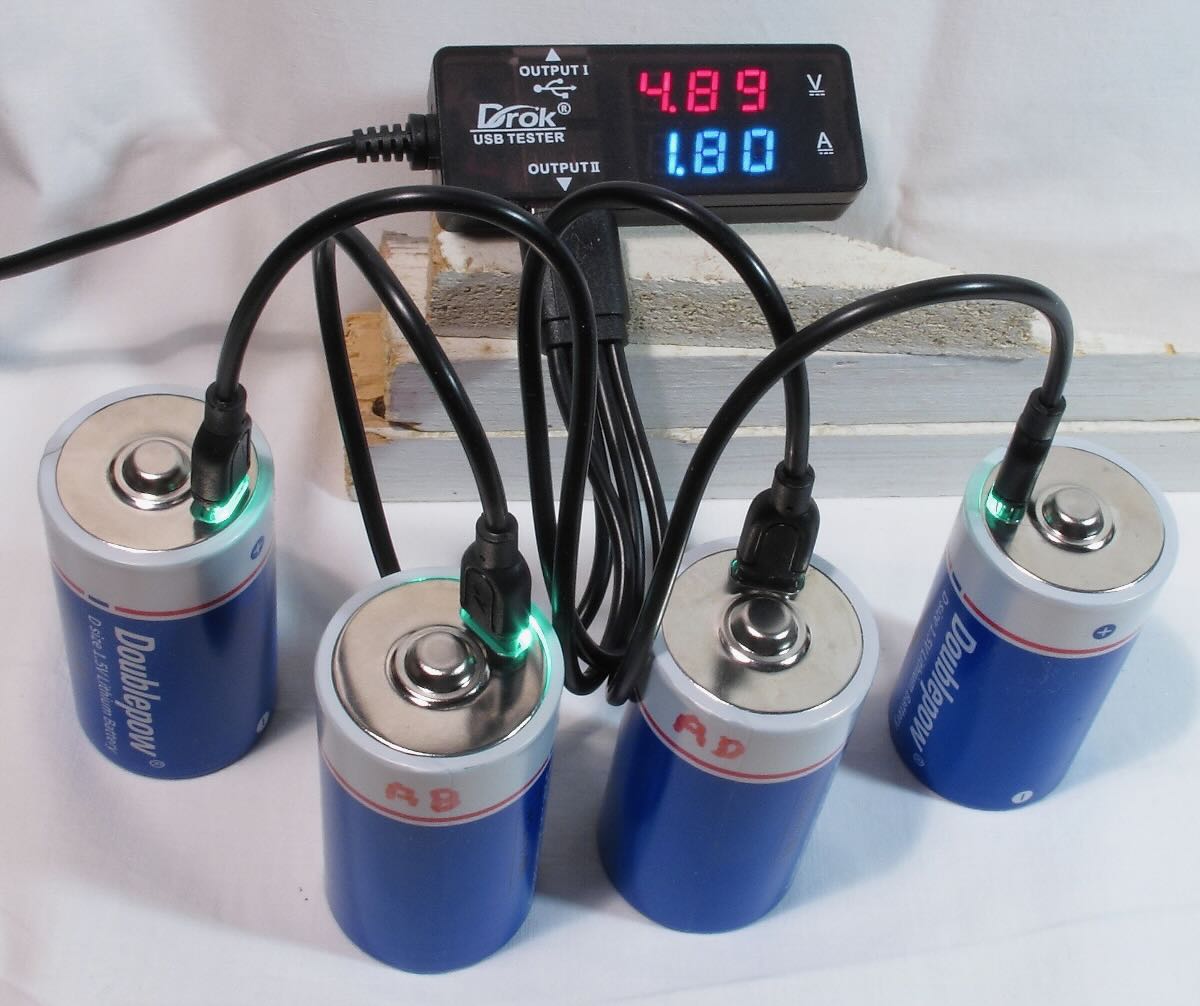
Older radios have a way to get audio out to speakers or another audio input device, usually just a headphone jack. Software for processing audio are plentiful and very useful tools, called VST’s. Furthermore, most Plugins were made for Musicians needing full frequency spectrum capability. I will use my Kenwood TS-590S amateur radio as a test case. I have used its speaker output to a cheap Behringer UCA-202 RCA to USB converter (it has its own volume control to keep it from overloading).
Amazon Link: Behringer UCA202
My Windows 10 Sounds Properties sees this audio as “3-USB Audio CODEC” which I have enabled on a physical USB hub with individual power switches for each port. Thanks to Steve (K1GMM) and his YouTube channel (K1GMM Green Mountain Maniac) for describing how to use Windows plugins for processing either Receive or Transmit audio. This article only focuses on Receive audio.
For my simpler needs, I have chosen to use VST Host. It will run the small “apps” that usually have a file extension of .VST or .DLL. I downloaded it right from Steve’s website:
https://kc1egu.wixsite.com/essb-ham-radio/copy-of-icom-ic7300-others
I then downloaded a number of plugins suggested by Steve on his web site (“More” Menu pulldown, DAW’s/VST DOWNLOADS). Each VST file can be copied to a central directory/folder on your computer and all read from the same place inside the VST Host. Most of these are Windows types but there are some for Linux if that is something you use. I found that VST Host does NOT like a write- protected directory, so it and the VST’s reside in my top-level Documents directory.
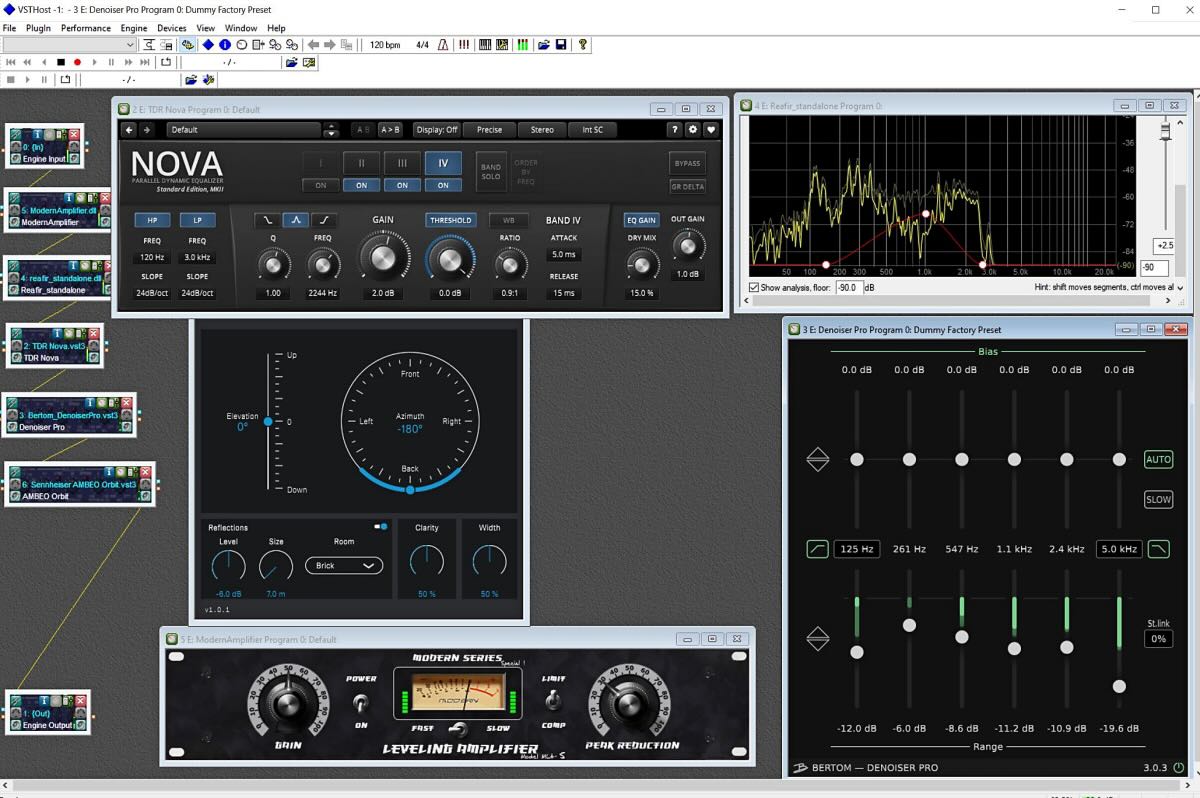
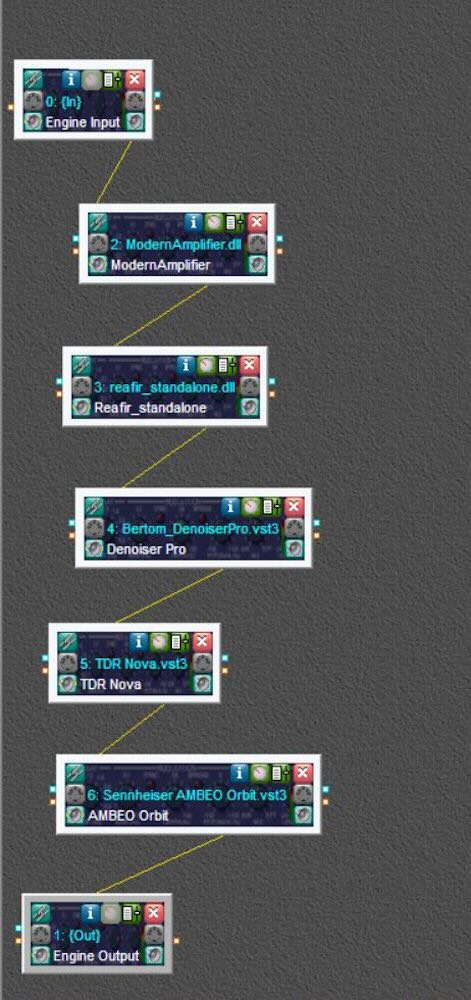
My resulting “chain” of VST’s process the audio from my 3-USB Audio CODEC in a sequential manner, which are:
- ModernAmplifier (a Limiter to keep strong signals from overloading the processing)
- ReaFir (an interesting “Subtract” feature where I cut down on the “roar” around 800-1200 Hz)
- Bertom Denoiser Pro (EXCELLENT static & background noise reducer)
- TDR Nova (a powerful, well-made Compessor & DynamicEQ combo)
- Sennheiser-AMBEO-Orbit (a Binaural soundscape).
Once VST Host is installed, create a separate folder for the VST files. Now just copy the VST3 or DLL file for each of the apps downloaded like the ones I list above. If you have a 32-bit version of Windows, you will have to use the VST’s that are 32-bit, not 64-bit.
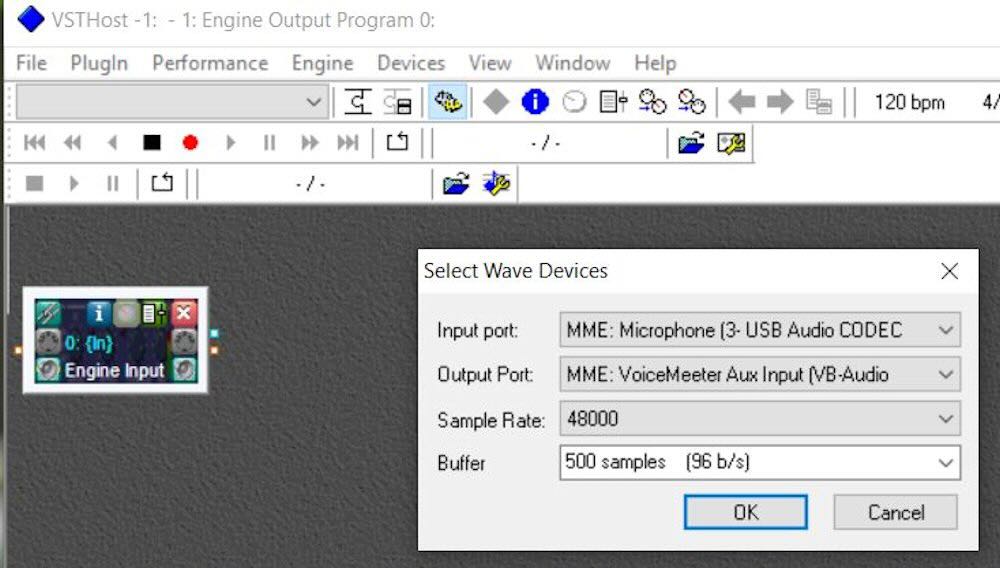
In VST Host, set the Wave Input and Output and sampling rate (Menu: Devices—Wave). In my case it is the aforementioned 3-USB Audio CODEC for (Microphone) Input Port and VoiceMeeter Aux-Input for the Output Port. The sampling rate is set to 48000 (You can choose Output to your “Default Speakers” which should be in the list if you do not use an extra mixer software like I do).
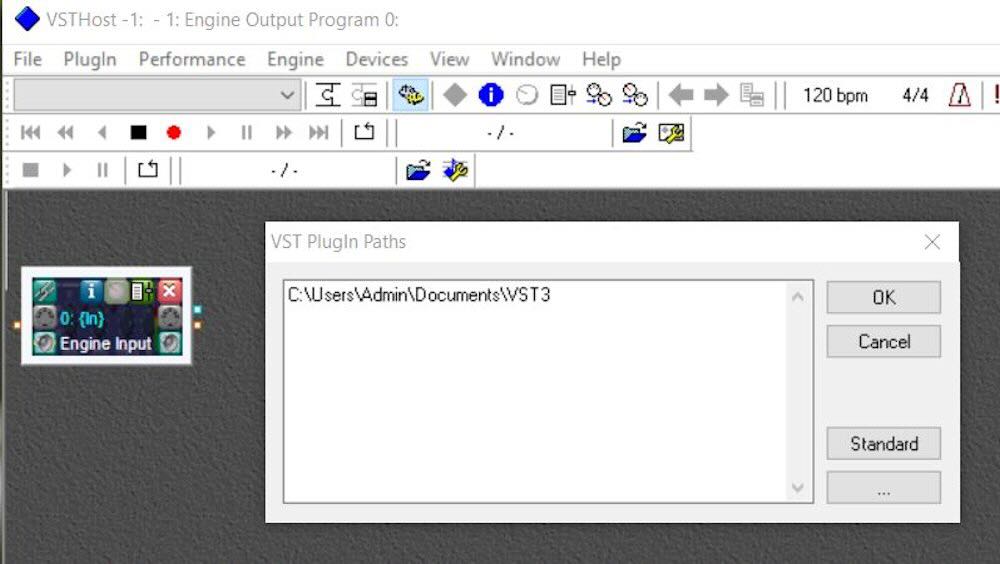
Now, go to Menu: File, Plugins and load each plugin that you want to use. The VST3 or DLL files should all be in the same directory that you made earlier. You may have to tell VST Host where to find them by setting the Plugin Path (Menu: File, Set Plugin Path…).
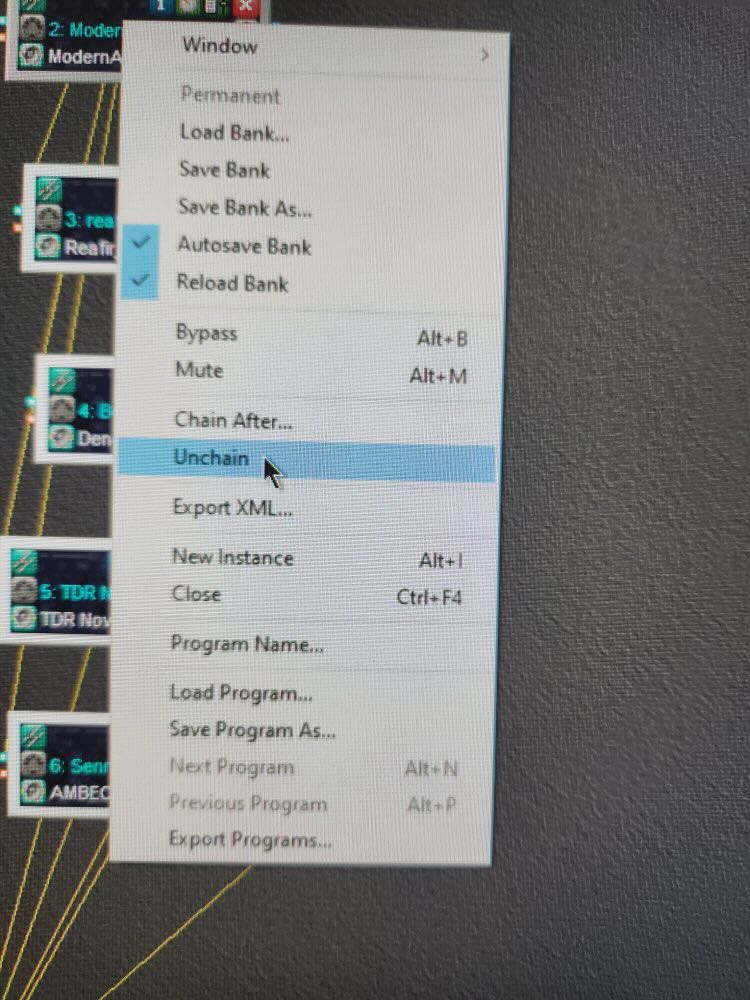
Now, once you have all the VST apps opened, you will notice that all of their individual outputs go directly to the VST Host Output. Not good, since your computer will not have enough cores to parallel-process all of these apps at the same time. So, Unchain them all by right-clicking on each app and choosing “Unchain”.
Now you will see all of the yellow connecting lines gone. Arrange (click/drag) each app in sequential order on the screen. Starting from the bottom up, right click on the app just above VST Output and choose Chain After…
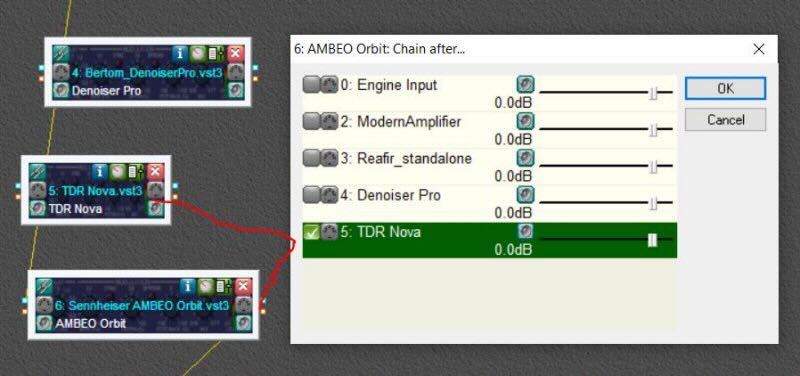
Repeat up the chain, choosing the one above it to Chain After until you are left with a Daisy-Chain of apps, each output going to the Input of the next app in your desired order of processing:
Now turn on the radio to get audio going through the chain of apps. Tweaking each app is part of the tedious process of learning if an app will help or not. Just replace and Chain After in the order you want with other VST apps that you find more helpful. Tinkering with this should yield some satisfactory results if you do not overdo applying features in each app. To save the layout and VST settings, go to Menu: Performance, Save As and give it a name to store in the data file shown (just a name since it will put it into the default line 000 for you). You can choose this in future sessions from the main pulldown Menu below File. (Note: It is called “Performance” because this stuff was written for Musicians to save their home studio music along with the settings for shaping the music tracks; 99% of planet earth calls this a “Layout”, a la, Microsoft Office)
Here are two examples of sound from the radio without processing and then adding in each app over a few seconds.
LZ1AA from Bulgaria. Processing 10 secs., off 15 secs., on again 8 secs.
CHU Canada. Processing on, space, processing off. Notice a little “water” effect since AM Broadcast needs quite different settings compared to SSB Ham Radio.
You can check out Steve’s “Green Mountain Maniac” YouTube channel and see for yourself what can be done with sound processing for Radio. Some of his techniques can be used with old shortwave radio receivers as long as it has a working headphone jack or AUX Out jack:
K1GMM-RXDAP VST HOST YouTube video
Cheers and Happy Listening,
TomL