Many thanks to SWLing Post contributor, Mei Tao, who writes:
Hi Thomas:
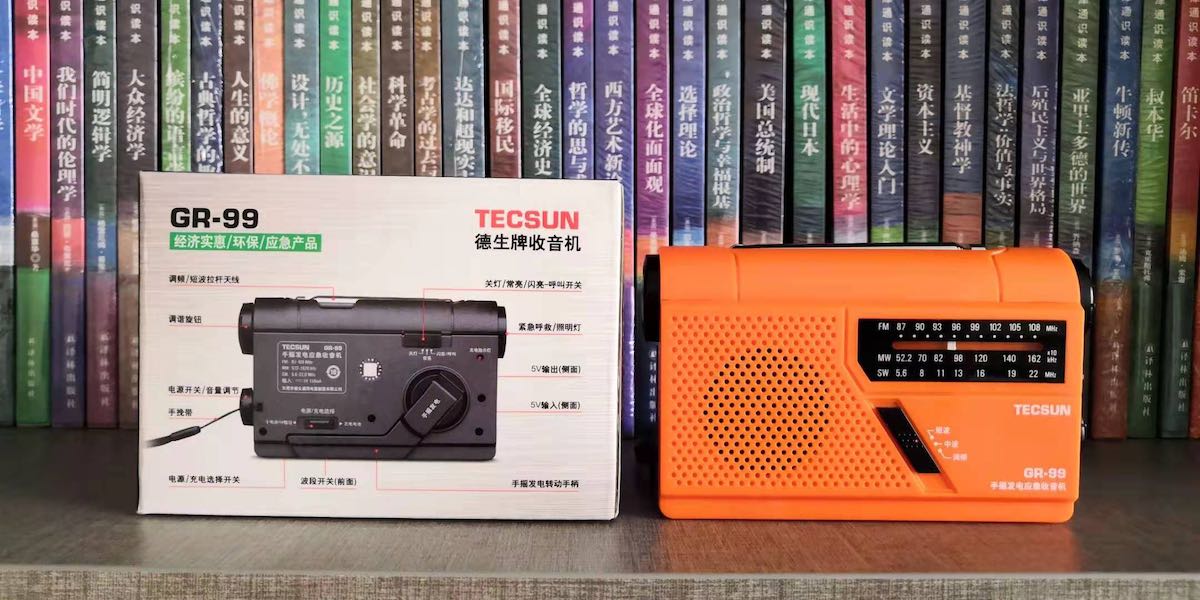
I’m happy to tell you that yesterday [January 29, 2021] Tecsun released a new model Emergency Radio. I’ve included some photos:
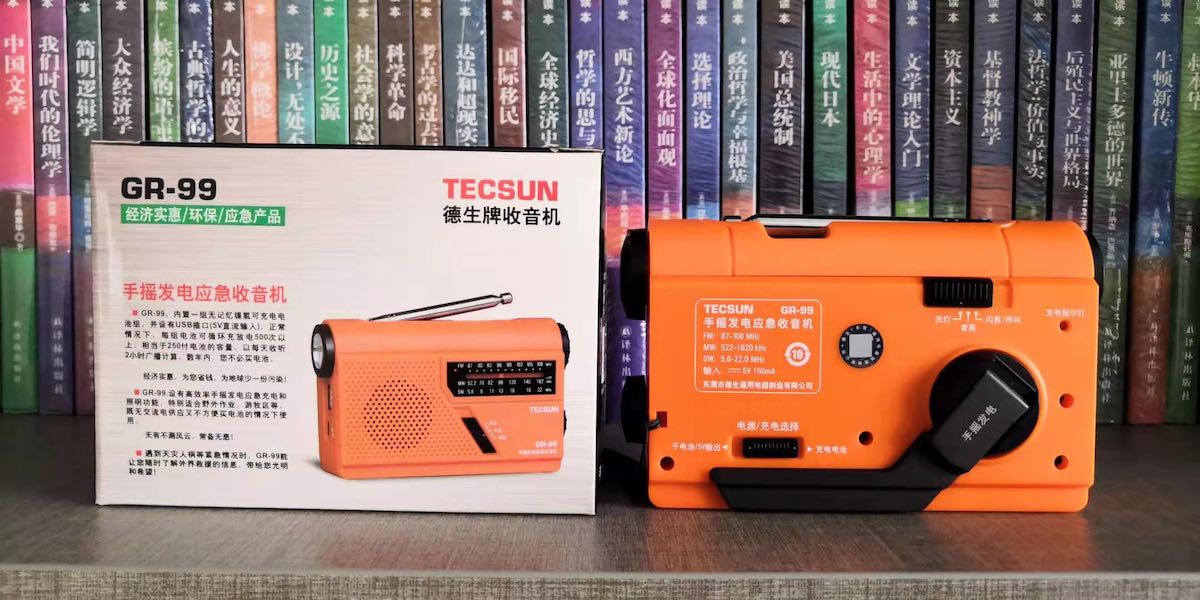
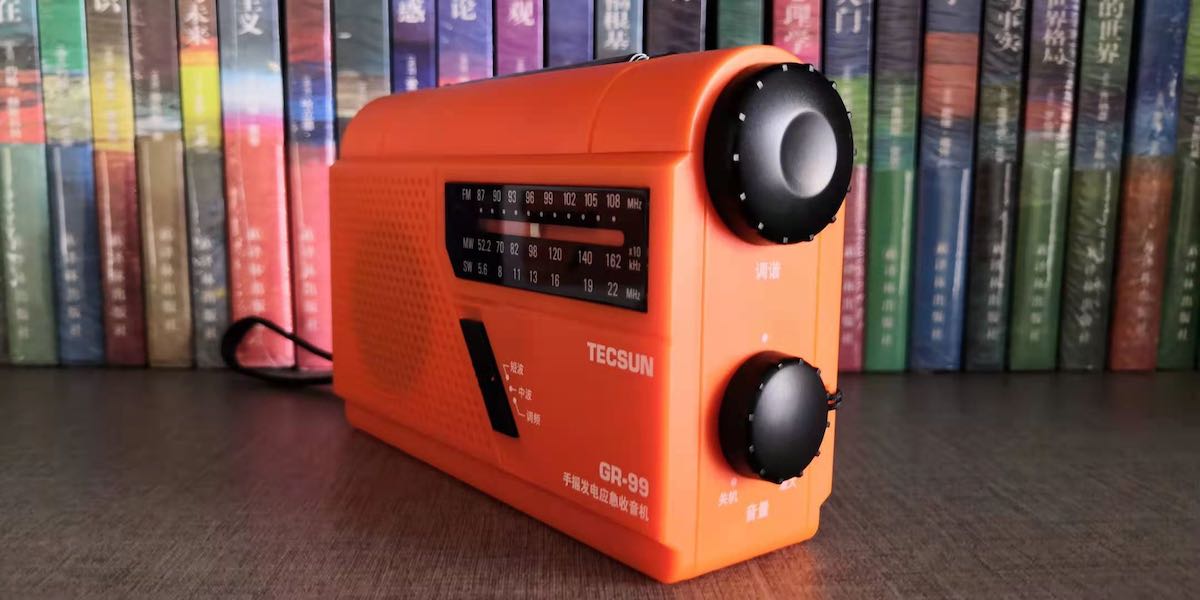

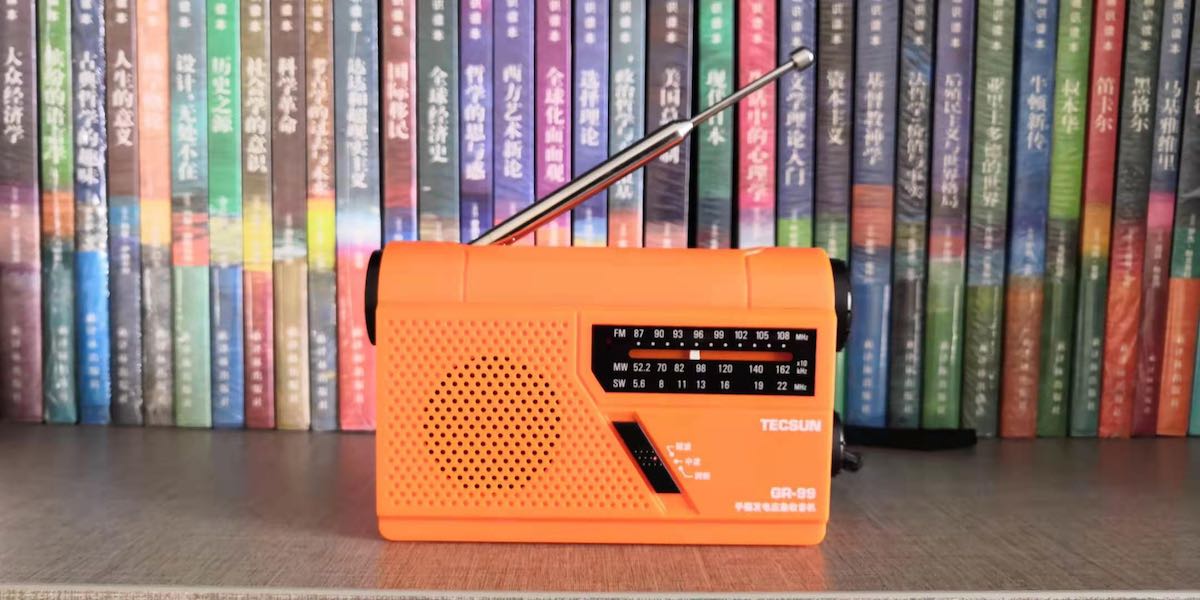
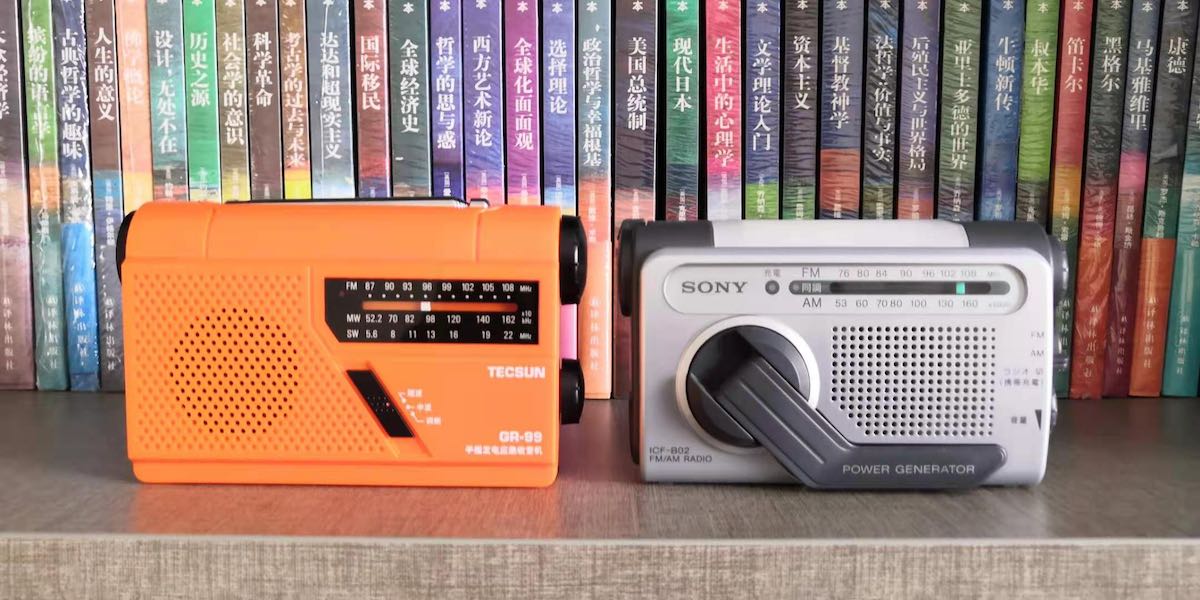
The GR-99 includes FM, AM and SW bands. As most of today’s radios, it is also based on the DSP chip which offers good performance. It can be powered by the built-in Ni-MH battery and two AA batteries.
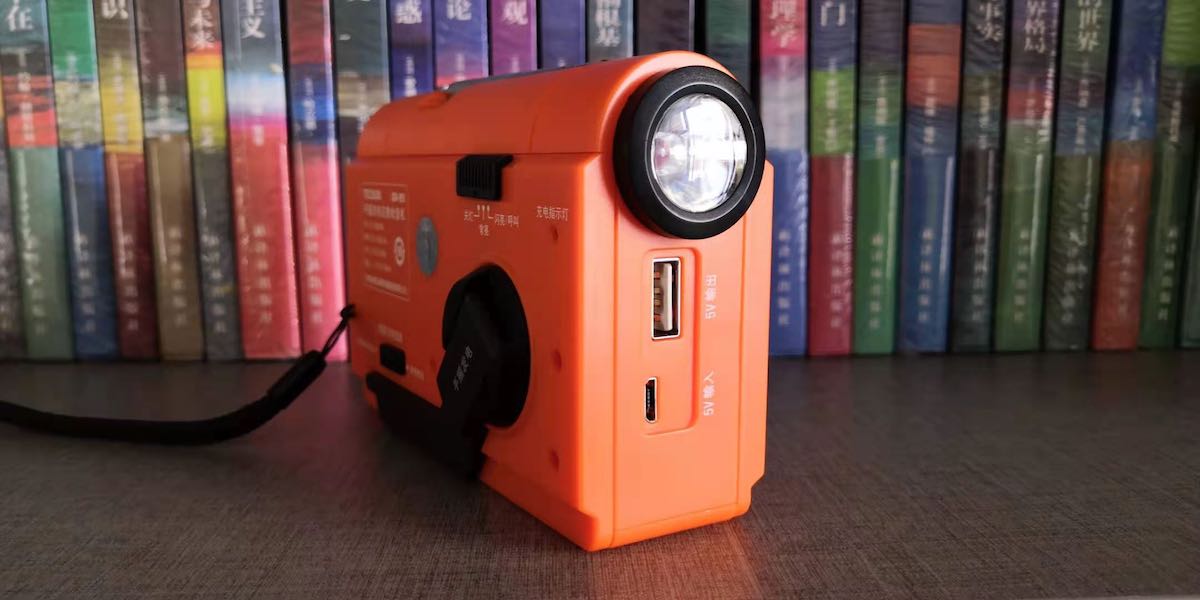
This radio also features hand crank power generator which can charge your device such as smartphone through the micro-USB cable. In case of emergency, GR-99 with flashlight and SOS alarm can give you a hand.

Nearly a month ago, I helped to test the prototype of this radio and gave them my advice. Now it’s great to see it on sale.
At last, provide you with a photo of me, almost two years ago. I took this selfie with my radios.

Oh I must admit that several radio in this photo were my friends’.
Sincerely
Mei Tao
Ha ha!!! I love the photo, Mei Tao–absolutely brilliant!
I’m happy to see that not only is Tecsun still producing an emergency radio with an analog dial (which requires less of the battery than a digital display), but also is still including the shortwave bands.
Thank you very much for reporting on this early production run Tecsun radios, Mei Tao!