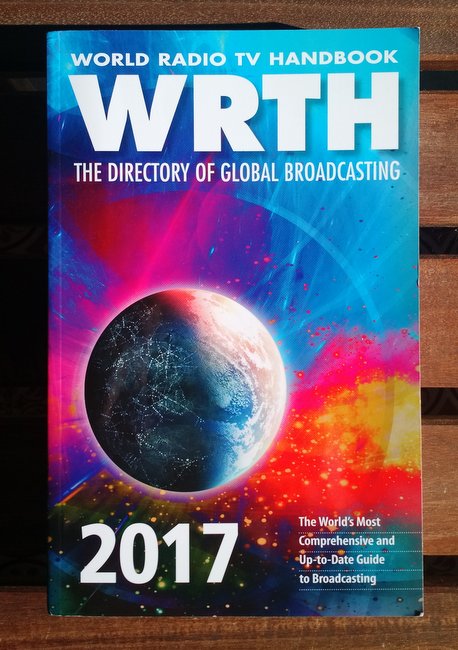
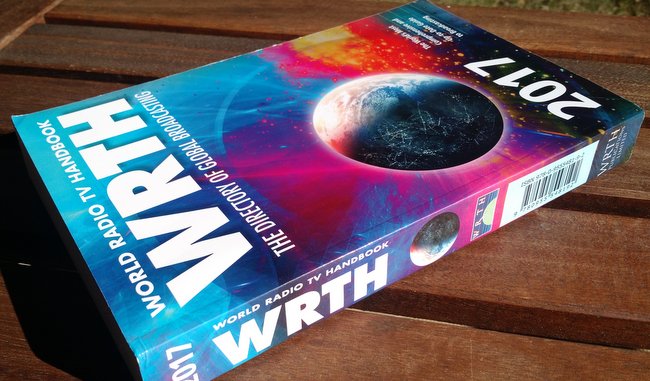
 I received my copy of the 2017 World Radio and TV Handbook (WRTH) directly from the publisher last week, just prior to Christmas holiday ravels. As I mention every year, I look forward to receiving this excellent staple radio reference guide–and this is their 71st edition!
WRTH’s team of noted DXers from around the world curate frequencies and broadcaster information by region; while I’m not sure how they orchestrate all of this, the end result is truly a symphony of radio information. In addition to broadcaster listings, WRTH’s radio reviews, feature articles, and annual HF report make for excellent reading.
But the WRTH isn’t just a frequency guide: the publication always devotes the first sixty or so pages to articles relating to various aspects of the radio hobby. Following, I offer a quick overview of these.
The first article always features a WRTH contributor: this year, WRTH’s International Editor, Sean Gilbert, tells us what sparked his interested in the hobby and what lead to his career with WRTH which started in 2000.
The second set of articles is always my favorite: WRTH receiver reviews.
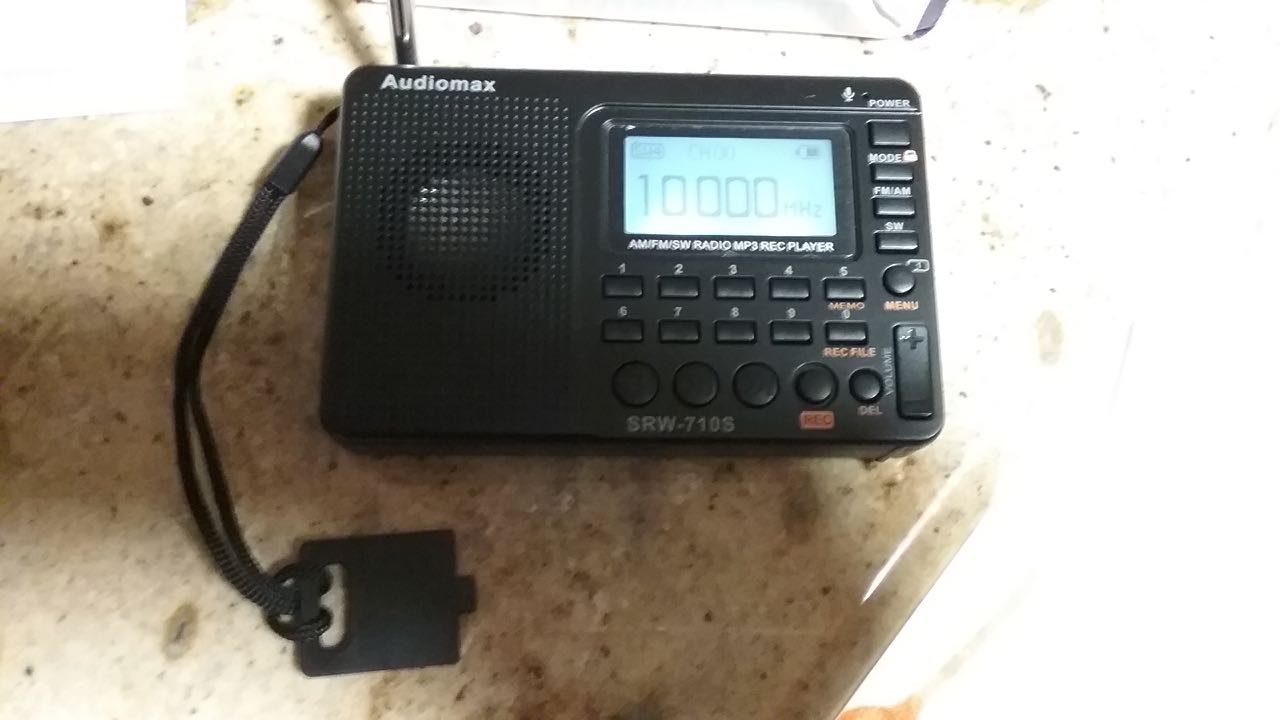
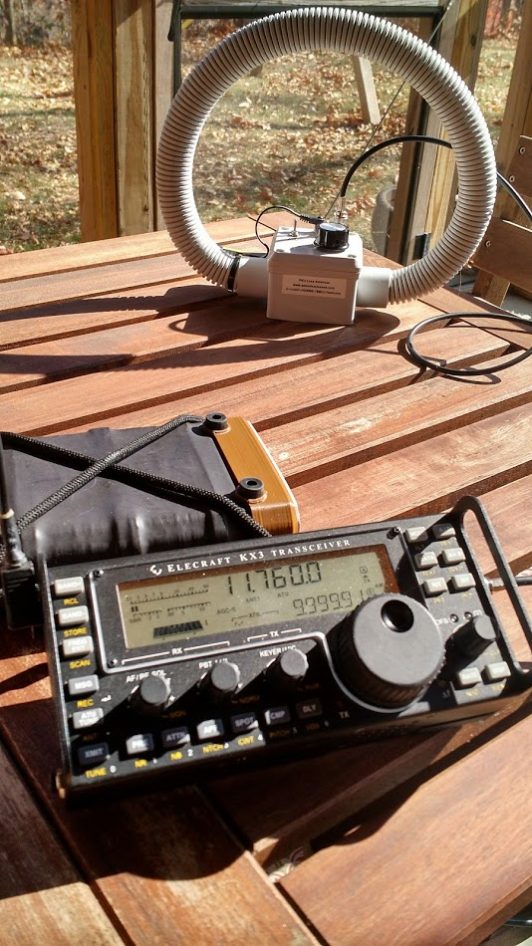
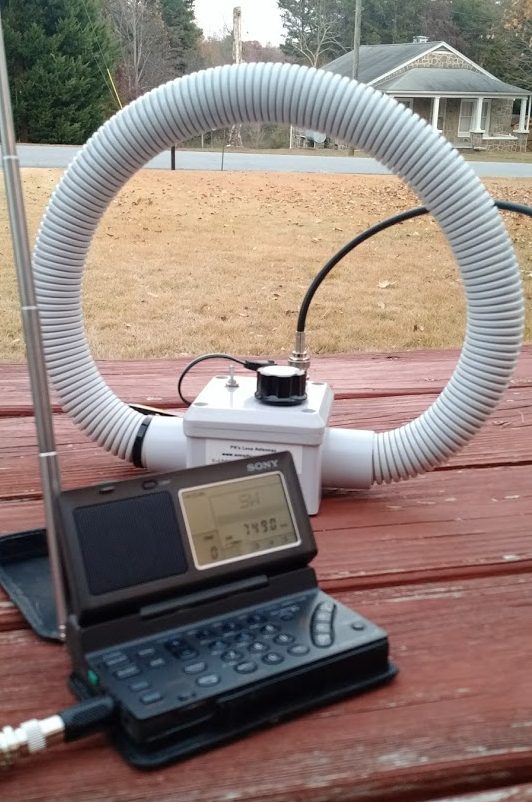
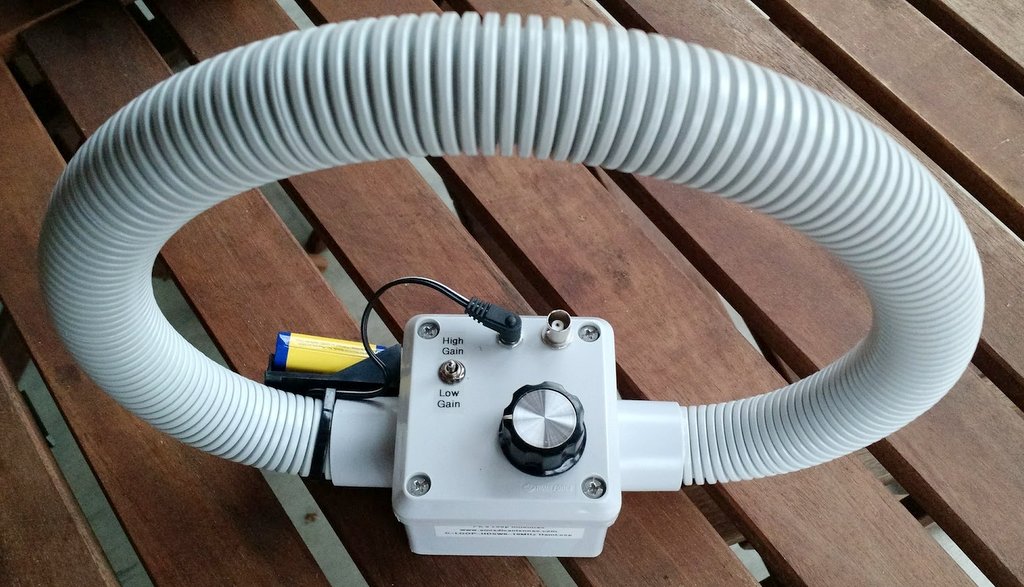
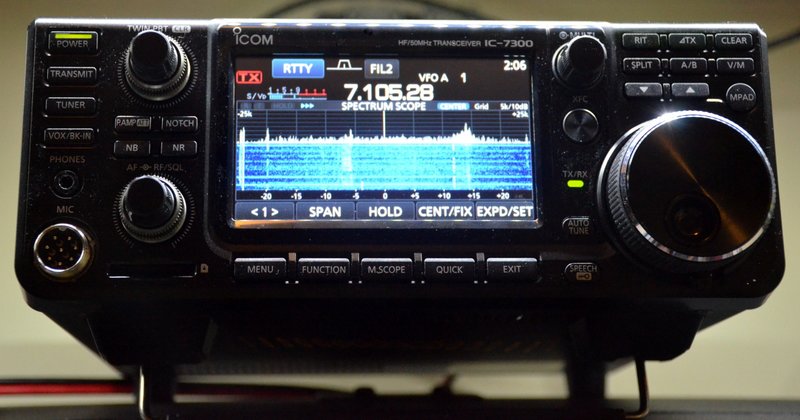 This year, WRTH begins with a review of the Icom IC-7300 general coverage transceiver. They also review the Reuter Elektronik RDR55D, and re-visit the SDRplay RSP1. Following radio reviews, they evaluate the excellent Wellbrook ALA1530LNP magnetic loop antenna and the Bonito AAS300 3 way active RF splitter.
The following article focuses on one of my favorite shortwave broadcasters, The Mighty KBC. WRTH contributor, Max van Arnhem traces the broadcaster’s history and gives us a little insight about the people behind this music powerhouse. If you’re a KBC fan, you’re in for a treat!
I was very happy to find that the following feature article explores the world of Remote Reception. No doubt, remote listening is becoming one the most accessible ways many of us discover and enjoy our hobby today–especially as it can be difficult for some of us to fight urban radio interference.
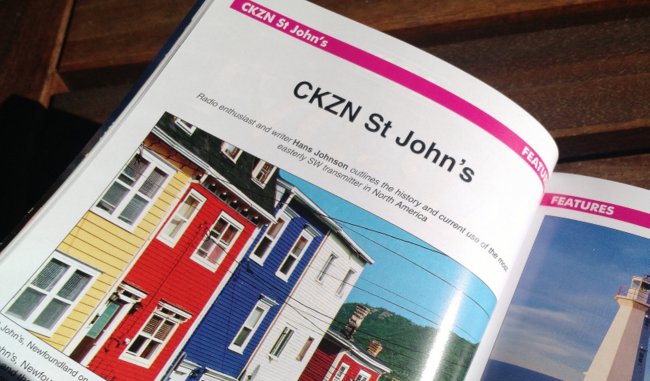
Following this, WRTH writer, Hans Johnson, features an article on CKZN St. John’s Newfoundland. In this short article, Johnson covers the history and mission of this shortwave relay, dating back to the days when Newfoundland was a British dominion. Looking forward, Johnson notes that the CBC intend to not only continue this service directed at Labrador’s most remote areas, but it intends to replace their 1 kW Elcom Bauer transmitter in the coming years. This pleases me to no end as I’ve always loved snagging this particular relay of CFGB from my home here in North Carolina.
Next, DXer Rob Shepard writes about his travels in South America and the Pacific. Being an avid traveller myself, I love reading about others’ adventures across the globe with radio. Shepard even notes some catches from the Queen Mary II. I’ve never had the chance to do DXing while maritime mobile, but I hope to someday.
The following article features Danish radio enthusiast, Vagn Fentz, who has collaborated with WRTH since one of its very first editions. His radio history starts back when he was a schoolboy in Denmark during WWII, listening to the radio in secret. His story gives us insight into both his own world and that of the WRTH over the years.
Next, Michael Pütz outlines the progress, so far, of setting up an HF disaster relief radio network: the IRDR Project. If you haven’t heard of the IRDR project, this article makes for a great primer and also speaks to the potential future of a radio network that could have major positive impact over vast regions in the wake of disaster.
The final article–a tradition–is the WRTH HF propagation report/forecast by Ulf-Peter Hoppe. Always an informative read (despite the fact we’re heading into a solar minimum).
The 71st is another fantastic edition of the World Radio TV Handbook. I’ve never been disappointed with WRTH, in truth. Their publishing standards are such that the quality of their reviews, their writing, and (most importantly) their broadcast listings are simply unparalleled.
For DXers who collect QSL cards, you’ll find that broadcaster contact information in WRTH is often more up-to-date than a broadcaster’s own website. When readers contact me asking for QSL information from an obscure broadcaster, the first place I search is the current WRTH. Remember: their information is based on volunteer contributors who specialize in specific regions of the world–the most knowledgeable regional DXers keep this publication accurate.
Purchase your copy of WRTH 2017 directly from WRTH’s publishers, or from a distributor like Universal Radio (US) and Amazon.com (US), Radio HF (Canada), or BookDepository.com (International).