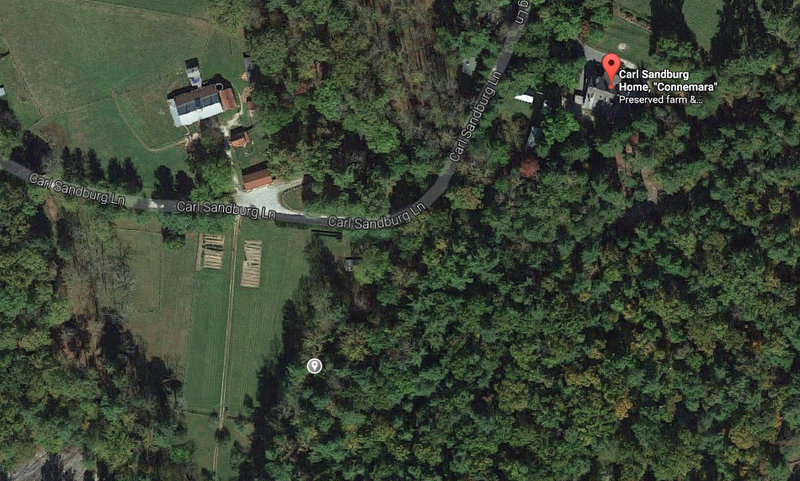
My station location on the trail near the Sandburg farm is indicated with the small grey marker (lower left quadrant).
I’ve enjoyed an especially “radio-active” Labor Day weekend. Here’s hoping you did, too.
On Saturday I headed out the door at 4:15 AM to meet my buddy Vlado (N3CZ), the inimitable radio doctor; we aimed our headlights through the morning mist to the Shelby Hamfest. Though it took quite a bit more coffee to keep me going, the hamfest was a load of fun. Check out the photos I posted yesterday.
 On Sunday, I enjoyed some family time. Conveniently, our weekend travel took us near the Carl Sandburg Home in East Flat Rock, NC. I managed to carve out a little time for a quick–very quick– NPOTA activation of the site.
I realized I would only have about an hour, though, to find a suitable site, setup my radio kit, make at least the minimum of ten contacts, then pack up and clear out. Not an optimal amount of time, but certainly a fun challenge.
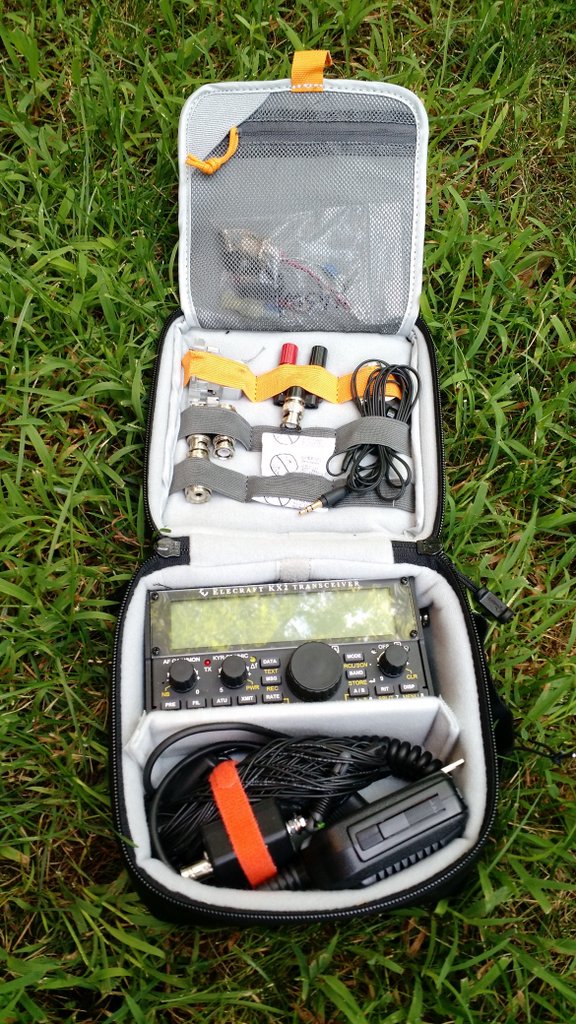
This was also a good excuse to try out my new Elecraft KX2 portable transceiver kit in the field. I haven’t even had the KX2 for a full week, but I quickly put together a field kit with the Elecraft as a centerpiece. If you’re curious, the kit consists of the following:
- The Elecraft KX2, with internal battery and ATU options
- An LnR Precision EFT Trail-Friendly antenna (purchased at the Dayton Hamvention)
- An assortment of connectors and adapters
- A six-foot coax cable
- An Elecraft hand mic, borrowed from my KX3
- A CW paddle (the KXPD2)
- A clipboard, log sheets, and mechanical pencil
- Fishing line and a weight (to hang the antenna)
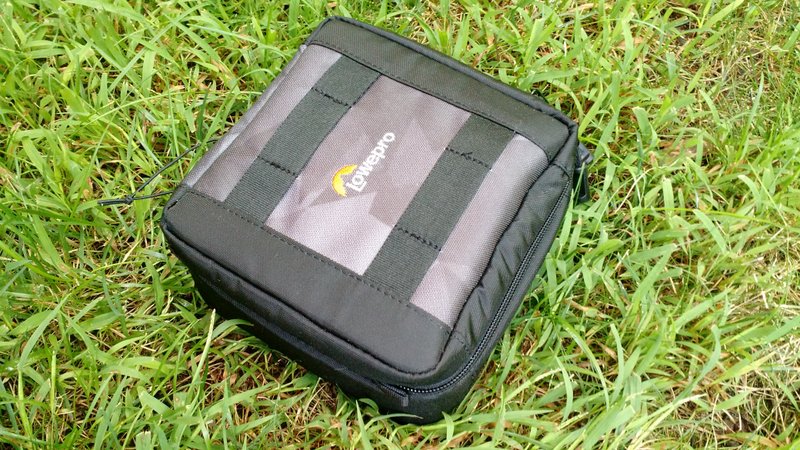
All of this, save the fishing line and weight, was protected by the compact and perfectly portable LowePro ViewPoint CS 60 padded case, and fit it like a glove.
Let’s talk packs…
Those of you who know me, know that I’m a bit of a pack junkie. So I’m kind of picky about what I choose to hold my gear. There are a few manufacturers whose packs pass the test, and that make gear here in the States, like Spec-Ops Brand, Red Oxx, and Tom Bihn. Their packs are sometimes pricey, but they’re nearly bullet-proof and guaranteed for life. Timbuk2, based in San Francisco, is a more economical company with good gear, as well.
After purchasing my KX2, I searched but couldn’t find a suitable pack from my prefered manufacturers. I had remembered that at the Dayton Hamvention, Elecraft was actually selling two models of a LowePro pack that fit the KX2 exactly: the ViewPoint CS 40 and CS 60.
While I like to go as compact as possible, the CS 40 is just a bit too small to hold everything I like to carry to the field (antenna, paddle, and mic). The CS 60, on the other hand, could hold everything and has a fold out panel organizer to hold connectors.
I knew the CS 60 would fit the KX2, and I knew the CS 60 was padded to protect its contents. I also could see that the pack has excellent (and apparently genuine) ratings on Amazon, so I ordered one.
I’m pleased to report that the CS 60 is very well built indeed, and what’s more, accommodates everything I need. In fact, the only thing the CS 60 won’t hold is my reel of fishing line and 6′ coax cable (and yes, I daresay you could adapt both items to make them fit with a little effort).
I carried the CS 60 and reel in my trusty 20-year-old Dana Design lumbar pack:

There was room to spare inside for water bottle and snacks, and the whole package was very lightweight.
The Carl Sandburg Home
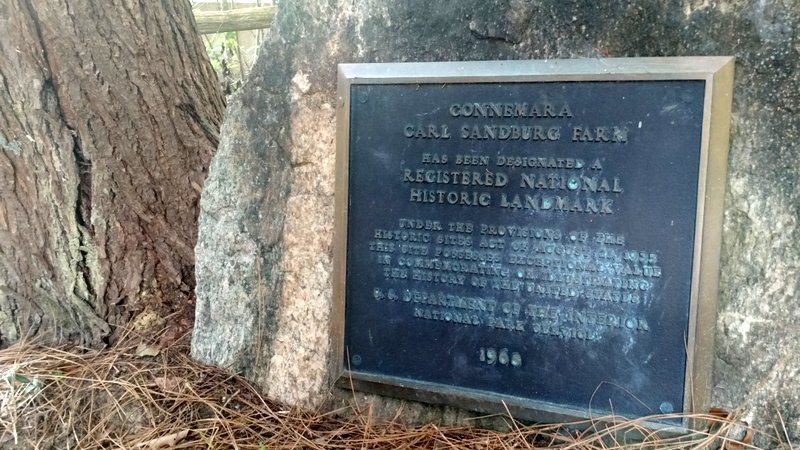
The Carl Sandburg site was fairly teeming with visitors, also enjoying the warm weather of the Labor Day weekend. After arriving and (fortunately) finding a parking spot, I hiked 20 minutes to one of the trails, where I was given permission to hang an antenna and operate.
Knowing that I needed to rejoin my family soon, I wasn’t too choosy about my site this time. I just needed to get on the air and work the minimum of ten contacts. In truth, I wasn’t sure if all of this was possible in the one hour I had available.

I setup on the right side of this sunlit trail, near one of the park benches. It turned out to be a pretty good spot.
It took me perhaps ten minutes to set up, with a few brief asides to explain what I was doing to passing hikers.
Since I configured my little Elecraft KX2 with an internal battery and antenna tuner, I had no need for extra power cables, connectors, ATU and coax.
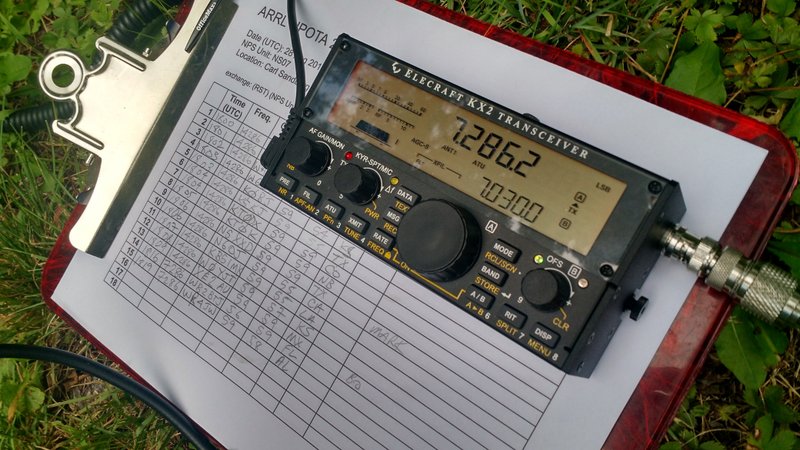
Yep, my entire station easily fit on the clipboard I was using to hold my log sheets. On my lap, the clipboard became my operating table.
As soon as I sat down in my folding chair, I turned on the KX2, set the frequency to 14,286 kHz, and pressed the ATU button which gave me a 1:1 match (since the EFT is resonant).
Thank you, voice keyer!
Next, I recorded my CQ call into the KX2’s built-in voice keyer by:
- pressing and holding the MSG button,
- assigning the voice message to “memory allocation 1” by pressing the PRE (1) button,
- pressing XMIT to start the recording,
- reading off my CQ call “CQ, CQ, CQ, this is K4SWL calling CQ for National Parks on the Air…”, and
- pressing XMIT again to stop the recording.
Then I started calling CQ by simply pressing the MSG button and selecting my message stored in memory allocation 1 by pressing and holding the PRE (1) button.
By pressing and holding the PRE (1) button, I initiated a loop-playback of my CQ call where my KX2 would transmit my call from memory. Then I waited a few seconds to listen for any replies, and played it again. (In loop-playback mode, the KX2 will repeat my CQ call until I interrupt it by pressing a button or keying my mic.)
It’s a brilliant and easy function which saves my voice! By automatically calling CQ, it gives me an opportunity to answer questions from curious passersby, naturally fascinated by a guy sitting on the side of a trail, talking into a little box connected to a tree-branch suspended wire.
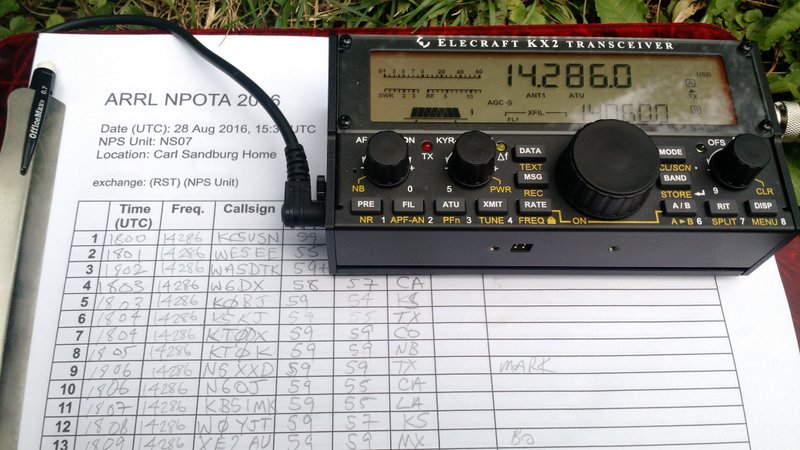
In the end, I didn’t even need to use the voice keyer that much. I was spotted on the DX cluster and within moments had a small pile-up of stations. Remarkably, I worked my minimum of ten stations within six minutes! Of course, I continued to call CQ until I worked everyone in the pile-up (including stations from California, Nebraska, Kansas, Texas and Mexico). Though I was running out of time quickly, I did switch to the less-active 40 meter band and called CQ. In a period of a few minutes, I worked two stations on forty: one from Alabama and one from Florida. Not bad for 10 watts of power!
Packing up
Normally I would have stayed on the air for at least an hour to give chasers an opportunity to work my station, but I was pleased that I’d managed to fit this activation into a very busy schedule. I was glad to have racked up so many stations, so quickly!
Taking down the antenna and packing up my portable station took all of eight minutes.
Without a doubt–once I had hiked to my operating site–this was my fastest deployment, activation, and pack-up to date. It was all possible because:
- the KX2 has a built-in battery pack and ATU, and is so small it fits on my clipboard,
- the EFT Trail-Friendly antenna is a breeze to install, take down and pack, and
- the CS 60 pack organizes the radio and accessories so handily.
In short: I’m totally pumped by my new QRP field kit!
More radio adventures await…To the field!

 Many thanks to SWLing Post contributor, Matt, who shared this review of the BST-1 car shortwave receiver:
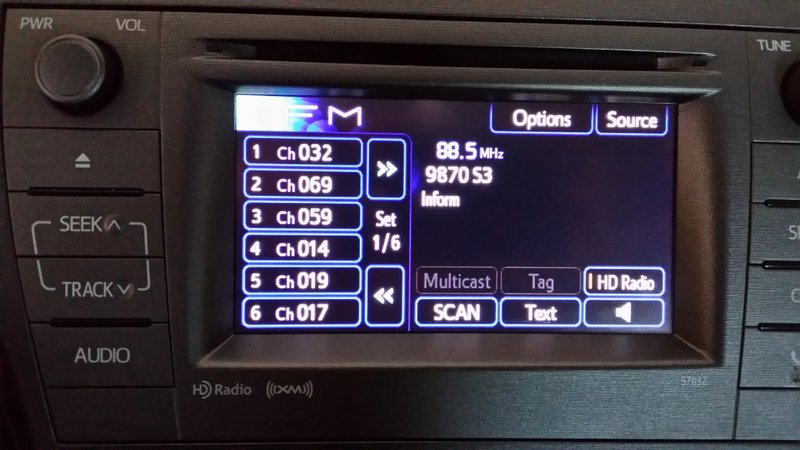
 Many thanks to SWLing Post contributor, Ivan Cholakov (NO2CW), who shares the following video review of the

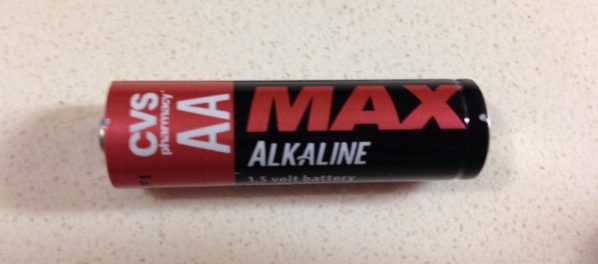
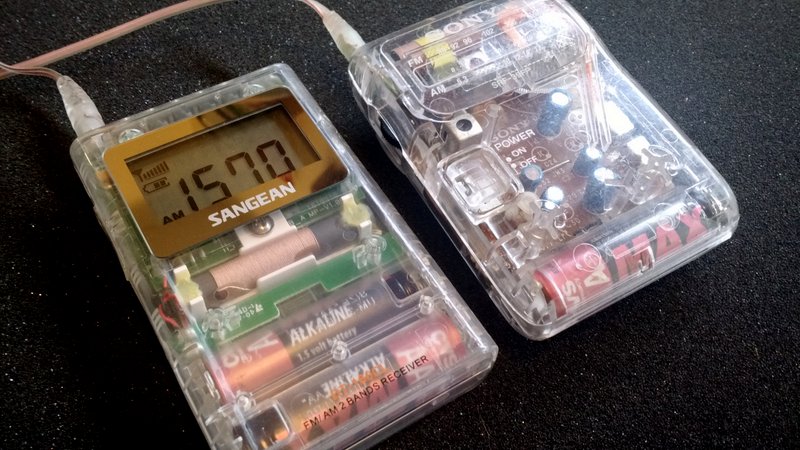 No doubt, our little test has proven that radios marketed to the prison system do offer excellent battery performance.