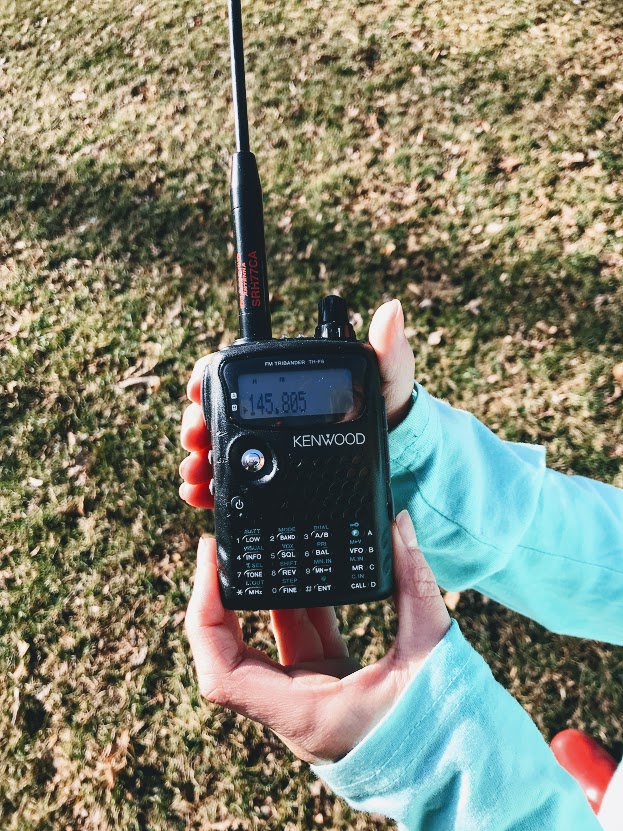
My daughter hold the Kenwood TH-F6 HT while we listen to the ISS contact.
Many thanks to my good buddy Eric (WD8RIF) for reminding me about a scheduled ARISS (Amateur Radio on the International Space Station) contact between Canadian astronaut David Saint-Jacques and Faith Christian Academy in Orlando, FL, USA.
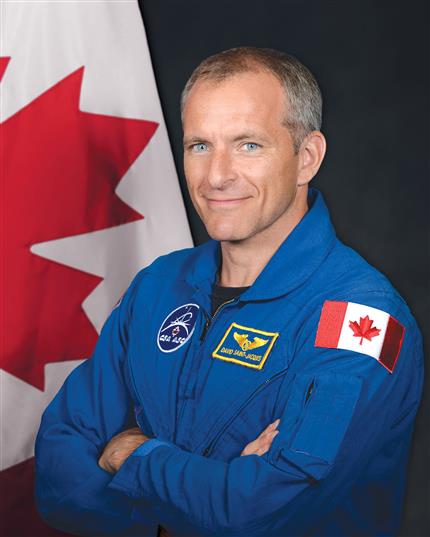
Astronaut David Saint-Jacques (Source: Canadian Space Agency)
Living in the mountains, I miss a lot of low angle ISS passes due to ridge lines blocking my line of sight. This time, though, the pass was high and mostly to my open south which meant it was one of the longest ARISS contacts I’m monitored.
My daughters drop everything to monitor radio or visual ISS passes–this February 14th pass was no exception.
In fact, I’m sure a lot of their enthusiasm about studying for their ham radio licenses stems from these ARISS events.
Of course, it doesn’t take an amateur radio license to monitor an ISS VHF transmission. I’ve used everything from handheld scanners to handheld ham radio transceivers. Click here to read a post with a short tutorial on monitoring ARISS contacts.
My daughters helped me make short videos of David Saint-Jacques’ replies (of course, we can’t hear the FL school’s transmissions). Below, I’ve matched the school’s questions with his answers:
Question regarding superstitions, traditions and rituals:
Click here to view on YouTube.
“Can you see any constellations while on the ISS and do you have a favorite one?”
Click here to view on YouTube.
“Have you ever experienced a major malfunction on the ISS?”
Click here to view on YouTube.
“Does everything in your body work the same in a microgravity environment, for instance, does your heart work harder to pump blood through the body?”
Click here to view on YouTube.
“Do your ears pop like they would when you fly in a plane?”
Click here to view on YouTube.
“Are you recognized as an astronaut on the streets?”
Click here to view on YouTube.
“Are you allowed to request certain things to be delivered by the cargo missions?”
Click here to view on YouTube.
“Describe the escape system on the ISS in case of an emergency.”
Click here to view on YouTube.
“How do you shave or cut your hair on the ISS without the hair floating away?”
Click here to view on YouTube.
“What experiment are you currently working on and is it going well?”
Click here to view on YouTube.
“What did you feel the first time you saw Earth from the ISS?”
Click here to view on YouTube.
Have you ever monitored an ARISS contact or grabbed one of the SSTV transmissions from the ISS? Please comment!
Do you enjoy the SWLing Post?
Please consider supporting us via Patreon or our Coffee Fund!
Your support makes articles like this one possible. Thank you!