Category Archives: How To

Video: Lightbulb vs Radio Beacon by Thomas Cholakov (N1SPY)

Many thanks to SWLing Post contributor, Ivan Cholakov (NO2CW), who writes:

My 11 year old son Tommy (N1SPY) completed a project where he compared a 1W lightbulb to a .25 W radio beacon that he put together and bet that the radio beacon can be heard around the world. I asked him to document his activities as he went along. The project took a couple of months but is now complete and we stitched together a video of his activities.

Click here to view on YouTube.

Wow–Tommy, you’ve done an amazing job here!

I especially like how you’ve taken time to explain the principles behind the various steps of the process. Brilliant job!

Tommy, your future videos are always welcome here. Keep up the good work and we’d love to hear how many new countries you’ve racked up on your WSPR system!

Spread the radio love

How to build a Milk Crate AM Broadcast Loop Antenna

Many thanks to SWLing Post contributor, James Townley, who shares the following guest post originally posted on his Shortwave/Medium Wave blog:


540 kHz to 1700 kHz Loop Antenna (Click to enlarge)

AM Broadcast Loop Antenna

by James Townley

Several years ago, I became interested in medium wave DXing. One of my limitations was the size of my yard, so I developed an interest in tuned loop antennas to compensate, because setting up a beverage antenna was out of the question. I experimented with different sizes of loops, and found that the bigger the aperture, the more gain the loop would have. The tuned loop antenna is also very directional, which allows you to reject, or null out interference from either noise or other stations. Loops are considered bi-directional in that they receive to the front and back, but not to the sides. The tuned loop antenna quickly became my weapon of choice for medium wave DXing.

Recently when the weather began allowing me to enjoy the outdoors, I decided to make another smaller loop antenna from a plastic milk crate I had lying around. I saw the idea on the internet when I observed that someone had used a milk crate for their loop. Click here to see a variety of tuned loop antennas that others have made. Whichever material you decide to make your loop antenna from, just make sure that it is not a conductive material. Wood, plastic, and cardboard seem to be popular materials for loop making. In the photo above, I am using my Sony ICF-2010 to listen to WCCO on 830 kHz. This station is nearly 200 miles south of me, but I am able to receive it with 9 LEDs lit on my signal strength meter while using the loop. There is no direct connection of the loop to the radio, it is inductively coupling with the radio’s own ferrite rod antenna.

If you are interested in making a loop antenna like mine, here are the materials you will need:
120 ft of 18ga insulated wire (I bought a 100 ft spool of cheap speaker wire and pulled the 2 conductors apart):

1 – Plastic milk crate
1 – 15 to 365 pF air variable capacitor (found in many old radios, or a google search to buy one from an internet store)
1 – Tuning knob. Any knob will do as long as it fits the shaft on the variable capacitor.
1 – Tape or wire ties. I used tape to secure the wire while winding, then hot glue when finished.

When you begin to wind your coil, use tape or a wire tie to secure the wire, and leave about a foot of wire. This extra foot of wire will later be soldered to the frame on the capacitor. As you wind your coil, pull the wire snugly and with each turn leave about a quarter inch spacing between each turn. The spacing isn’t critical as long as the spacing is consistent.  I wound 21 turns on my crate. This may differ for you, depending on the size of your crate, or the value of you capacitor. If you find that the bottom frequency isn’t low enough, you can add more wire to make a few more turns. This will lower the bottom frequency for you.

After winding the coil, you can solder each end of the coil to your capacitor. The beginning of the loop gets soldered to the frame of the capacitor, and the other end of the coil to the rotor solder lug on the side of the capacitor. If you do not have a soldering iron, you can use alligator clips to connect your loop coil to the capacitor as well. I secured my capacitor to the inside corner of the crate with hot glue. I put a generous amount of the hot glue onto the bottom of the capacitor frame, and held it to the crate until the glue cooled enough for the capacitor to stay on it’s own. I used enough to get the job done, but not so much that it interfered with the plates in my capacitor. The hot glue seemed to adhere very well. I then checked the spacing of my coil turns, and secured them with the hot glue as well.

I was very impressed with the results after spending some time with the loop. It’s small enough to maneuver around easily, but big enough to give it some gain, so I can listen to daytime DX. I may make another tuned loop using two crates to see how much more gain I get with the larger aperture.

Happy DXing,
James Townley


Many thanks, James, for sharing your project with us! This loop appears to be relatively simple and accessible even to those with little knowledge of soldering or homebrewing. I’m now wondering how a loop made of four milk crates might perform!

Click here to view James’ Shortwave/Medium Wave blog.

Spread the radio love

The SDRplay RSP2 on Linux: a step-by-step guide

The SDRplay RSP2

Many thanks to Jon Hudson with SDRplay who recently shared the following video by Kevin Loughin which details the installation and operation of of the RSP2 on Linux. Kevin has written scripts that make the installation process more accessible to those not as familiar with Linux.

According to Kevin, this will run on Ubuntu 16.04 and other Debian-based Linux distributions.

Check out Kevin’s video below (or on YouTube). Kevin also published a step-by-step guide on his blog.

Click here to view on YouTube.

Click here to read step-by-step instructions on Kevin’s blog.

Spread the radio love

Video: EB3DYW’s Homebrewed regenerative receiver

While browsing a videos on YouTube, I stumbled across this demonstration of a brilliant little homebrewed regen receiver by Javier Guillaumet (EB3DYW):

Click here to view on YouTube.

What a beautiful little receiver!

Though I’ve build a number of receiver kits, I’ve never built one from scratch. Someday, I will muster up the courage and do so, though!

If you like home-grow regen receivers, you must check out Dave Richards’s Sproutie II regen receiver as well. A true work of art!

Post readers: Do you have any homebrew projects to share? Please comment!

Spread the radio love

Mike’s SDRuno tutorial videos for the SDRplay RSP series

Many thanks to SWLing Post contributor, Mike Ladd (with SDRplay) who notes that he has been working on a series of tutorials for operating the SDRuno.

In the past week, I’ve had no less than two readers ask about tutorial resources for SDRuno, and the RSP series software defined radios, so Mike’s message is timely.

So far, Mike has covered the following topics (click link to watch video):

  1. Basic layout and settings
  2. SDRuno with VAC (part 1)
  3. SDRuno with VAC (part 2)
  4. SDRuno Noise Reduction
  5. Memory Panel (part 1)
  6. Memory Panel (part 2)
  7. RSP1 and RSP 2 calibration
  8. SDRuno VAC & DSDdecoder

Mike’s videos are very clear and comprehensive. For example, check out his first video which outlines SDRuno layout and basic settings:

Mike is continuously adding new tutorial videos, so check out the full updated playlist on YouTube.

Great job, Mike!

Spread the radio love

Eric seeks advice: Building a directional mediumwave antenna for the RSP2 SDR

Many thanks to SWLing Post contributor, Eric McFadden (WD8RIF), who writes with the following question:

A request for assistance.

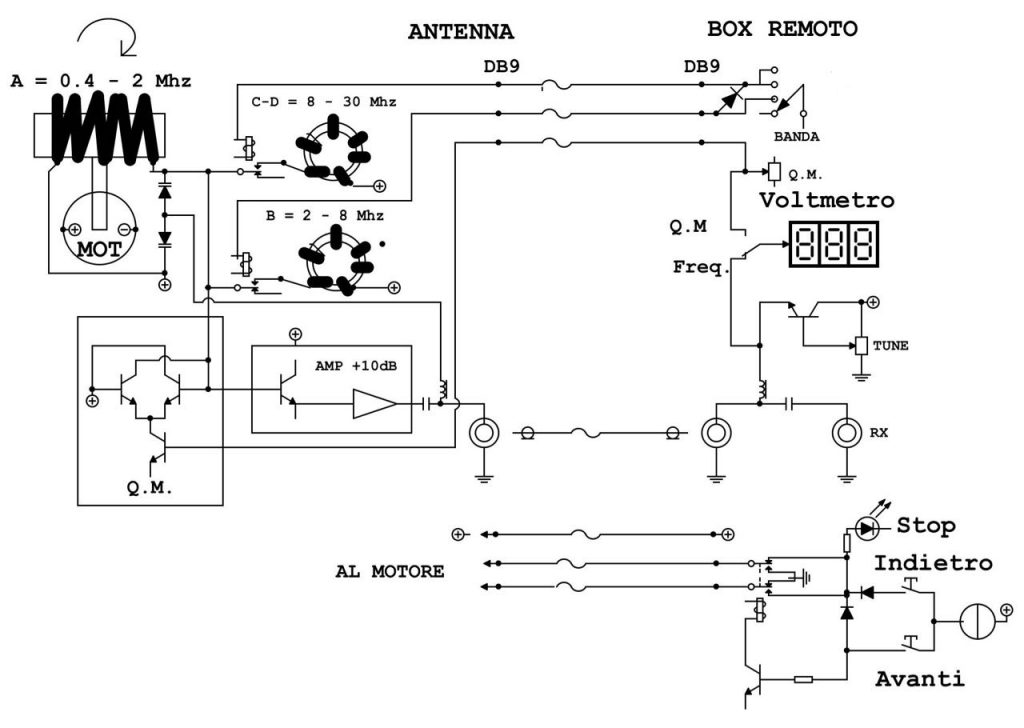
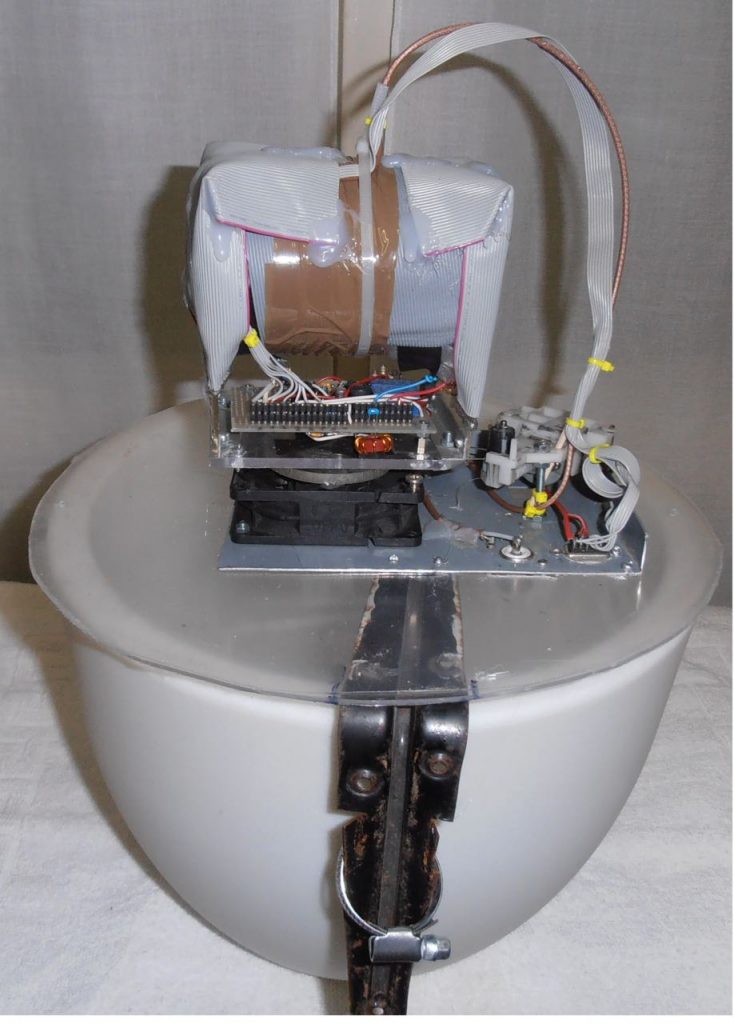
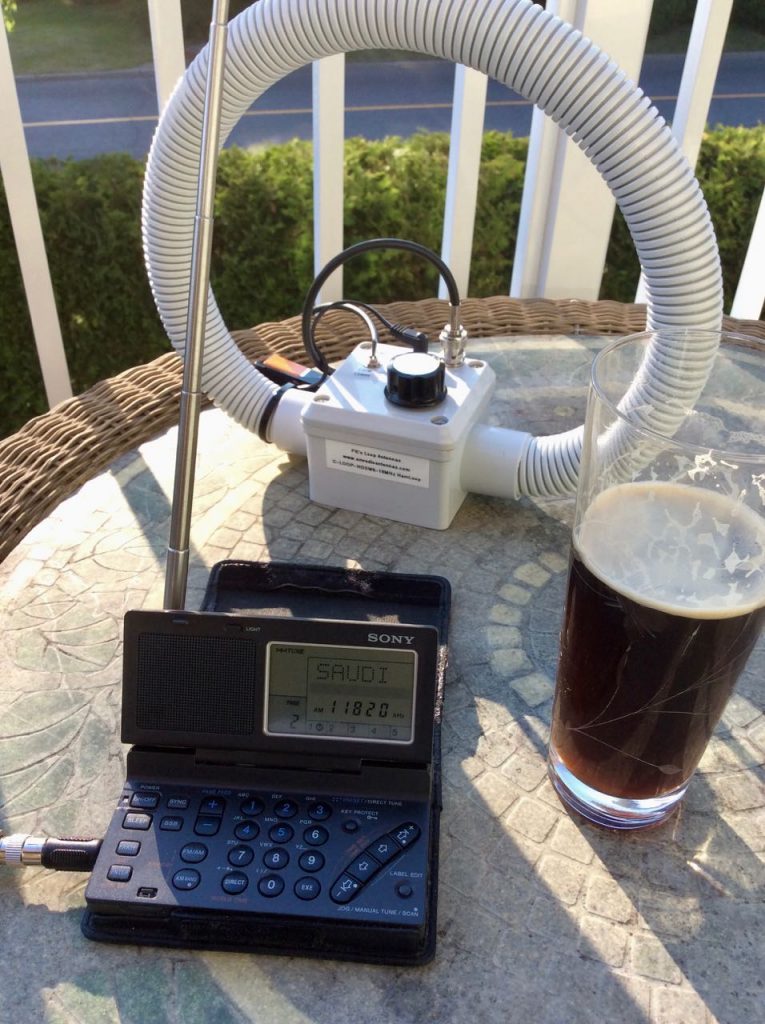
After comparing the reception of the RSP2 and 1/2 doublet to the reception of the County Comm GP-5 SSB and its little external ferrite-bar, I’ve decided I probably want to make some sort of directional antenna to use on AMBC with the RSP2. A wire loop, perhaps, or some sort of ferrite-bar thing, that connects to the RSP2’s Hi-Z input.

[Perhaps SWLing Post readers can suggest] options and then I can get the needed bits at the 2017 Hamvention.

Post readers: if you can offer Eric suggestions, or point him to antenna plans, please comment! I do believe he would rather build an antenna than simply buy one and he’s looking to permanently mount this antenna outdoors.

Spread the radio love

Dan’s take on ADS-B with the Raspberry Pi B model

Many thanks to SWLing Post contributor, Dan Srebnick (K2DLS), who recently posted a detailed overview of his ADS-B installation on his blog:

Monitoring NextGen ATC (on the cheap!)

A key component of next generation air traffic control is Automatic Dependent Surveillance – Broadcast (ADS-B). The current FAA mandate is for all included aircraft to output ADB-B transmissions no later than January 1, 2020. But you don’t have to wait to receive and map ADS-B. There is a lot of air traffic to be seen.

[…]I decided to use a spare older RTL-SDR stick based on the RTL2832U and R820T chips. This USB device comes with a small antenna that I hoped would be good enough to get me started. It is not in any way optimized for the 1090 MHz signals that are used by ADS-B and is roughly 19 parts per million (ppm) off frequency. It cost a bit over $10 at a hamfest a couple of years ago. The designs have improved since the early models were offered. Newer models include a TCXO (thermally compensated crystal oscillator) for stability and accuracy.

I needed software to take signals from the RTL-SDR stick and plot them on a map. That software is “dump1090”, originally written by Salvatore Sanfilippo. I added an install stanza to the Makefile, along with a systemd service file, for a smooth system install. I also needed to install the RTL-SDR USB drivers. The complete installation runs “headless”, meaning no monitor, keyboard or mouse need be connected. Remote management can be done via ssh.[…]

Continue reading on Dan’s blog…

This is fantastic, Dan! Thank you for taking the time to share all of the code snippets you needed to do the installation on the Raspberry Pi B as well. Post Readers: if you have an older Raspberry Pi and RTL-SDR sitting on a shelf, use Dan’s guidance to turn them into an ADS-B feeder!

Click here to read my ADS-B feeder tutorial based on the Raspberry Pi 3.

Spread the radio love