Many thanks to SWLing Post contributor, Jock Elliott, who shares the following guest post:
 The noise, the neighbor, and the box
By Jock Elliott, KB2GOM
Imagine the annual meeting of an international corporation called SWLing Inc. (or SWLing LTD). The CEO, looking splendid in his custom-tailored suit, is addressing the assembled multitudes. On the giant screen is an equation showing signal-to-noise ratio. The CEO aims his laser pointer at the word “signal.” We want ALL of this, he says. Then he points at the word “noise,” and says, “and NONE of this.”
Then he looks at the audience and says, “Got it?” And he walks off the stage.
That, whether they want to admit it or not, is the mindset of every single SWL, international music fan, overseas program listener, and DXer. Period. They want as much signal as they can get, and as little noise as possible. That’s what drives radioheads to buy amplified loops, to string long wires, to build towers and yagi antenna arrays, to lay out beverage antennas hundreds of feet long, and to build ferrite sleeve loop antennas . . . it’s all about the signal to noise radio. More signal, less noise.
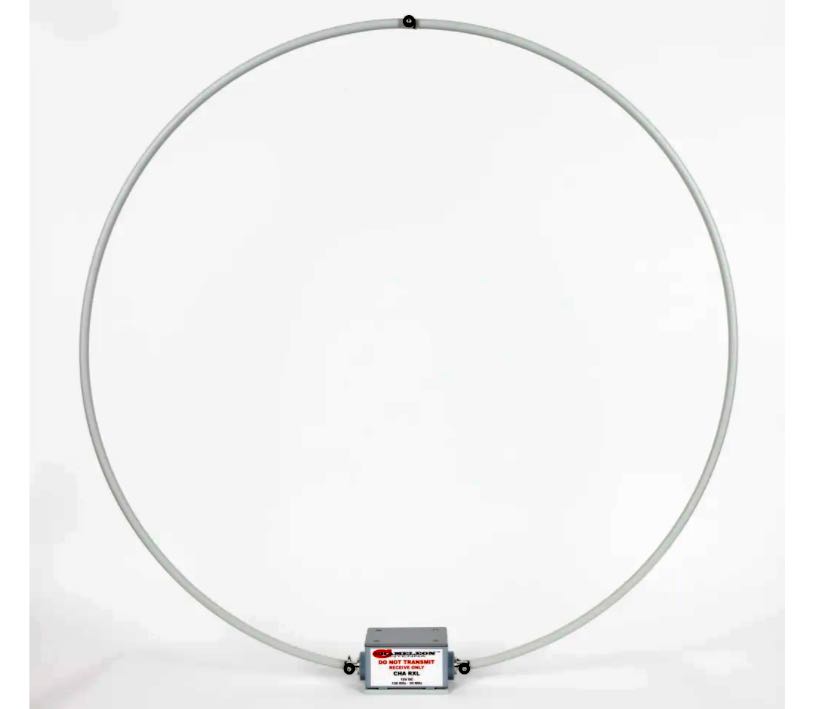
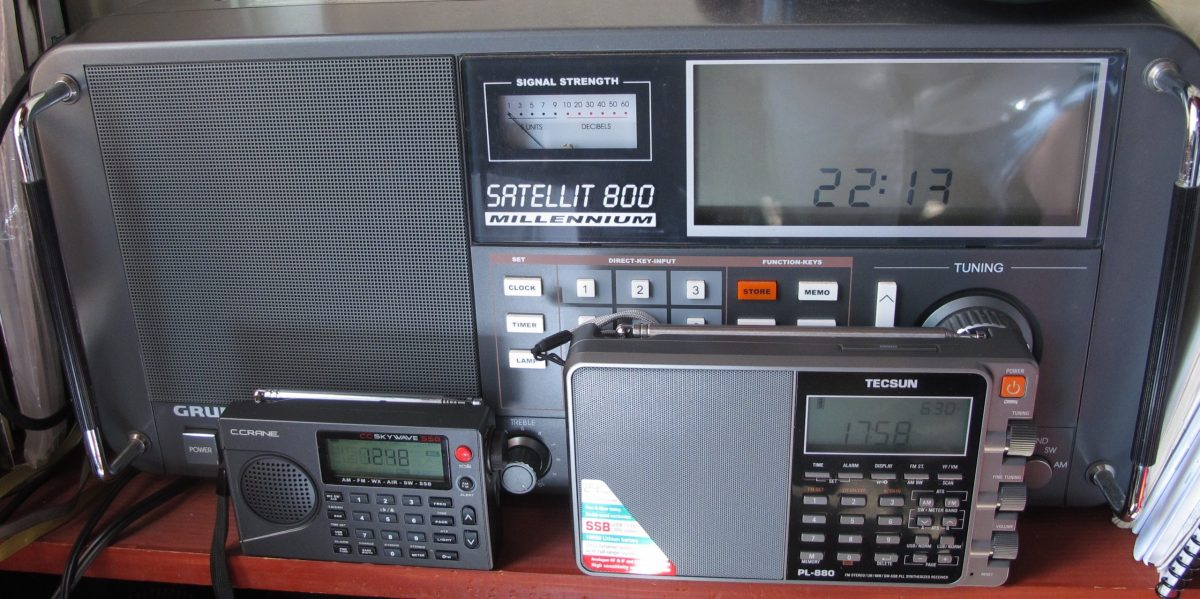
And it was noise that was bothering me . . . a kind of hiss, hash, eggs-frying sound. It was that noise that prompted me to create the horizontal room loop to try to boost the signal coming into my Grundig Satellit 800 over the noise normally received on the Satellit’s whip antenna.
And it worked; there was more signal on top of the noise . . . but that hiss, hash, whatever you want to call it, was still there. I could hit the attenuator, and some of the noise would go away, but it was still there. After a while, it was just plain tiring on the ears. Poking around the internet, the wisdom seemed to be that the source of the noise was likely electric/electronic gear in my radio room. So I killed the power to everything in my radio room, powered the Satellit 800 off internal batteries, and the noise was still there.
So I called my neighbor. He’s (a) a really good neighbor, (b) a ham with a serious station, and (c) technically knowledgeable. I explain the problem. He says, “Meet me outside.”
We meet between the yards, and he has a Sony 7600 portable shortwave radio in his hand. He switches it on. “Is this the noise you’re talking about?”
“Yup,” I say. “That’s the atmosphere,” he says. Well, nuts.
More poking around the internet reveals that an amplified receive-only magnetic loop antenna might be significantly quieter, and there are several manufacturers of them. I’m thinking about one of those loops when I run across a review of a relatively inexpensive ham transceiver that is reported to be excellent at pulling difficult signals out of the noise because of the superior “digital signal processing” (DSP) that is built into the transceiver.
Digital signal processing . . . that sounds promising . . . after all, if you take a step back and think about it, there are two ways to improve signal-to-noise ratio. One way is to improve the signal with better antennas and the like. The other way is to reduce the noise, and one way to achieve that might be through digital signal processing.
So, are there any companies that make external digital signal processors that could be used with an HF receiver? There are several, it turns out. Some of the units are large, studded with knobs and look complicated to operate, and almost all of the offerings require an external power supply.
But I wanted something that could be easily transferred between receivers and might even be used with a portable receiver when I was doing my horizontal DXing in bed. A big box that requires an external power supply was going to be awkward, cumbersome, and inconvenient. And that’s when I ran into a British company called BHI. They make noise cancellation products, gizmos that use digital processing to remove noise from an audio signal. They serve amateur radio, commercial, marine, medical, and even covert surveillance markets.
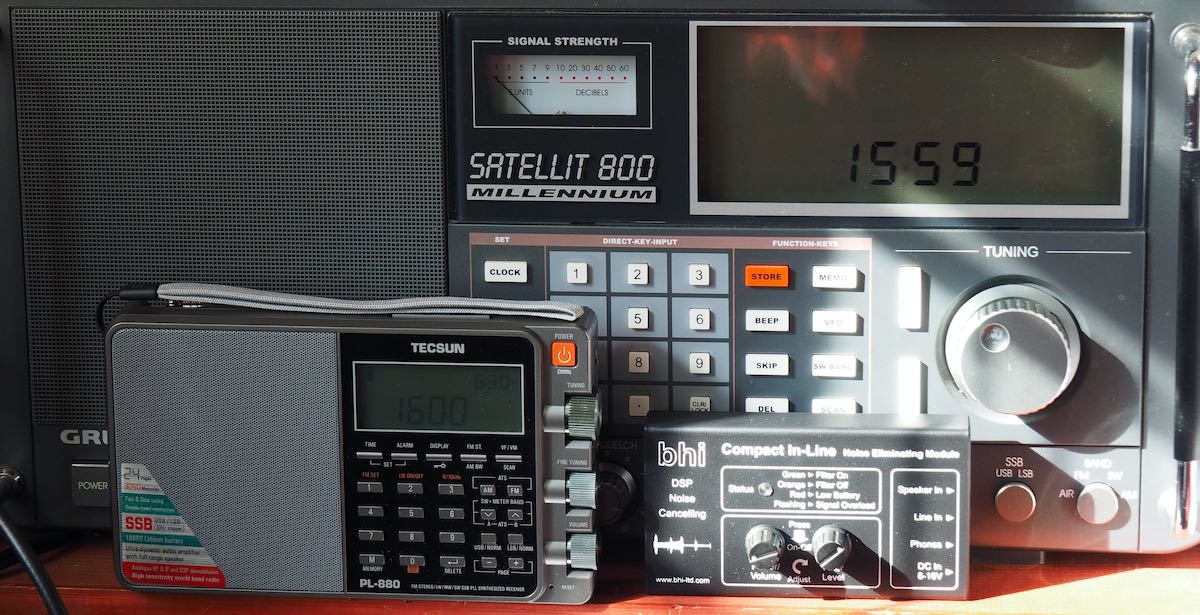
One of their products is the Compact In-line Noise Eliminating Module. It can be run off AA batteries and isn’t much bigger than a deck of cards (in fact, its footprint is almost exactly the same as my CCrane Skywave SSB). It has just two knobs and is easy to set up: you just plug it in between your HF receiver and your headphones or external speaker. It even comes with a cable to connect your receiver to the Noise Eliminating Module.
I order one from DX Engineering in Ohio. The cost, delivered to my door, including tax, is just over $260 American dollars. It arrives two days later, just in time for the bands to be sizzling with noise (apparently) produced by a solar coronal mass ejection (CME). The amount of noise is brutal, about as bad as I have ever heard in decades of hamming and SWLing.

Plugging the BHI in-line module into my Satellit 800 and clamping the headphones over my ears, I begin tuning the 20-meter ham band. Part way up the band, I run into a Canadian ham chatting with someone. His signal is barely above the noise and copyable, but the noise is really annoying. I punch the button for the BHI device, and . . . the noise disappears. Wow! I press the right-hand button (to bypass the BHI device), and the noise comes back full force.
Quickly, I grab my Tecsun PL-880, extend the whip antenna, tune to the same frequency, and plug the BHI in-line module into the 880. The noise sounds even worse on the 880 (the Canadian ham is barely copyable), probably because of the shorter antenna. But when I engage the BHI device, the result is even more dramatic; a very pleasant signal emerges as the BHI unit suppresses the noise, with just a bare hint of hiss still audible.
Then I take hold of my CCrane Skywave SSB to see how the BHI in-line module will behave with that. It doesn’t take long to realize that, apparently because of the solar activity, all the bands are noisy on the Skywave. Not just shortwave, but AM, FM, weather, and Air were all uncharacteristically affected by hiss or noise. The BHI Compact In-line Noise Eliminating Module reduced the noise and made each of them more pleasant to listen to, without exception. I am “officially” impressed.
As I experiment with the BHI device in following days, during which atmospheric conditions improve, I continue to be impressed. Why? Because the BHI Compact In-line Noise Eliminating Module is effective at substantially reducing noise without a lot of fuss and bother.
As good as the BHI module is, though, it is not a miracle device; it does have some limitations. Sometimes it will not eliminate all the noise, even though the noise will be reduced substantially. If you crank up the level of filtering/noise cancellation too high, it can distort speech and make tuning single sideband difficult. Further, you sometimes hear artifacts of the digital signal processing. These artifacts sound to me like trickling water, and, frankly, I don’t find these sounds objectionable (they sure beat the heck out of the atmospheric noise), but some people, I suppose, might not like them.

Image via DX Engineering
The module is easy to operate. There are two knobs. Press the left one in to power up the unit, then turn the knob to adjust the volume. Press the right knob to activate noise reduction and then turn the knob to adjust the level of noise reduction. Sometimes, I find, the sweet spot for listening is with the noise substantially reduced – perhaps 85-90 percent – but not completely gone. Press the right knob again to bypass noise reduction and hear what the signal sounds like without the BHI module online.
Because the two knobs on the face of the BHI module are also push-buttons, if you are going to pack the device in your luggage, remove the batteries to prevent the unit from inadvertently turning on and draining the batteries.
Bottom line
The BHI Compact In-line Noise Eliminating Module is highly effective at reducing or eliminating noise. It works on international broadcasters, ham single-sideband signals, and utility stations, as well as AM, FM, and even NOAA weather radio when conditions are horrible. It can make weak signals easier to hear and strong signals more pleasant for long-term listening. It reduces audio fatigue. It is not a cure-all for all signal-to-noise or audio problems, but it is a big help. Further, it can be readily moved from location to location and from radio to radio and adds a new capability to receivers that do not have built-in digital signal processing.
I think it is a worthwhile addition to any shortwave listening post.