Radio Waves: Stories Making Waves in the World of Radio
Because I keep my ear to the waves, as well as receive many tips from others who do the same, I find myself privy to radio-related stories that might interest SWLing Post readers. To that end: Welcome to the SWLing Post’s Radio Waves, a collection of links to interesting stories making waves in the world of radio. Enjoy!
Many thanks to SWLing Post contributors David Iurescia, Ronnie Smith, Troy Riedel, Jack Dully, and the Southgate ARC for the following tips:
Radio Prague asks, “Would you like to be featured on our broadcast?” (Radio Prague via Facebook)
Our 85th anniversary is coming up on August 31st! We’re celebrating the occasion with a special broadcast that day and would love to hear from you – our listeners. If you’d like to send us your greetings, please record a message and send an audio file via email (to [email protected]) or Facebook. Due to time constraints, your recording should be around 30 seconds long. Please include your first name, where you live, how long you’ve been listening, and what you like most about Radio Prague Int’l.
We look forward to hearing from you!
The schooner Bowdoin is a century old this year. Now owned by the Maine Maritime Academy (MMA) as a training vessel, the ham radio history of the 88-foot (LOA) Bowdoin is often neglected. Constructed in Maine specifically for Arctic exploration, the vessel relied on amateur radio for communication during explorer Donald B. MacMillan’s Arctic Expedition of 1923 and on the MacMillan-McDonald-Byrd Expedition of 1925 — thanks in part to ARRL co-founder Hiram Percy Maxim, W1AW. The venerable vessel, the official vessel of the State of Maine and the flagship of Maine Maritime Academy’s Vessel Operations and Technology Program, recently underwent a complete hull restoration and refitting and has done a little touring to mark its centenary. Its home port is Castine, Maine.
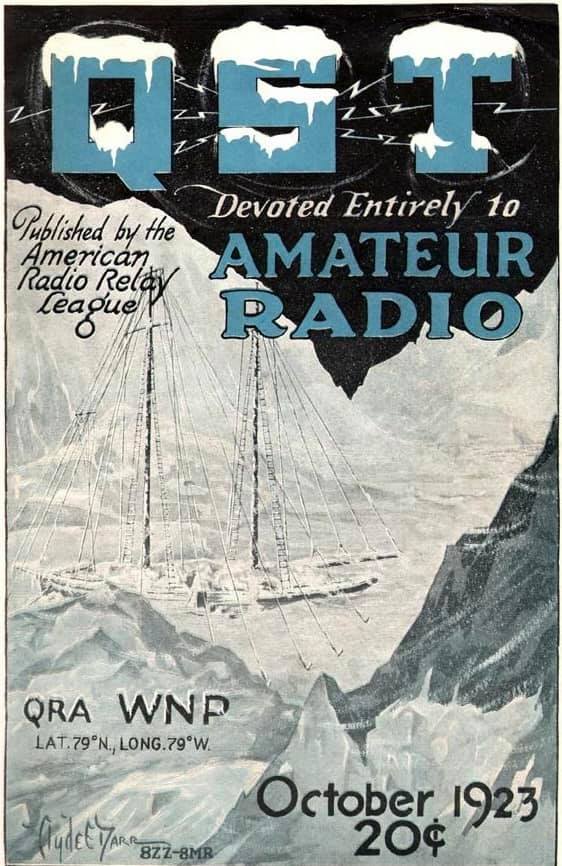
The longwave transmitters MacMillan used on his earlier missions had proved “unable to penetrate the screen of the aurora borealis,” then-ARRL historian Michael Marinaro, WN1M (SK), explained in his article, “Polar Exploration,” from the June 2014 issue of QST. In 1923, MacMillan turned to ARRL for help in outfitting his next expedition with better wireless gear. Marinaro recounted, “It was enthusiastically provided.” Maxim and the ARRL Board recruited Donald H. Mix, 1TS, of Bristol, Connecticut, to accompany the crew as its radio operator.
M.B. West, an ARRL Board member, designed the gear, which was then built by amateurs at his firm, Zenith Electronics. The transmitter operated on the medium-wave bands of 185, 220, and 300 meters, running 100 W to a pair of Western Electric “G” tubes. Earlier exploratory missions had used gear that operated on longwave frequencies. The shipboard station on board the Bowdoin was given the call sign WNP — Wireless North Pole. [Continue reading…]
In 1893, sending information across America is a time-consuming process. Letters travel slowly by land, and those who can afford it, send telegrams along a limited network of fixed wires. But two rival inventors have the same idea for improving things: wireless communication. Nikola Tesla is one of the most famous and successful thinkers of his day, single-handedly changing the way electricity is supplied and generated. Guglielmo Marconi is a young, uneducated Italian inventor who ignores scientific consensus and goes with his gut. Both want to rid the world of wires and send messages through the air. With millions of dollars on the line, the two men battle to dominate the new market and bring radio to the masses. [Click here to view episode on the History Channel.]
MARION COUNTY, Fla. — A Marion County woman is taking on her neighborhood association, in a matter she said puts her health at risk.
Michelle Smith, a Type 1 Diabetic, and a consultant determined that her neighbor’s ham radio hobby might have interfered with the doses of insulin being pushed out from her pump.
The 55+ community where she lives hired that consultant and told the neighbor to shut down his amateur radio station.
But a copy of the community’s rules shows a change was put in place that could pave the way for other similar antennas to be installed.
9 Investigates learned that Smith’s complaint went all the way to the state level.
She wants the Florida Commission on Human Relations to make a determination whether the community’s board and management is doing enough to protect her and others with medical devices.[…]
RTE carried out essential maintenance of the Long Wave transmitter in Clarkstown, Co. Meath for two months during which period RTE Radio 1 was not available on 252 kHz.
This essential maintenance of the transmitter was due to be carried out in 2020, but was postponed due to Covid-19 restrictions. For the health and safety of those carrying out the works, the transmitter had to be switched off for the works period. Any overhaul has to be completed during the summer months when there is good light and weather conditions.
Transmissions commenced once again last Monday with an output of 500 kiloWatt during daytime and 100 kiloWatt at nighttime.
During this shutdown, one could receive Radio Algeria transmitting on the same frequency with 1.5 megaWatt during the day and 750 kiloWatt at night, broadcasting a varied program.
Do you enjoy the SWLing Post?
Please consider supporting us via Patreon or our Coffee Fund!
Your support makes articles like this one possible. Thank you!