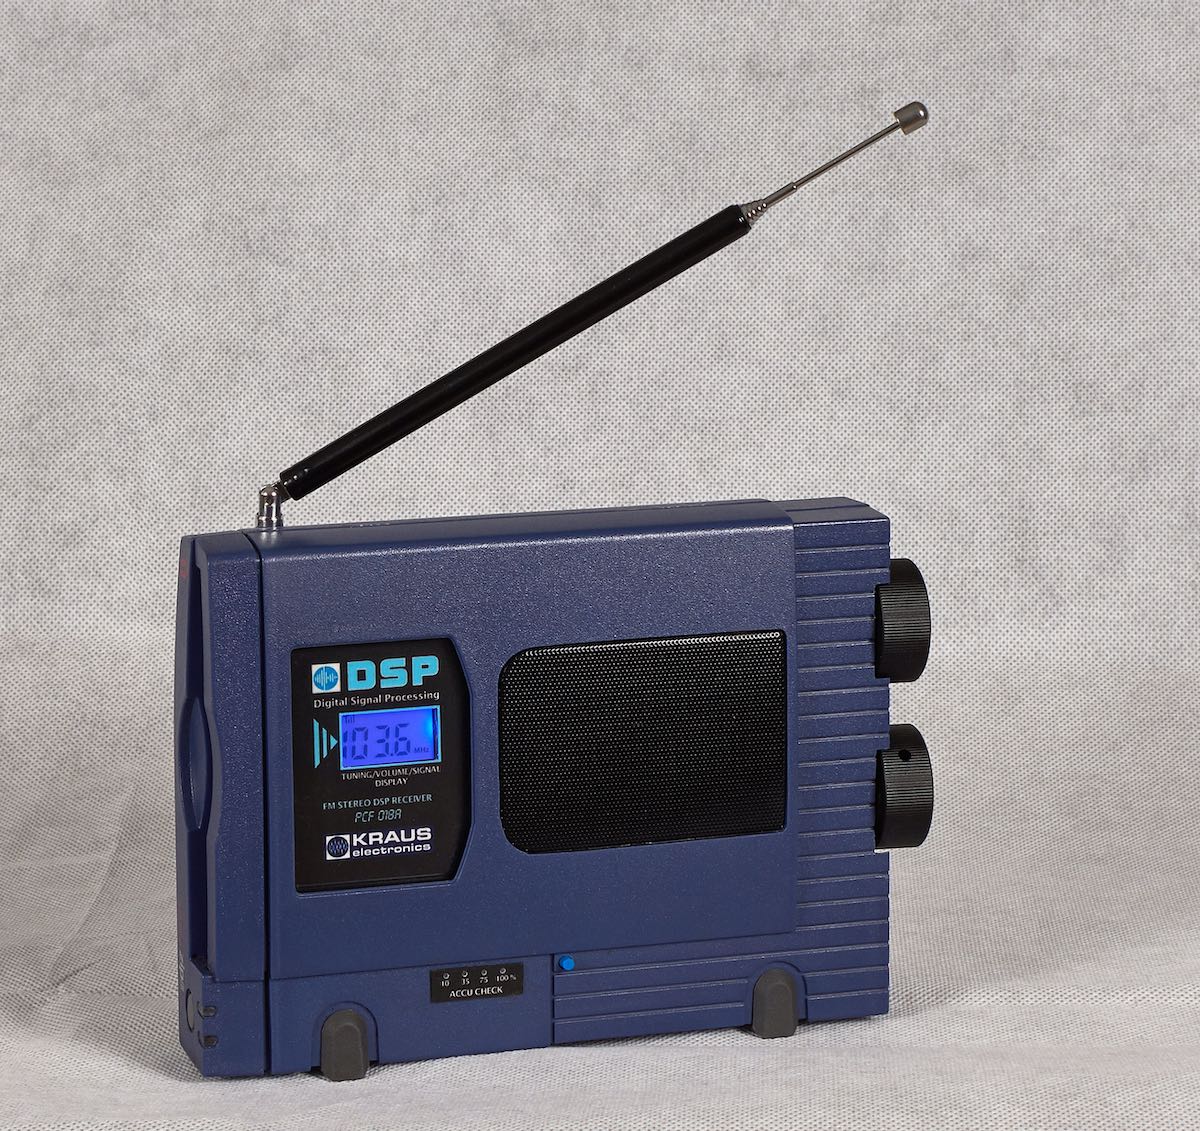
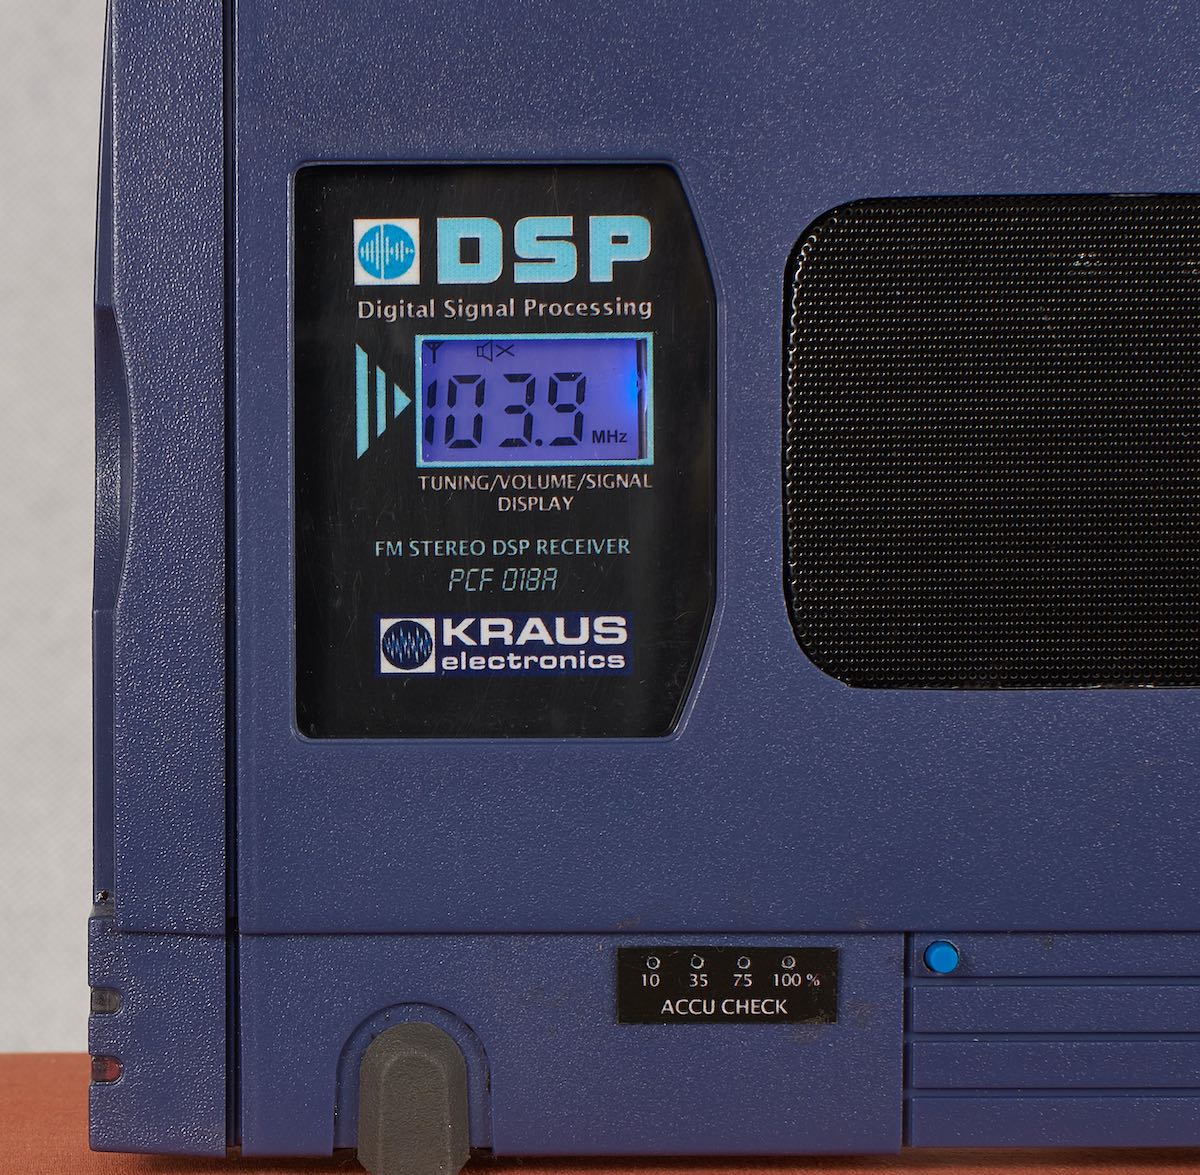
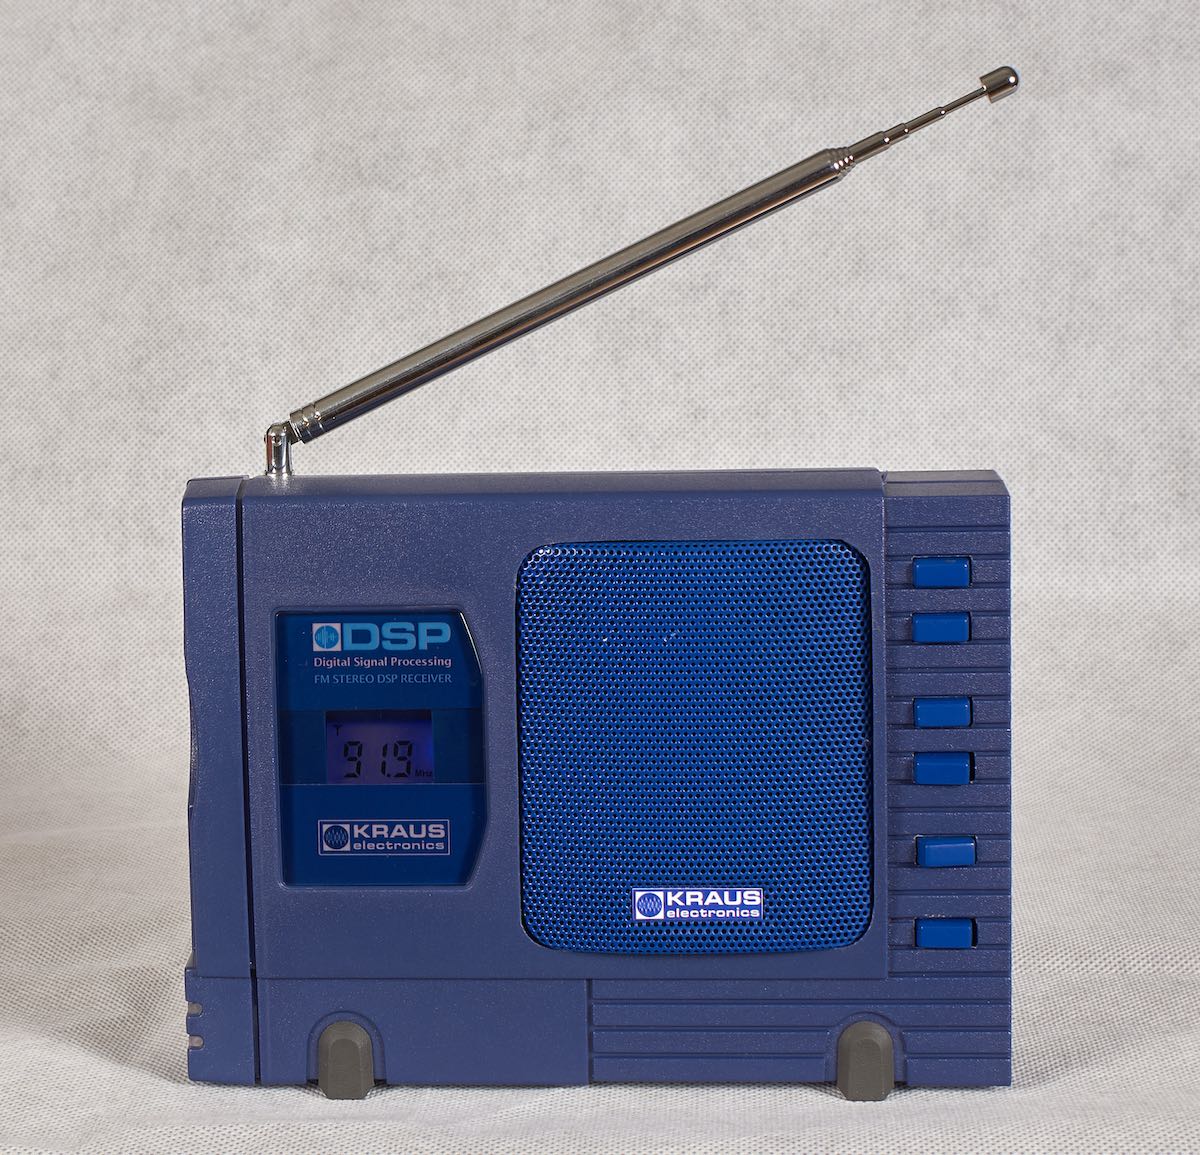
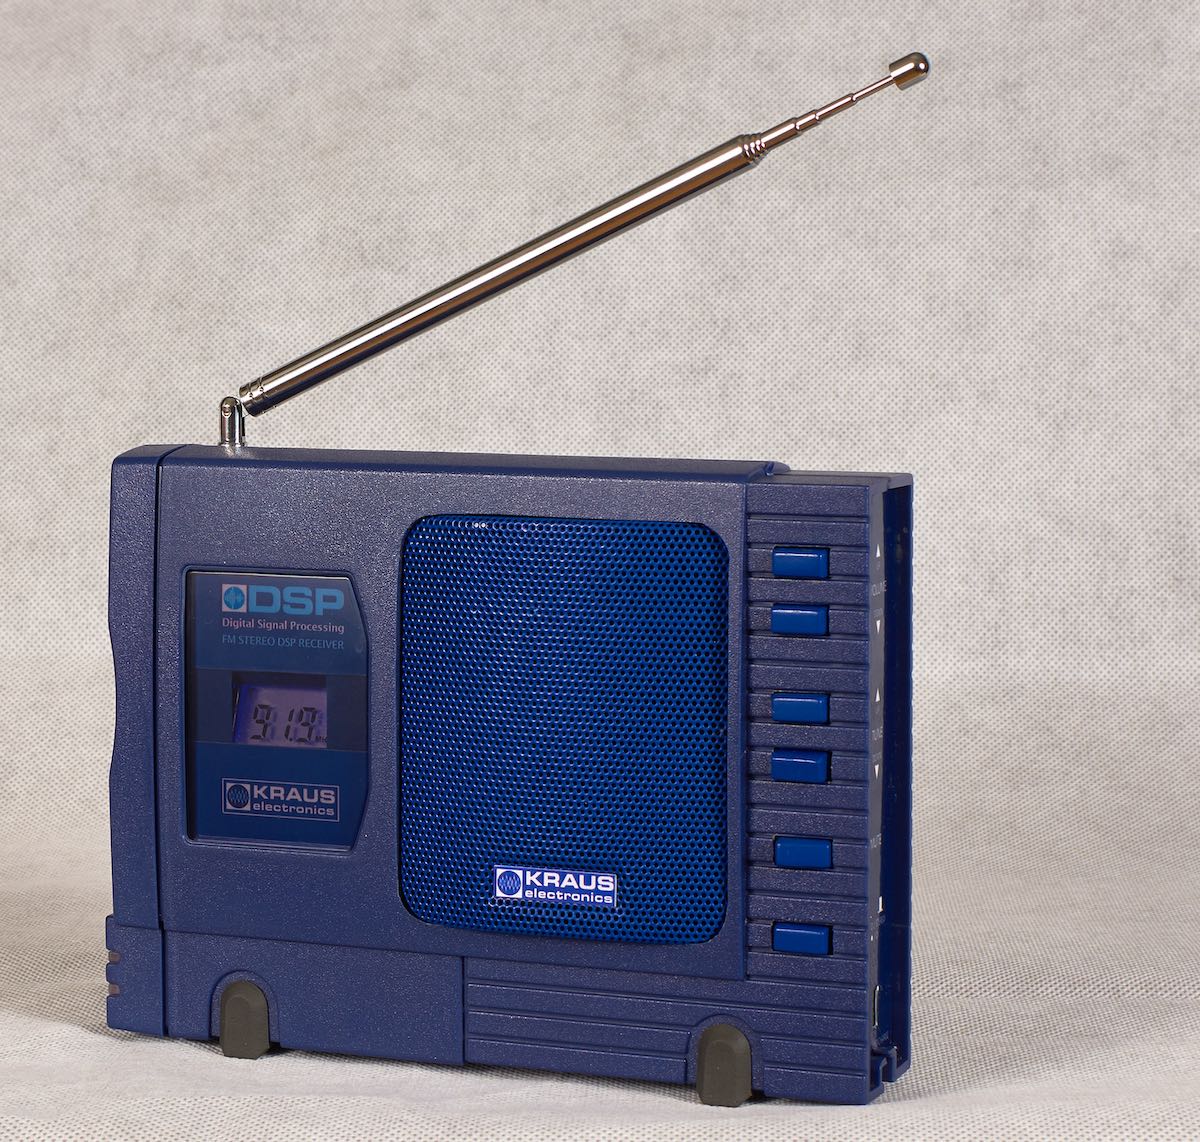
Many thanks to SWLing Post contributor, Pavel Kraus, who shares the following guest post:
Raspberry and internet radio
by Pavel Kraus
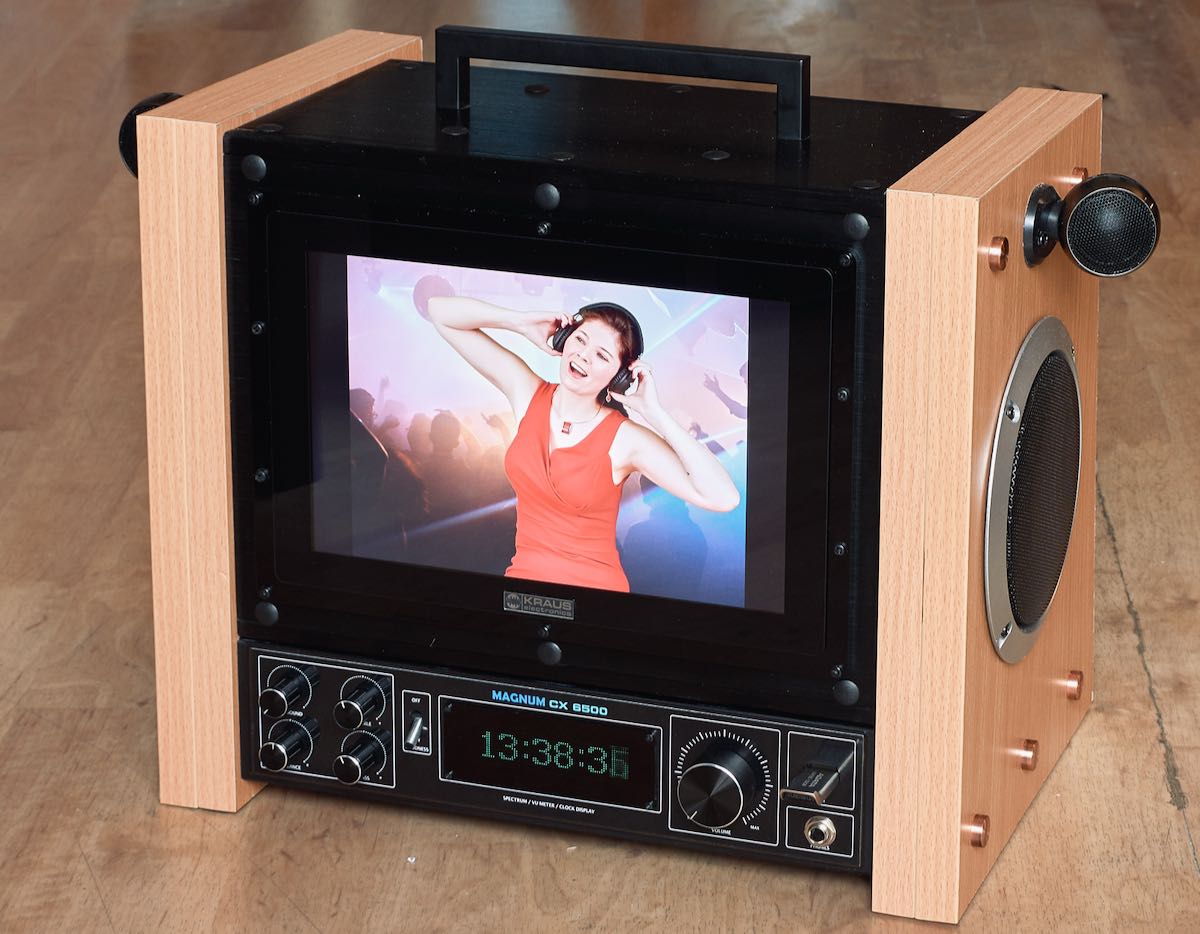
Raspberry and Volumio
I recently read an article about a Raspberry microcomputer here and I would like to introduce you to an idea that is easy to implement, not too expensive and does not require special computer knowledge due to the number of detailed instructions on the Internet. With Raspberry and the Volumio free software audiophile system, it is possible to design devices that allow you to play music files from connected or network storage or listen to Internet radio, etc. You can also play music from Spotify using the available plugins.
The system can be controlled by touch from the built-in display, from a mobile phone or tablet or by remote control. There are a huge number of internet radios, you can search them by genre or by country. For example, radio stations in the United States are categorized by state, in each state by city, and we can select individual stations in that city.
Volumio is the name for the project, which is presented at https://volumio.com/en/.
There is also the option to download this software and install it on a microSD card. Detailed documentation is available at https://volumio.github.io/docs/, so I will not describe it in detail here, the installation itself is not complicated. I used the following components to make this device: Continue reading