WARNING: due to the graphic nature of these photos, those radio enthusiasts who love the Sony ICF-SW100 may want to look away. Parental Discretion is advised.
Guest Post by Troy Riedel
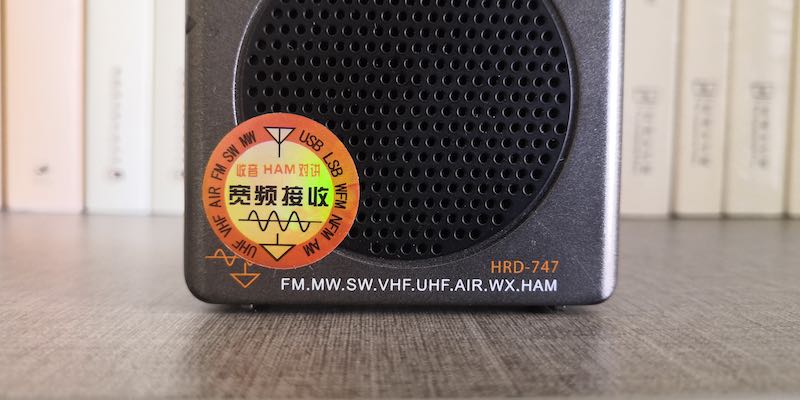
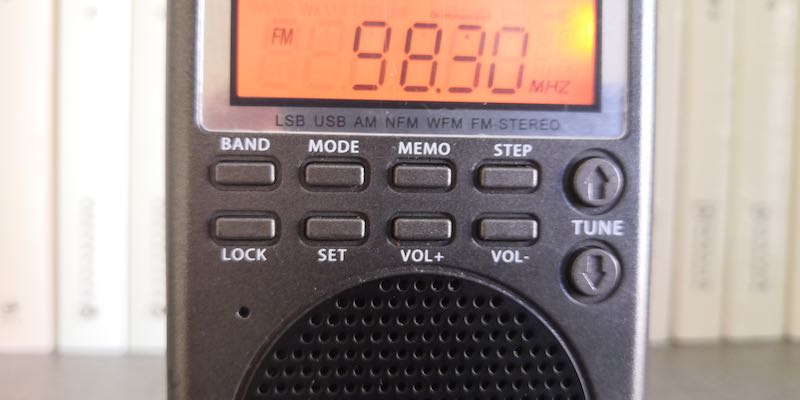
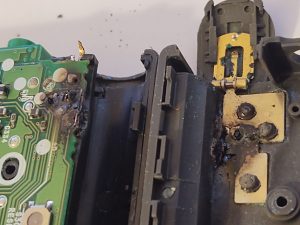
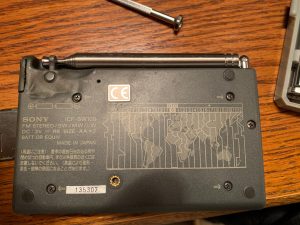
Some of you may remember my recent lamenting regarding the unexpected loss of my beloved Sony ICF-SW100 posted on this blog. The Medical Examiner opened the radio’s chassis last week. The manner of death is rather obvious, but what caused it? Before I reveal my research, allow me to quicky remind you of the context to the situation.
Due to a medical emergency, I “deployed” for two months to tend a remote farm (one of the few benefits was being able to drive a tractor – a kid from my generation grew-up dreaming of piloting heavy construction equipment and farm implements). I traveled there with two shortwave portables: the Sony ICF-SW100s and the XHDATA D-808. After a long day of work, shortwave radio was my only mode of relaxation during my extended period of solitude.
I had always used Eneloop nickel metal hydride (NiMH or Ni-MH) rechargeable batteries in my SW100. I’m not a physics nor a chemistry major (the closest knowledge I have is enough atmospheric physics to have once been a moderately successful synoptic weather forecaster & aviation weather briefer in the military). As such, my education doesn’t directly correlate so I offer an advance apology for my overly simplistic and layperson synopsis of the specific cause & manner of death of my SW100.
I think we all know that a battery is “energy stored inside of a small container”. And energy is heat – measured by random motion (random motion is directly proportional to heat meaning as motion increases or decreases, the heat generated by the motion will do the same).
NiMH & Lithium battery cells have an alkaline electrolyte, usually potassium hydroxide (potash). The electrolyte serves as the catalyst to make a battery conductive by promoting the movement of ions from the cathode to the anode on charge and in reverse on discharge. The electrolyte is sensitive as it has to be to promote charging & to generate power. And the heat that’s produced by the battery can be dangerous because as we previously discussed, a battery is a “closed” container that stores energy … and if we think about it, so is a bomb, right?
Well, the term closed is slightly misleading and not 100% correct. A rechargeable household battery has a vent which acts as an exhaust. This vent allows excess heat to escape. If you Google image search “NiMH battery anatomy”, there are two ways to vent heat. On Panasonic Eneloops and most commercial household batteries, the vent is the rubber puck (disk) under the positive button tab. This disk seals the internals (thus the term “closed”) while also permitting excess heat to [generally] safely vent. Some manufacturers actually have multiple exhaust openings (holes) around the button top that act as vents. Regardless of how it’s done, these batteries do have an exhaust or venting system.
To summarize thus far, rechargeable batteries vent excess heat (whether generated during use or during charging) from the top of the battery. Venting heat during charging is critical because as well all know, one does not want to overheat batteries during (re)charging. This is why everyone should use a smart charger. A smart charger is one that monitors the energy level of the battery and shuts-off when it reaches capacity (I learned that capacity is defined differently by different manufacturers but all seem to shut-off somewhere at 90% or greater). I remember the portables that were released maybe 10-15 years ago that introduced charging inside the radio. The very early models were not smart, the user had to either program how many hours you wished to charge the battery/batteries or the radio itself was programmed to charge for x-amount of hours regardless of whether the batteries needed to be charged for that long (you could very easily continue charging for hours after the battery attained 100% capacity – a very dangerous situation for your valuable radio!). Thankfully most newer radios, except the inexpensive “no-frills” radios, have smart changing technology. Regardless, I have never been a fan of using my radio to charge batteries as I’ve always felt this is too dangerous because the process produces heat and I do not want [excess] heat generated (or vented) inside of my radio!
There are typically more shipping restrictions, more transportation restrictions with Lithium batteries than there are for NiMH batteries (I’m sure most people have noticed shipping restrictions when buying electronics regarding the shipment of Lithium batteries – and if shipment is allowed, it’ll cost more to ship because Lithium batteries cannot be shipped via all modes). Lithium (3.7v) & NiMH (1.2v) batteries are essentially the same technology, except Lithium generates more “power” aka “more heat” (3x the voltage) and are thus much more sensitive to heat (including environmental heat) .
In doing my research, I found a slight conflict regarding the stability of NiMH batteries in storage. Some manufacturers warn that NiMH batteries should not be stored in temperatures over 30C (86F) while others list 40C (104F) as the threshold. What happens above this threshold? The electrolyte catalyst is activated, and the battery will generate its own heat (heat that must be vented).
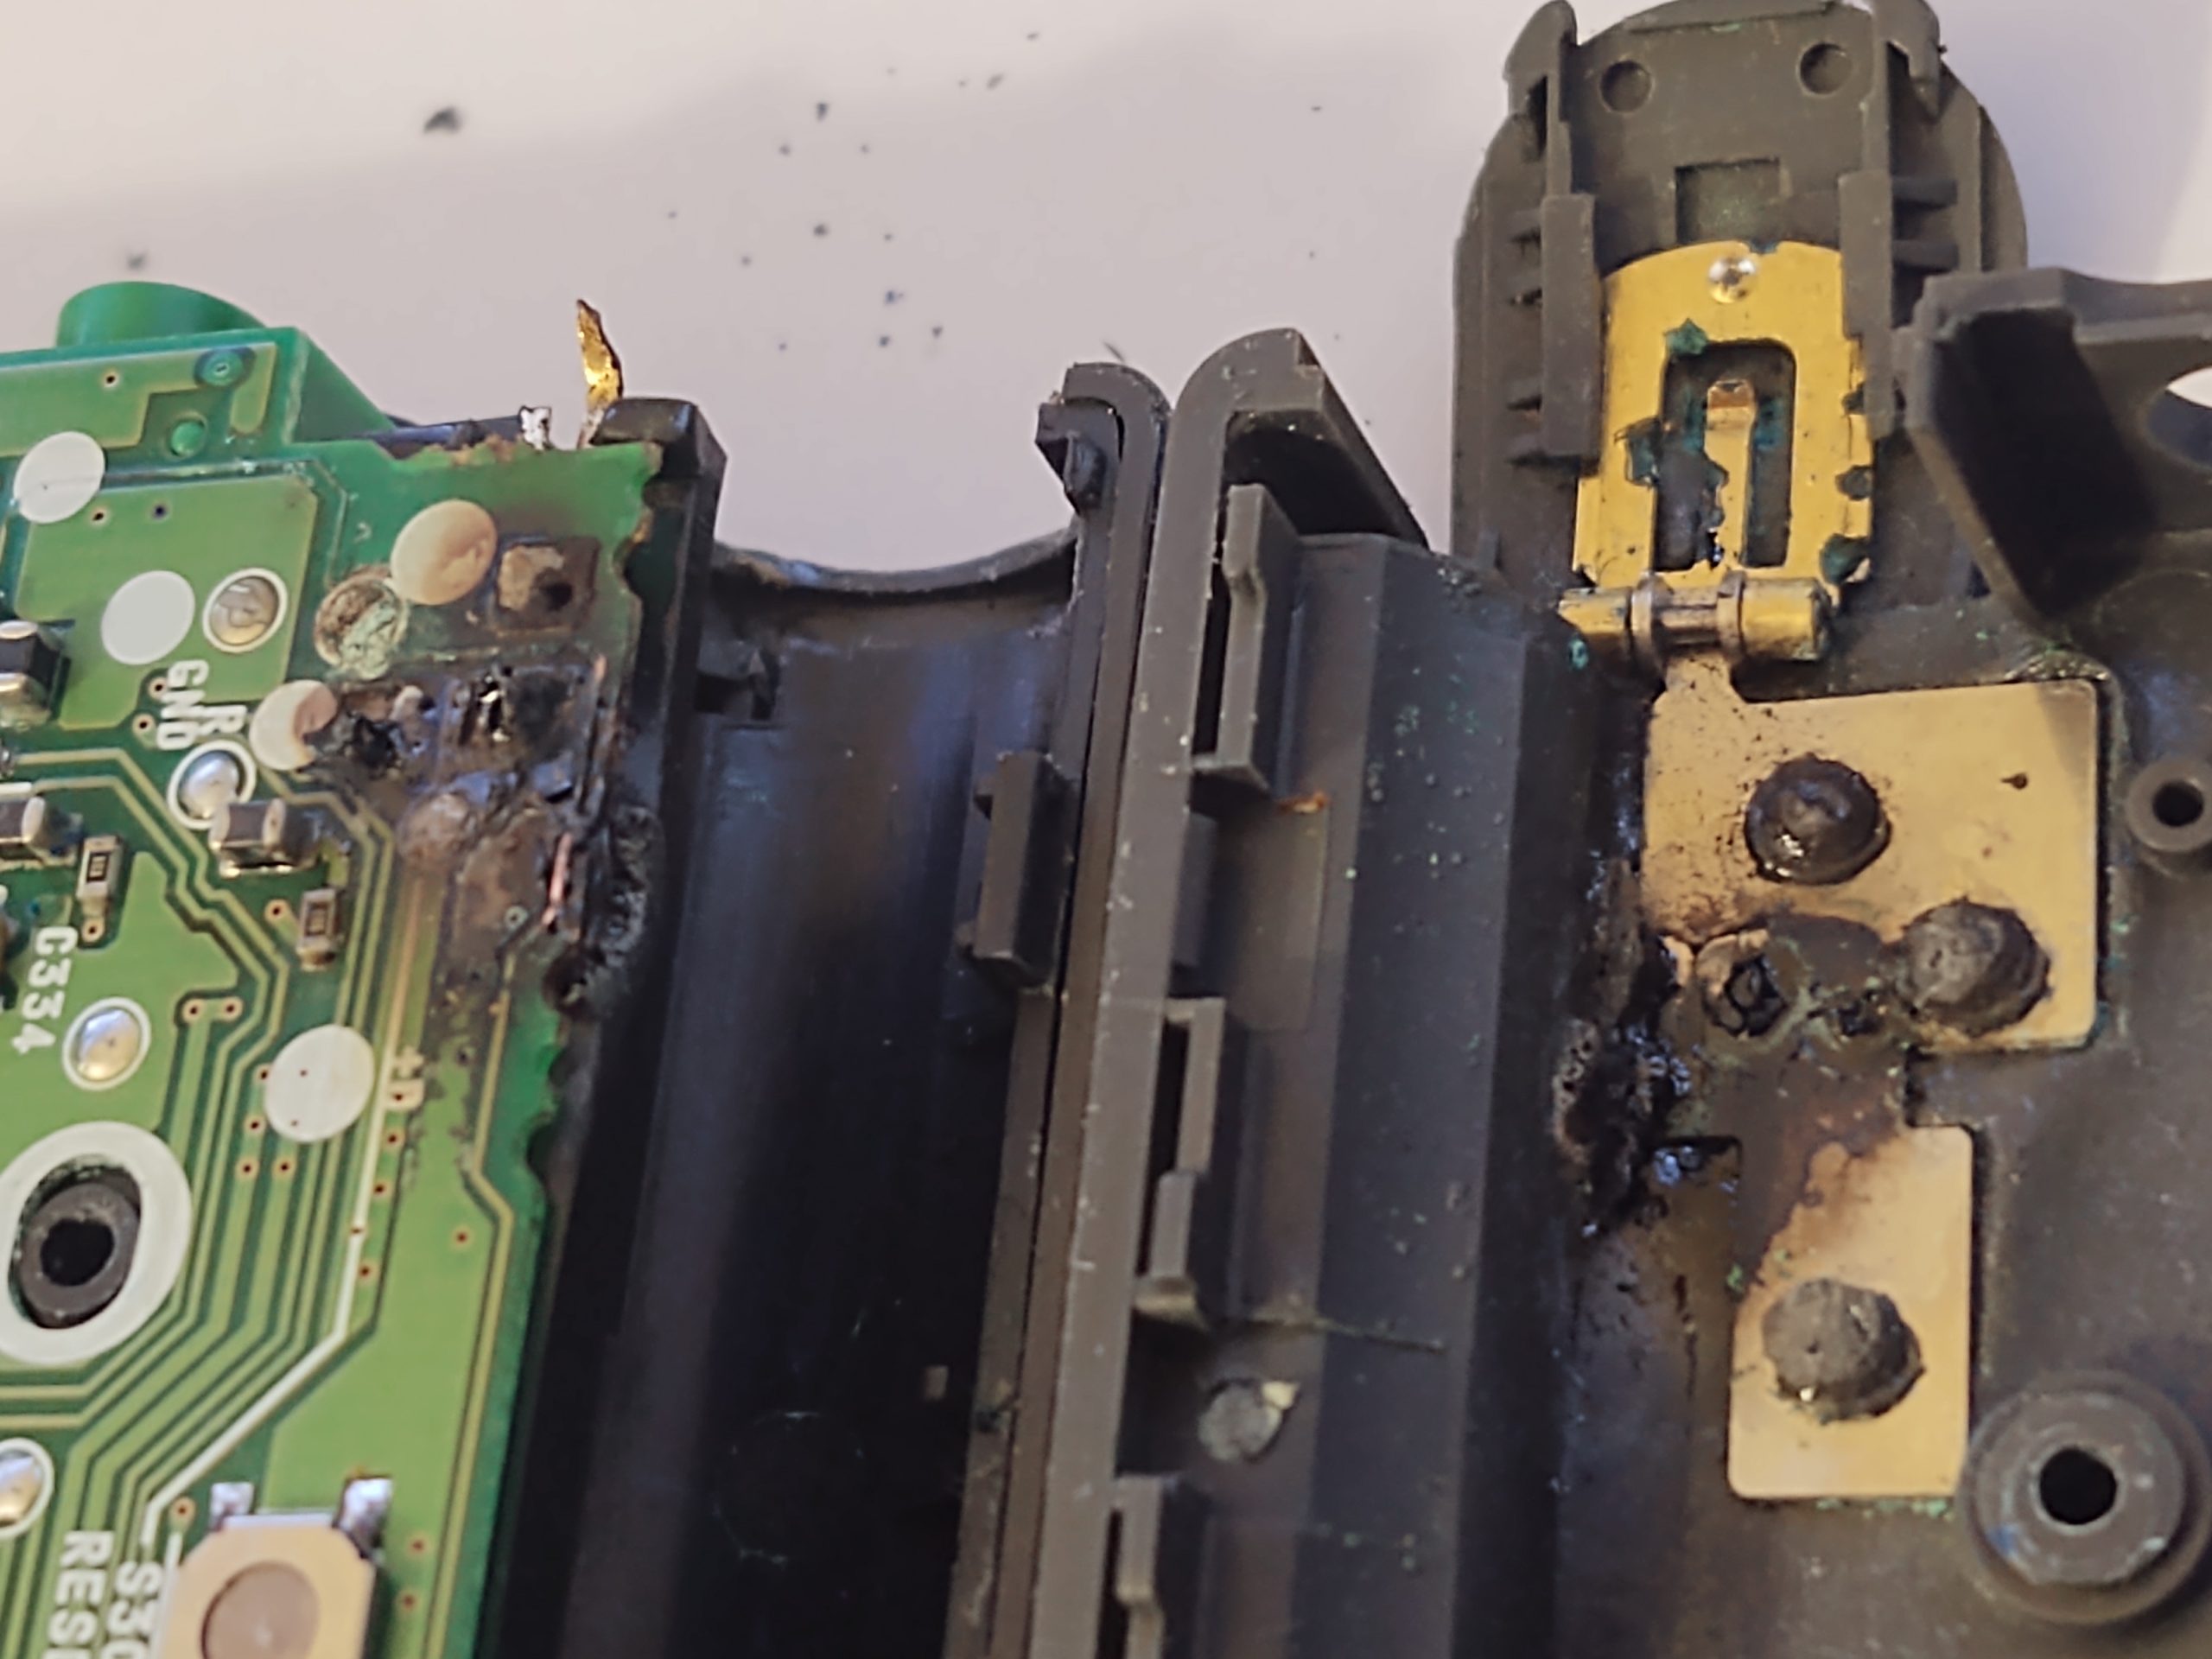
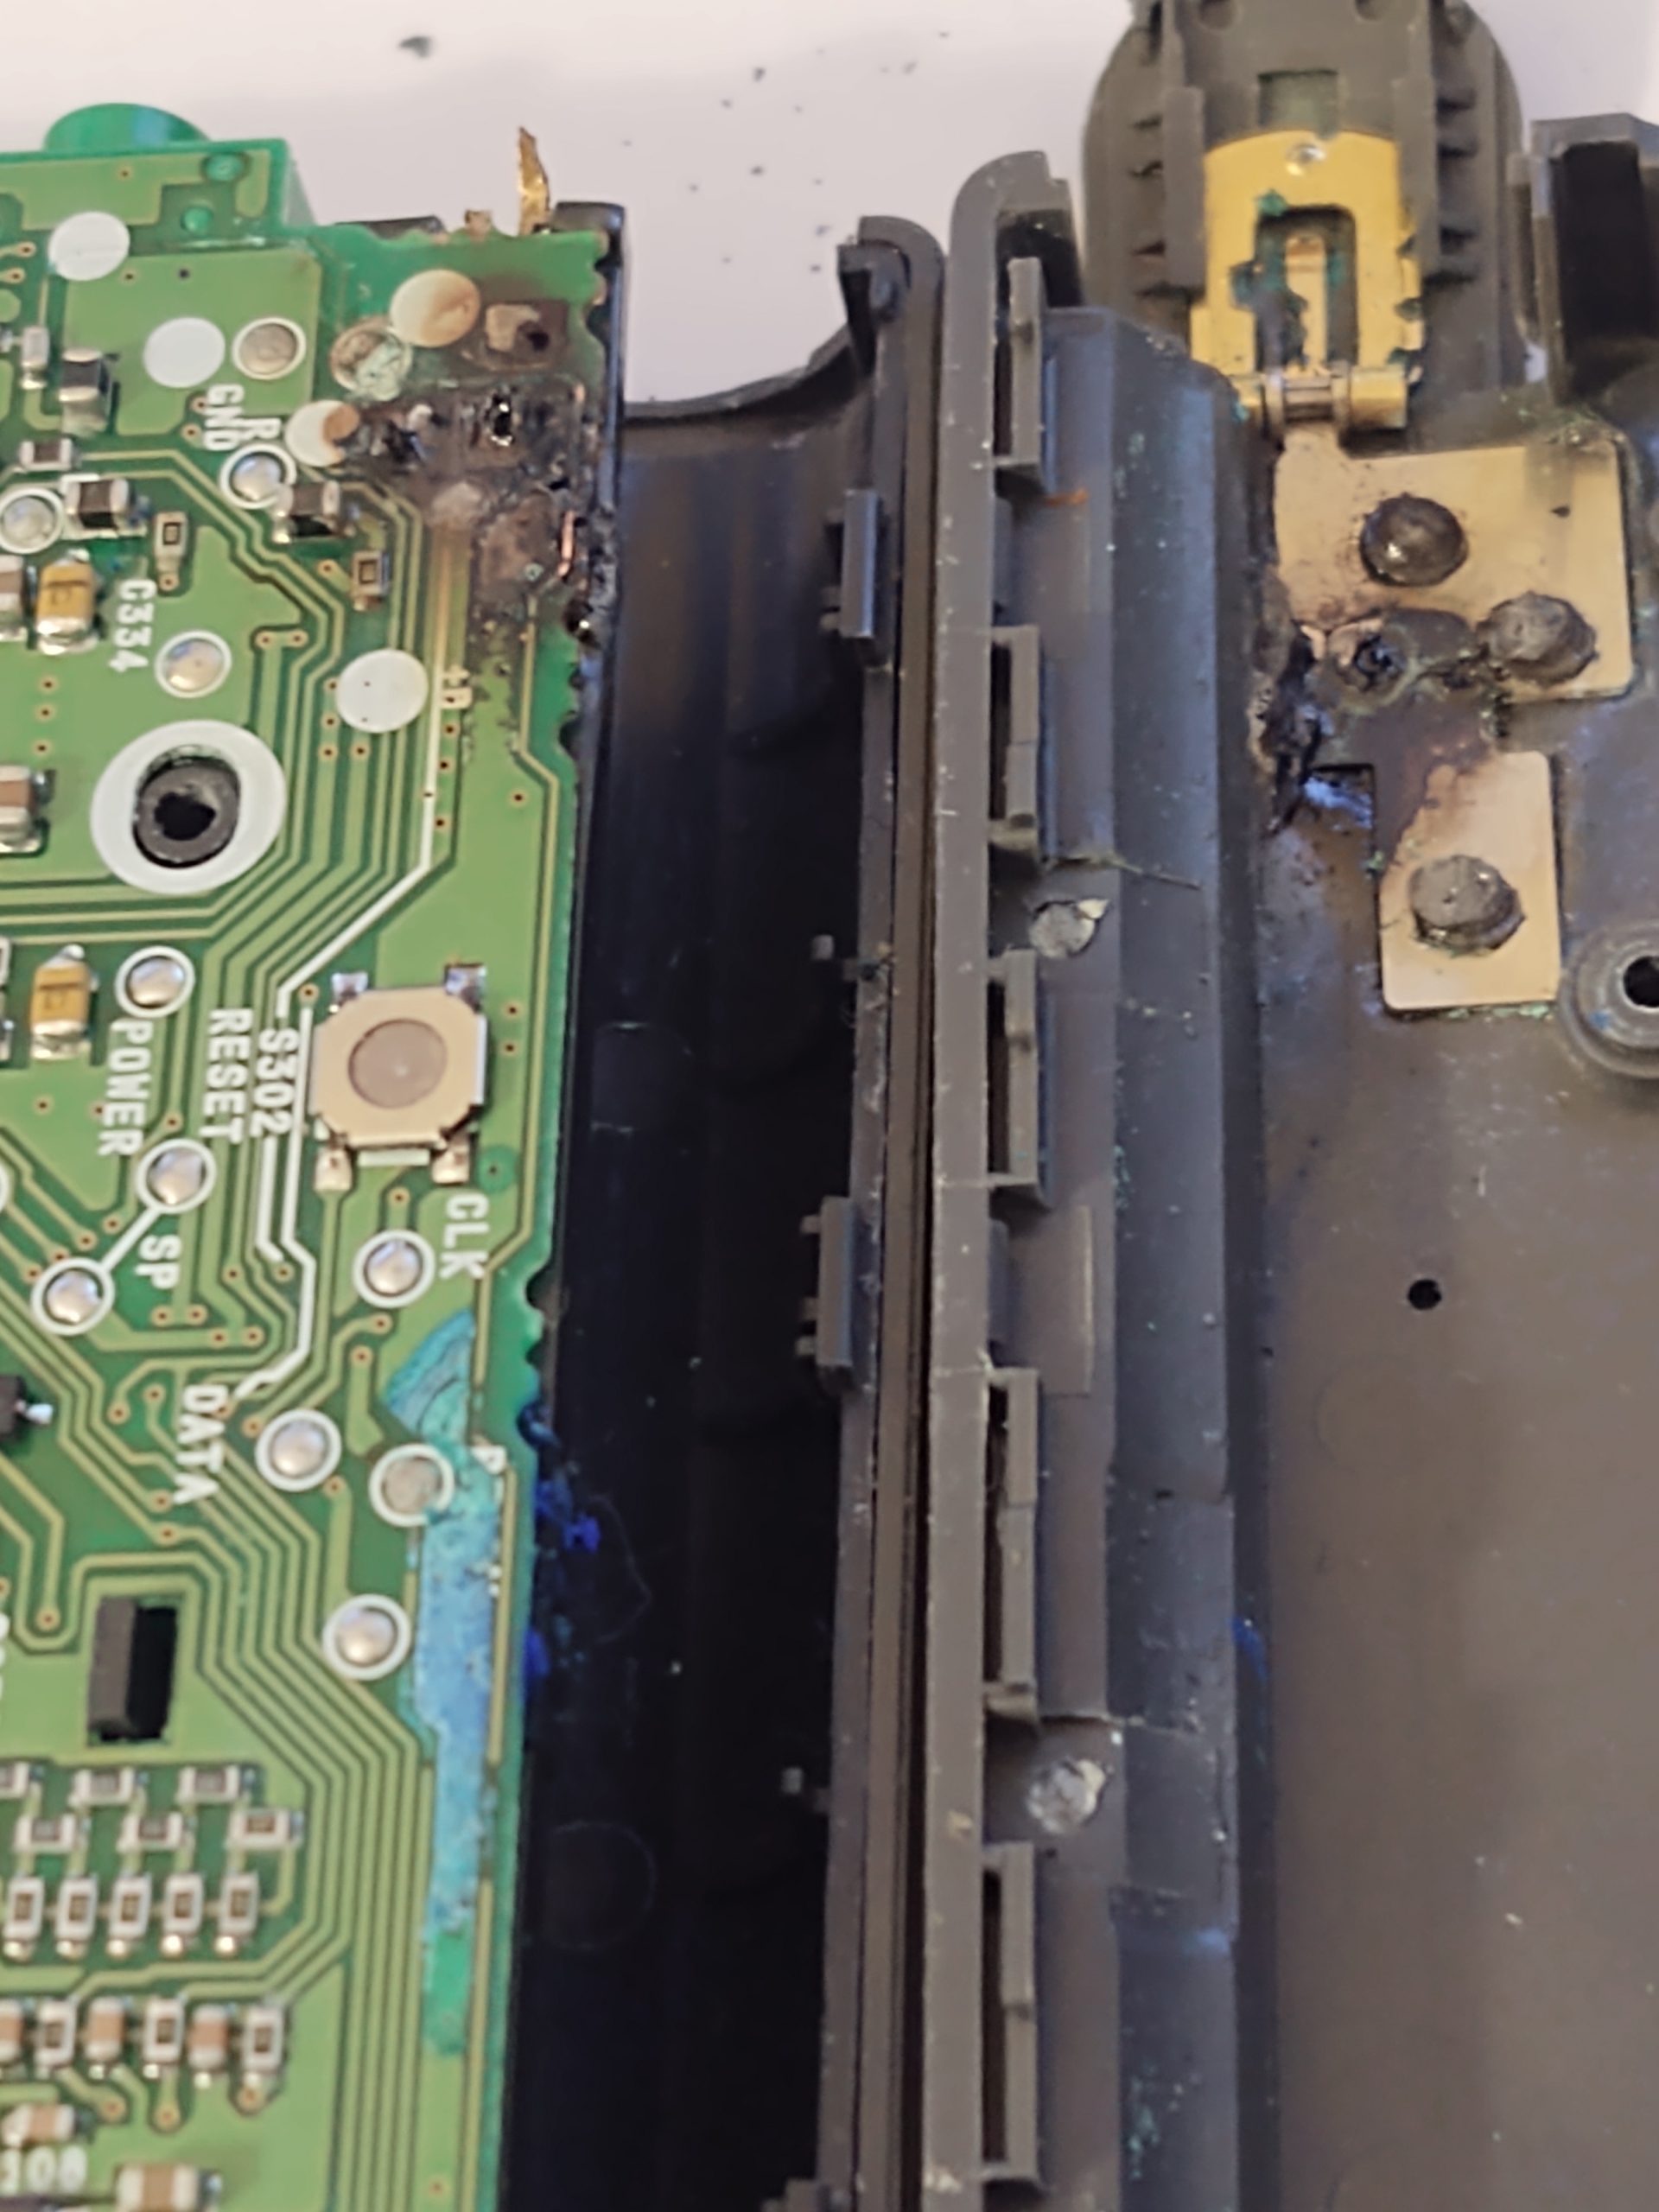
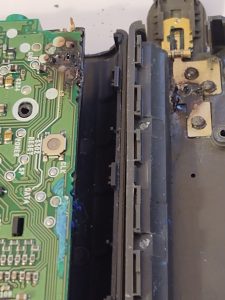
At this point, I’m sure you can see where this is going. I had two NiMH batteries inside of my SW100. The two stacked batteries increased the inherent risk (in a worst-case situation, two batteries would create & release/vent more heat than a single battery). I was in a hot environment, I lacked air conditioning for most of the time, and I had a long drive of nearly 300-miles to/from my location at the start & the end of the two months I was there. My SW100 was apparently put into peril when it encountered environmental [ambient] temperatures that exceeded the Eneloops threshold (30C? 40C?). And this caused the NiMH Eneloops to heat-up beyond normal, vent the excess heat, and thus “melt” part of the PCB and the back case of the SW100.
This did not happen during normal storage of my radio in my temperature-controlled house, but rather it happened in the adverse environment I temporarily subjected the radio to.
Yes, I know … think what you want (but please don’t say it). User error. I should have known better. It was my fault. It was dumb. Yes, yes, yes & yes answer those four statements. I know, I know …
There are three positives to this:
(1) I learned a painful albeit valuable lesson;
(2) Maybe others can learn from my folly; and
(3) Parts to maintain these classics must be salvaged. I donated my radio (including the AC adapter) – it’s not a total loss and it still has value as a “parts radio”. My SW100 is now in the hands of a skilled, master technician who might be able to save the life of another (or multiple) SW100 radio(s).
My loss just might be someone else’s gain? I take comfort that my radio may live on (as an organ donor) to potentially provide years of enjoyment for someone else.
Postscript re: my initial post:
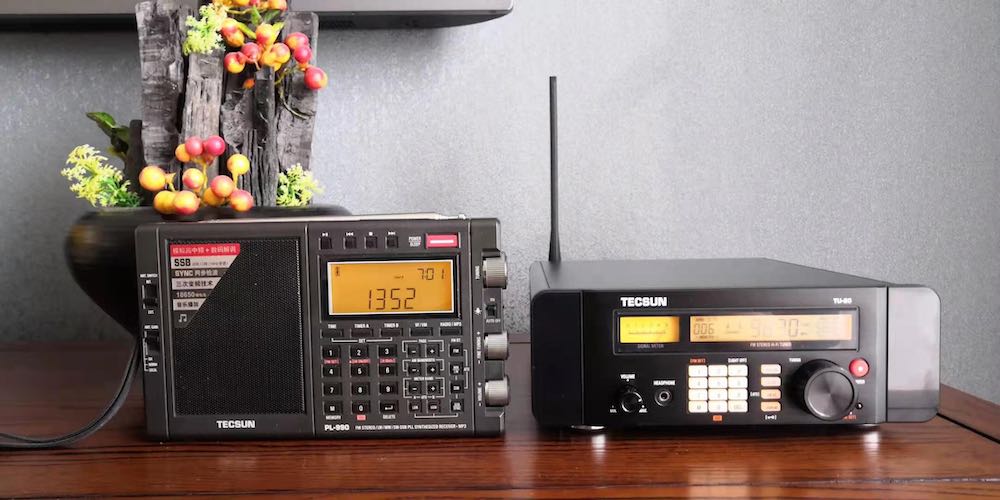
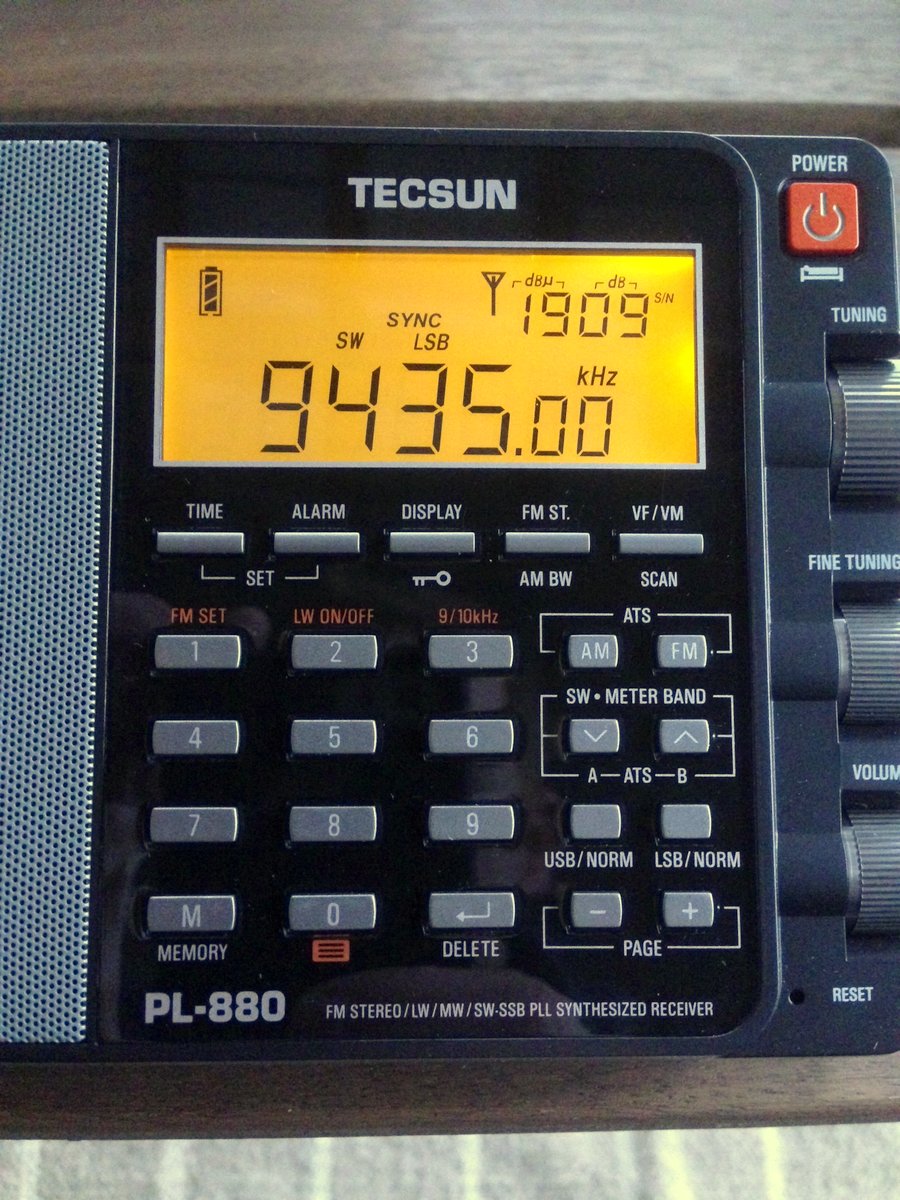
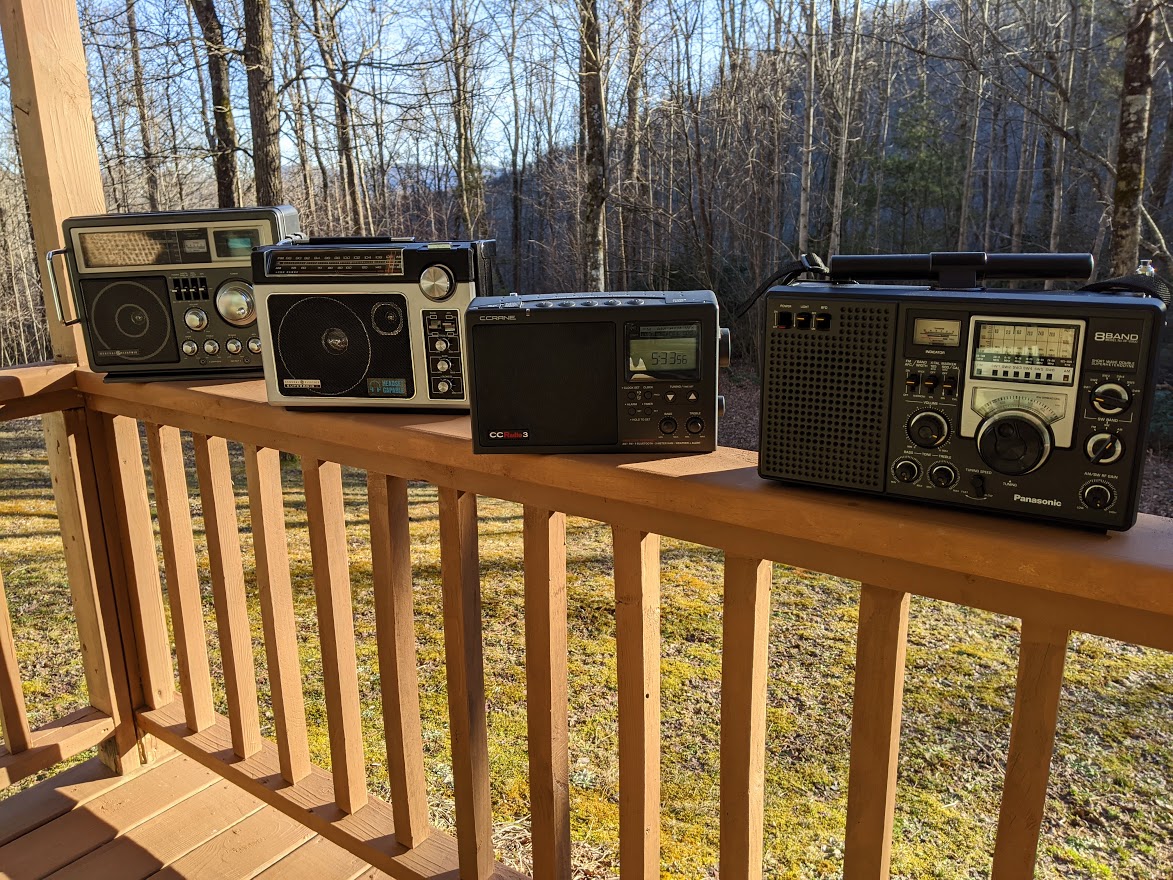
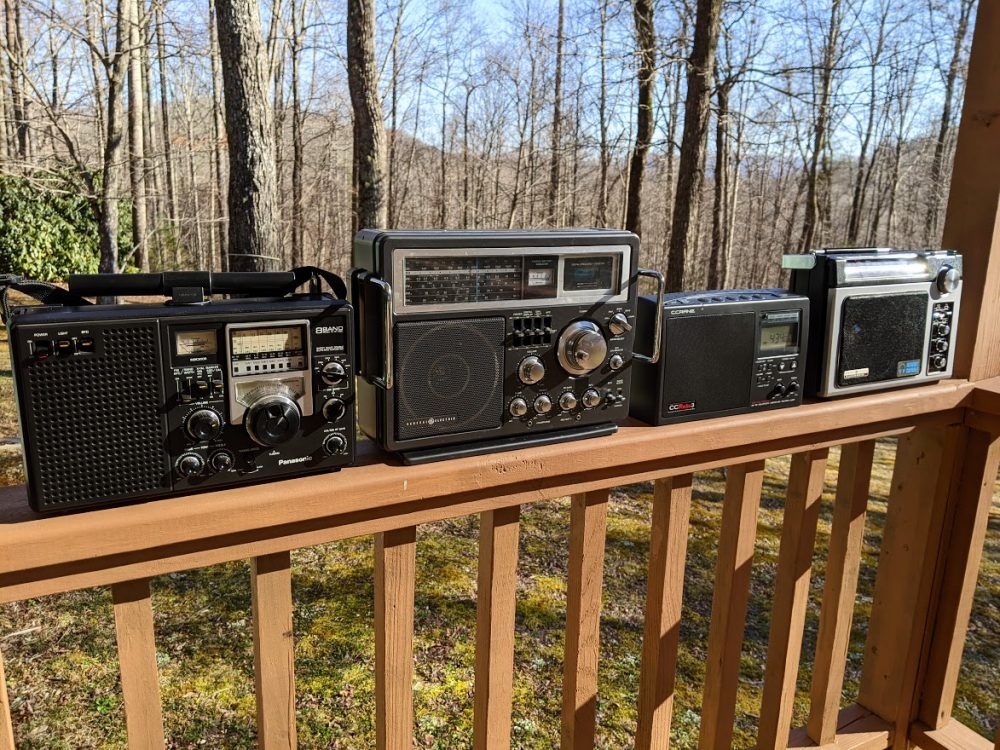
I have picked-up a few of my other shortwave radios since my initial post (PL-390, PL-880, XHDATA D-808, Satellit 750) & I have started listening again.
And I did have surgery a couple of weeks ago for the physical injury I sustained while tending the farm (my ICF-SW100 wasn’t the only casualty during this period of time). After a frustrating 2+ weeks, I’m starting to make progress with my physical healing. And now that I have a definitive answer on the manner & cause of death of my SW100, I’m psychologically healing from that as well.
UPDATE after my initial post:
I neglected to make the following statement: one can debate whether the excessive heat being vented caused the PCB & case to melt, or if the vent(s) in one or both batteries failed, or if the battery heated-up too quickly & too much for it to safely vent? The only thing I do know: the batteries exhibit no physical damage or defect so the exact mechanism of the the excessive heat will remain unknown.

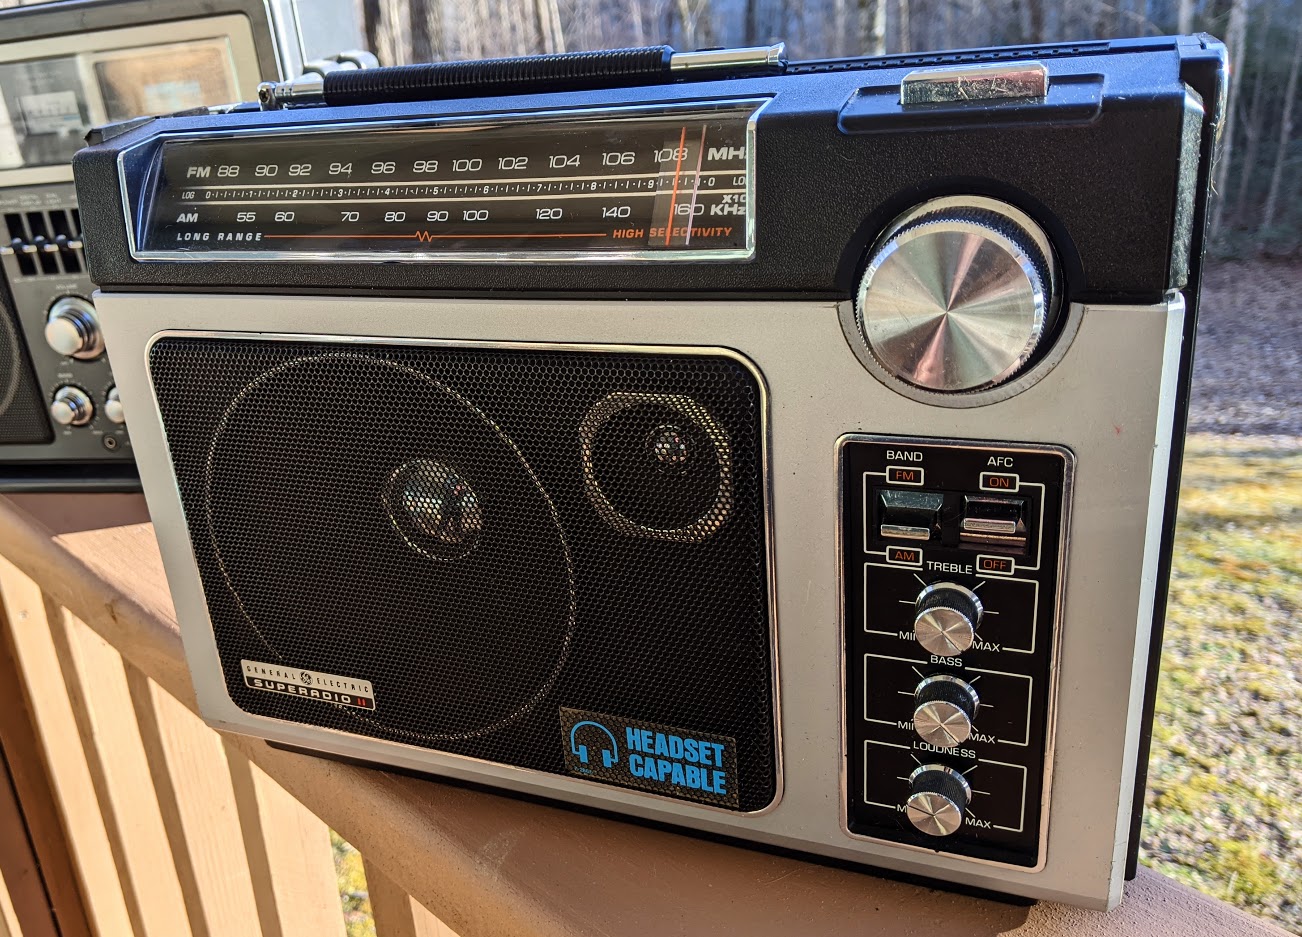
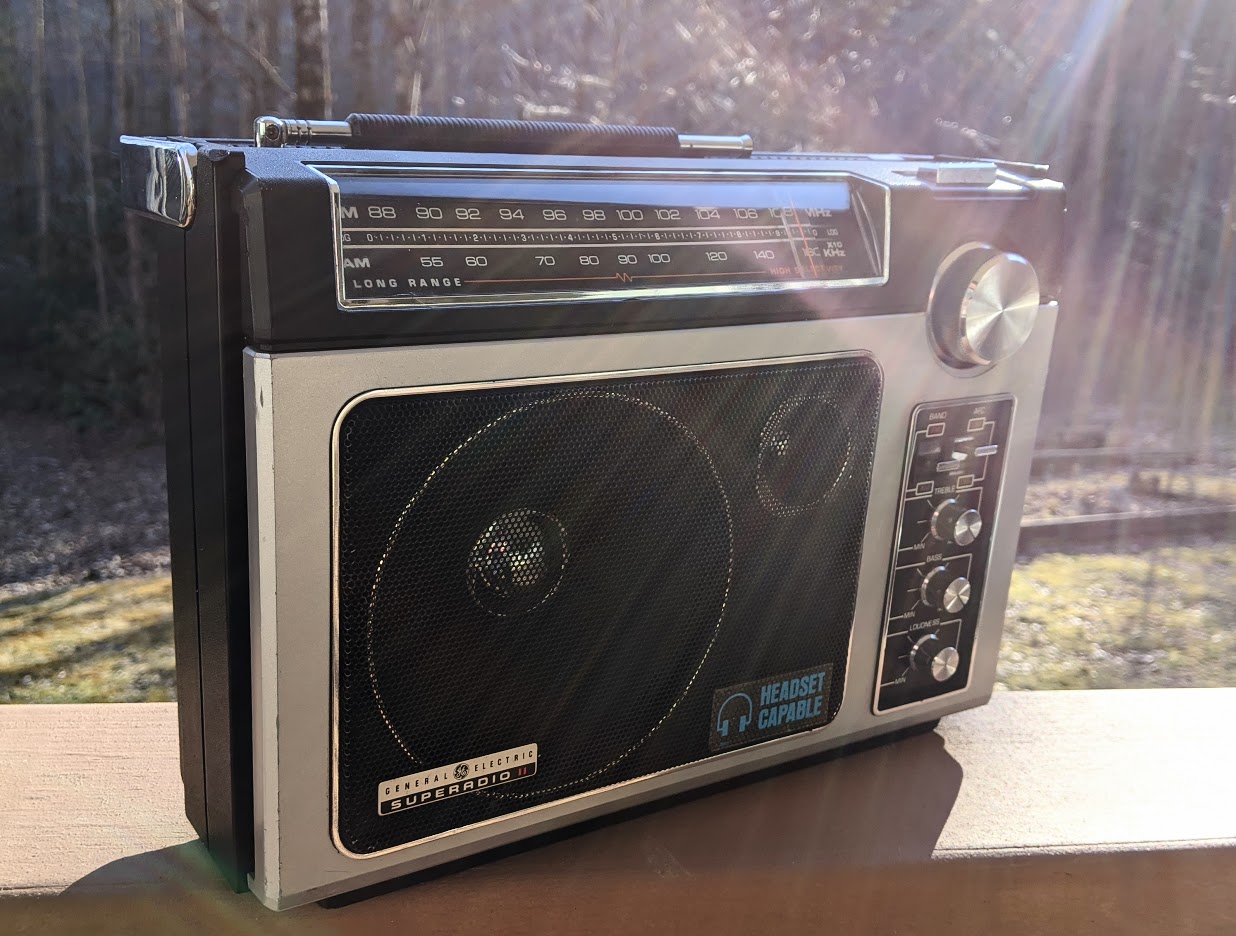
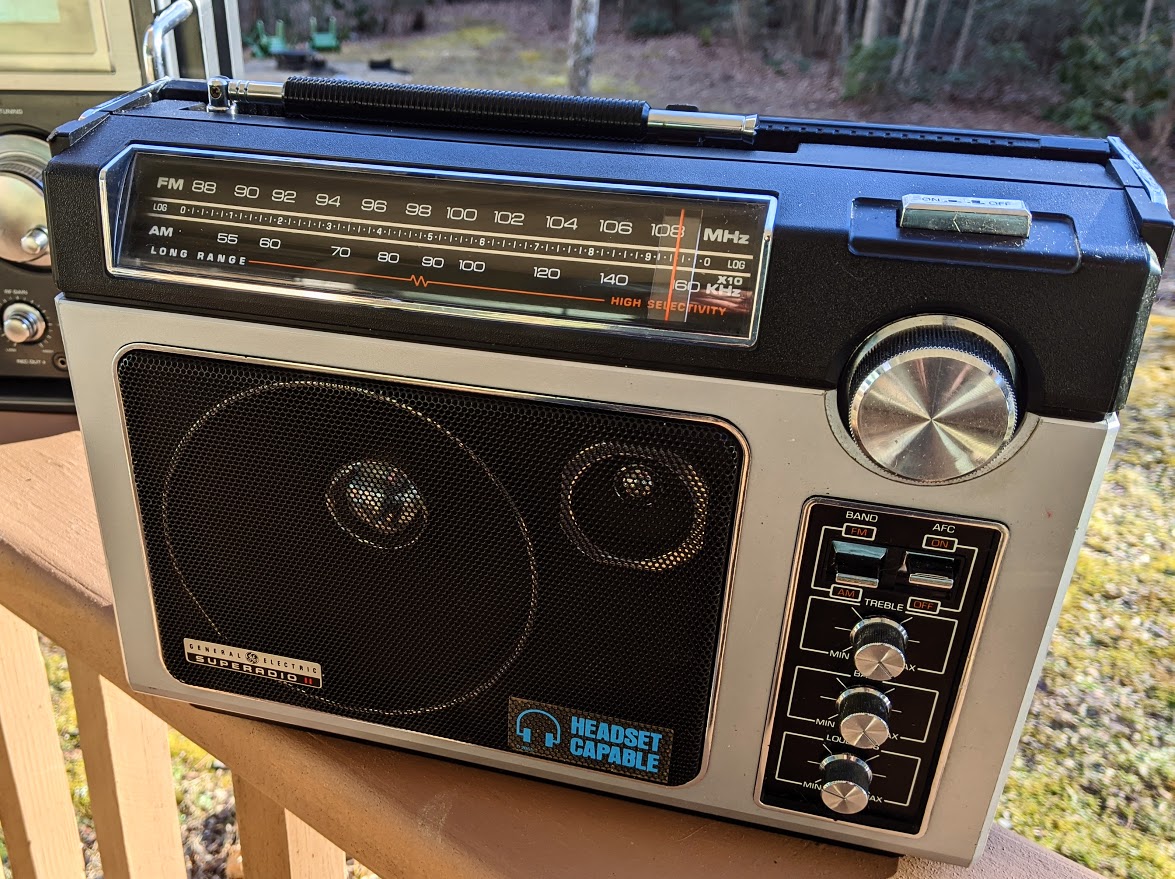
 I asked Chuck if he would consider refurbishing GE Superadios for other people and I think he would. If interested, contact me and I’ll put you in touch. Else, Chuck might leave details in the comments section of this post.