The following review first appeared in the February 2020 issue of The Spectrum Monitor magazine.
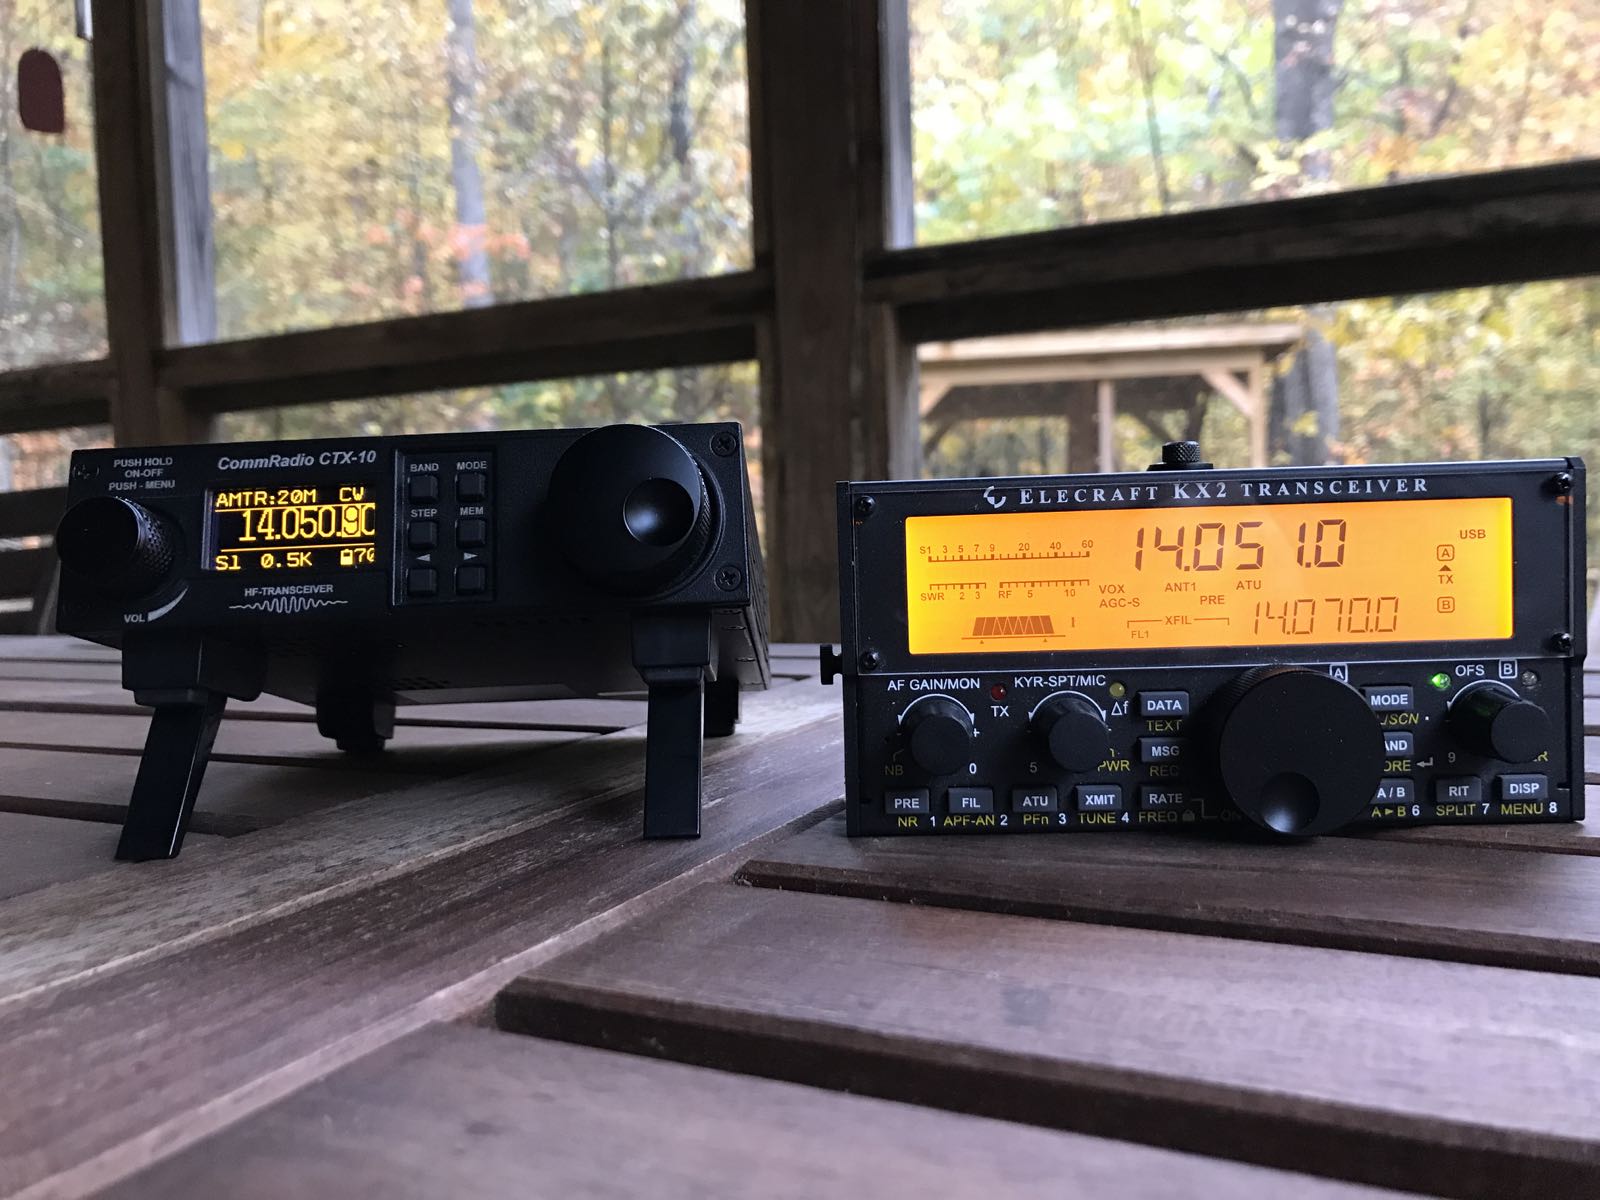
A Tale of Two Radios: CommRadio CTX-10 v Elecraft KX2
As my blog readers often point out: Why focus on low-power (QRP) ham radio activities when propagation is so dismal…even for high power stations? A logical argument, I’ll admit, and lately it’s become a common theme in QRP discussion.
But I’ve said it before, and I’ll say it again: despite the current stagnation of the sunspot cycle, we’ve been seeing a very curious uptick in low-power radio innovation. Manufacturers have been churning out QRP transceivers at a rapid rate during this solar lull, and I can assure you, it’s a strategic move that the marketplace rewards.
So, why should this be? I attribute the influx of QRP radios to several factors.
First of all, leveraging innovations in SDR (software defined radio) design, it’s simply become less expensive to produce portable low-power radios with extra features. In other words, manufacturers can now offer more radio bang-for-buck. Similarly, the technology is accessible enough that even smaller manufacturers can produce competitive products.
Secondly, the new-found popularity of field activities––such as Parks On The Air (POTA) and Summits On The Air (SOTA)––fuel the need for field-portable, all-in-one transceivers. Anyone who falls in love with field portable operation, and it’s easy to do, will quickly discover how handy it is to have a dedicated radio for these activities.
However, it’s not always competition that pulls radio operators to the field. With so much QRM (human-generated interference) at home or in built-up areas, many operators and radio enthusiasts now take to the field to escape the noise. Likewise, many operators live in restricted communities that don’t allow for permanent antennas, so it’s in their best interest to make their radio shack…well, portable.
And why not? Weak-signal digital modes like FT-8 have made signal-hopping across the planet with only a few watts of power easier than ever before. I’ve spoken with a number of operators who have––using FT-8––worked DXCC for the first time with stealthy, portable antenna systems, and others who have taken the dare to work DXCC only on individual bands. Such challenges are all in the name of fun.
Finally, in general, QRP transceivers are much less expensive than their 100 watt counterparts. QRP radios gain a competitive edge by omitting pricey amplification in the design, while still offering the operator DX-class features and receiver performance.
Making a choice
With so many new field-portable QRP transceivers on the market, making a choice can be difficult. Still, there are some guidelines that will help you eliminate a number of models.

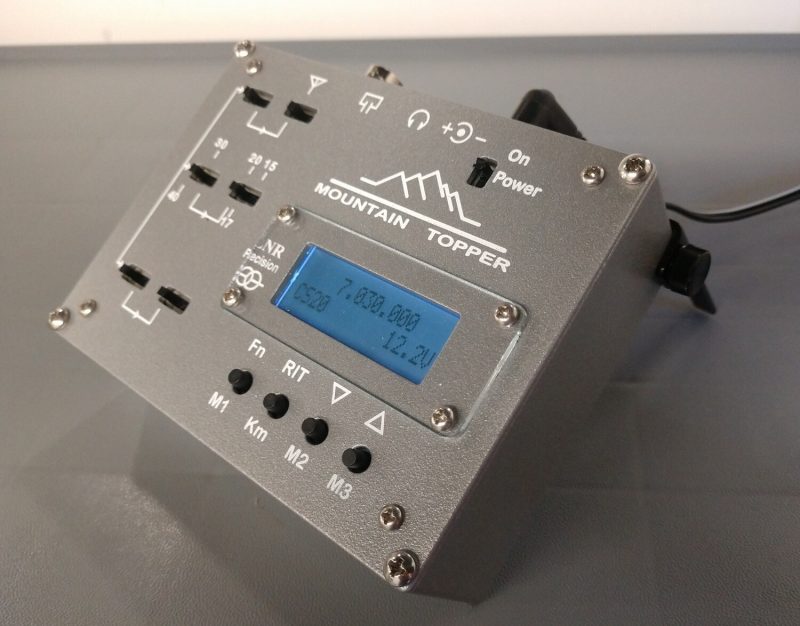
The Mountain Topper MTR5B
For example, if you only plan to operate CW and don’t need a general coverage transceiver, you can effectively eliminate all of the priciest QRP transceivers. CW-only transceivers like the popular Mountain Topper series are incredibly portable, durable, and half the price of full-featured multi-mode transceivers.
Also, if you use resonant antennas, there may be no need for an internal or external antenna tuner––this can save you upwards of $200. If you prefer using an external battery, there may be no need to purchase a model with an internal battery option.
In this article, however, we’ll be looking specifically at two general coverage QRP transceivers that are very much all-in-one. With an antenna, mic and/or key, these radios will get you on the air in a matter of seconds.
Our competitors
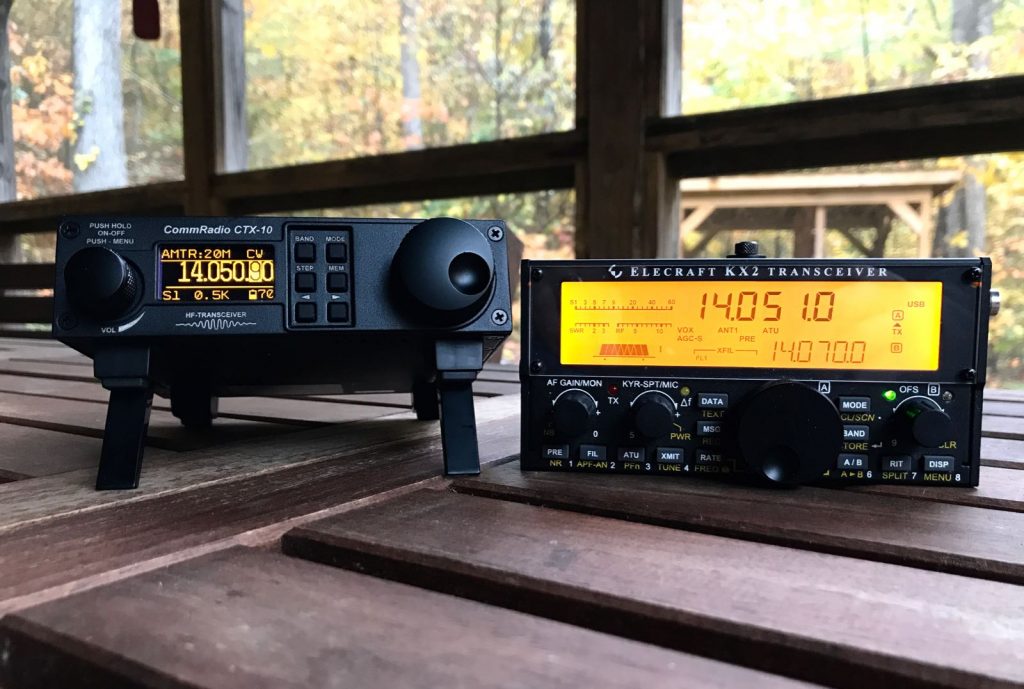
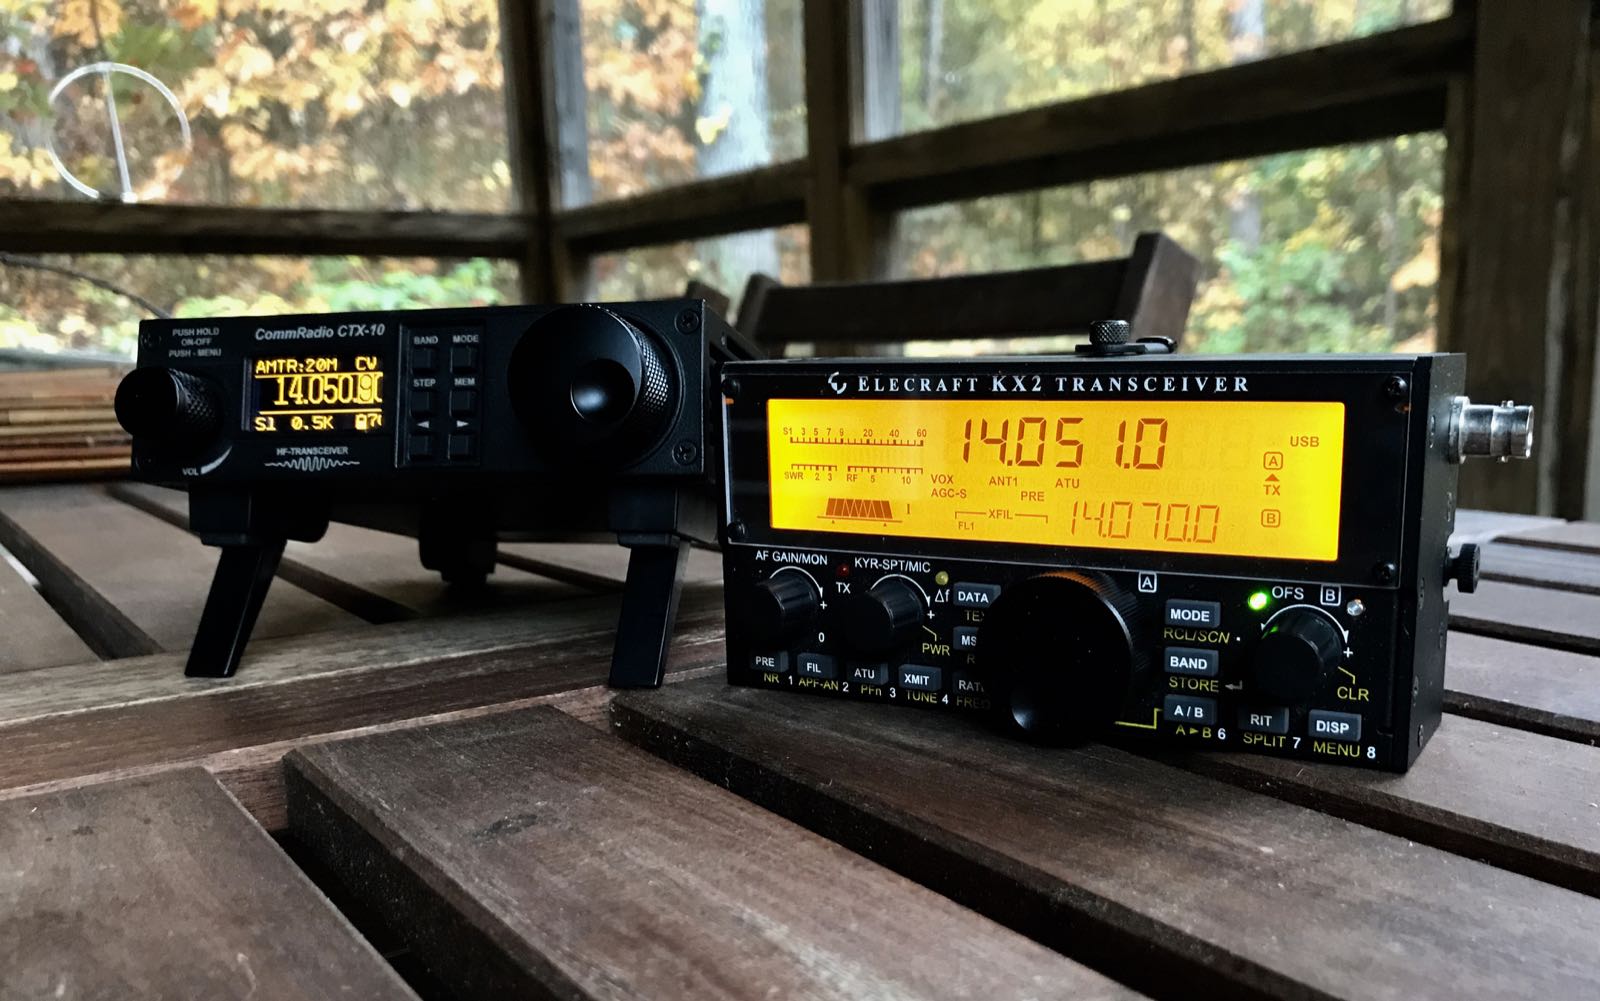
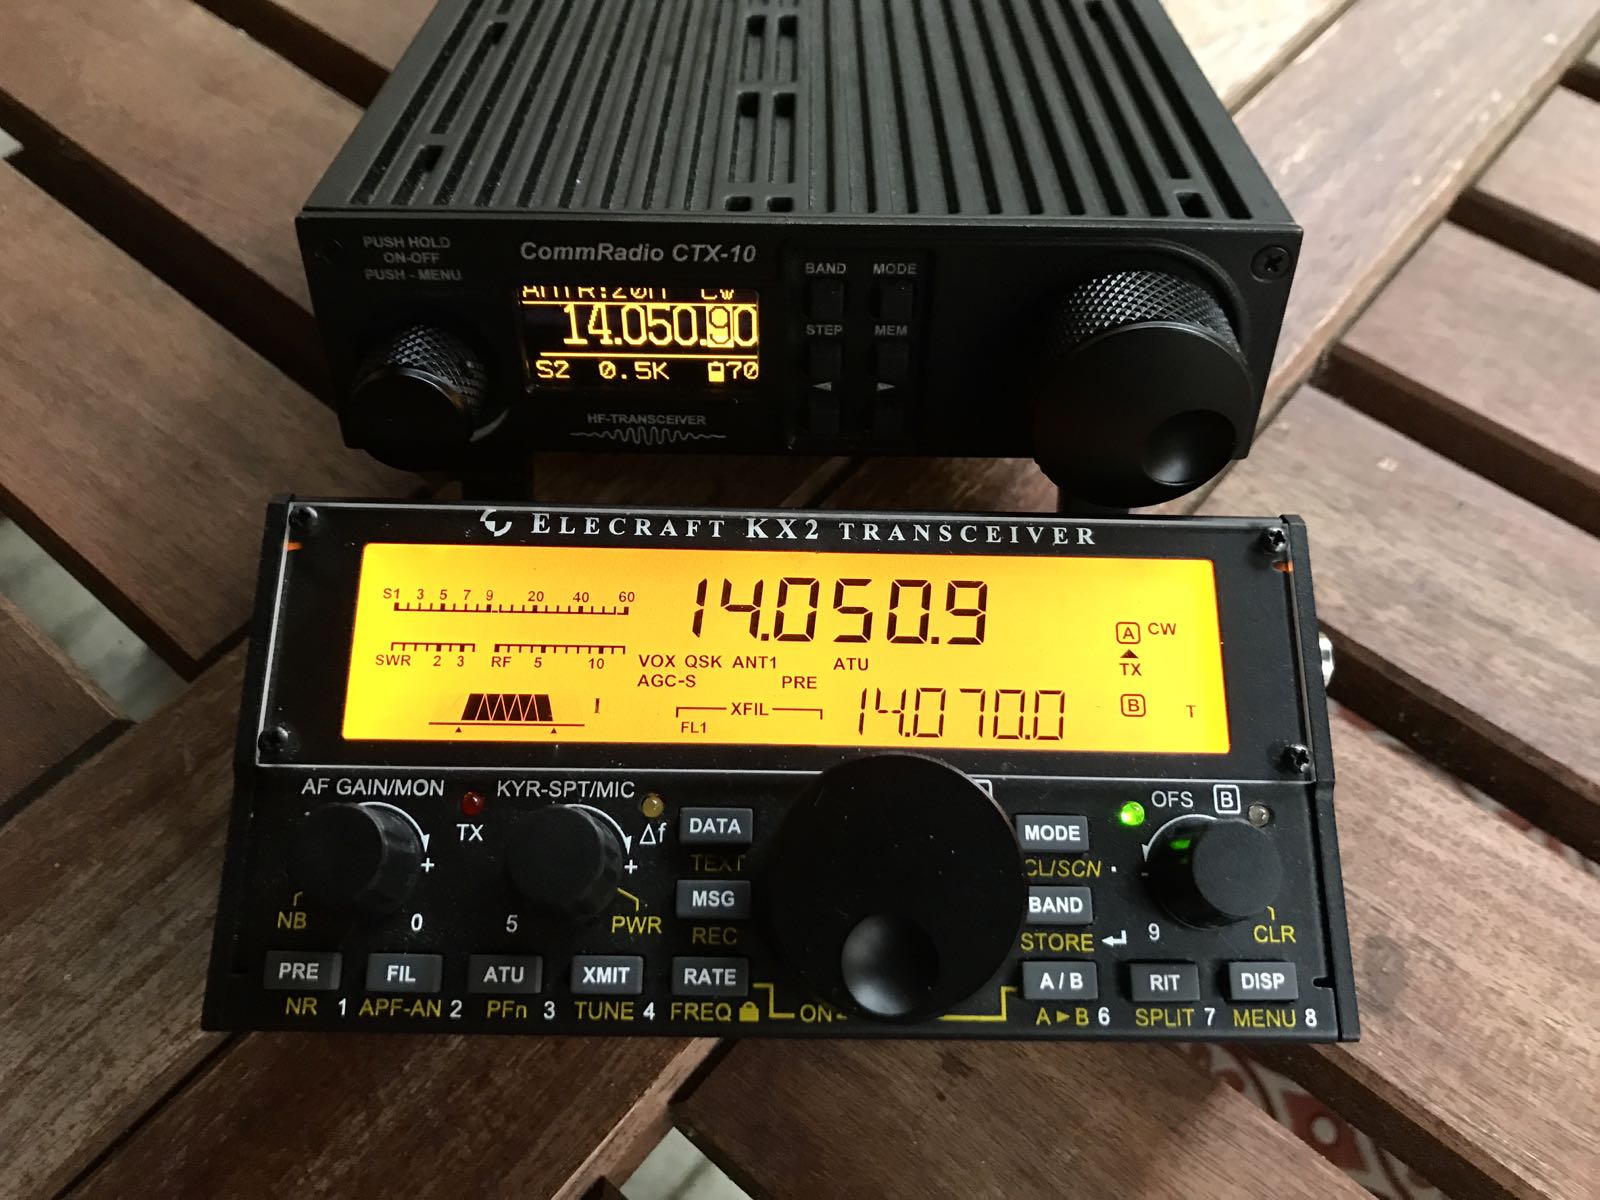
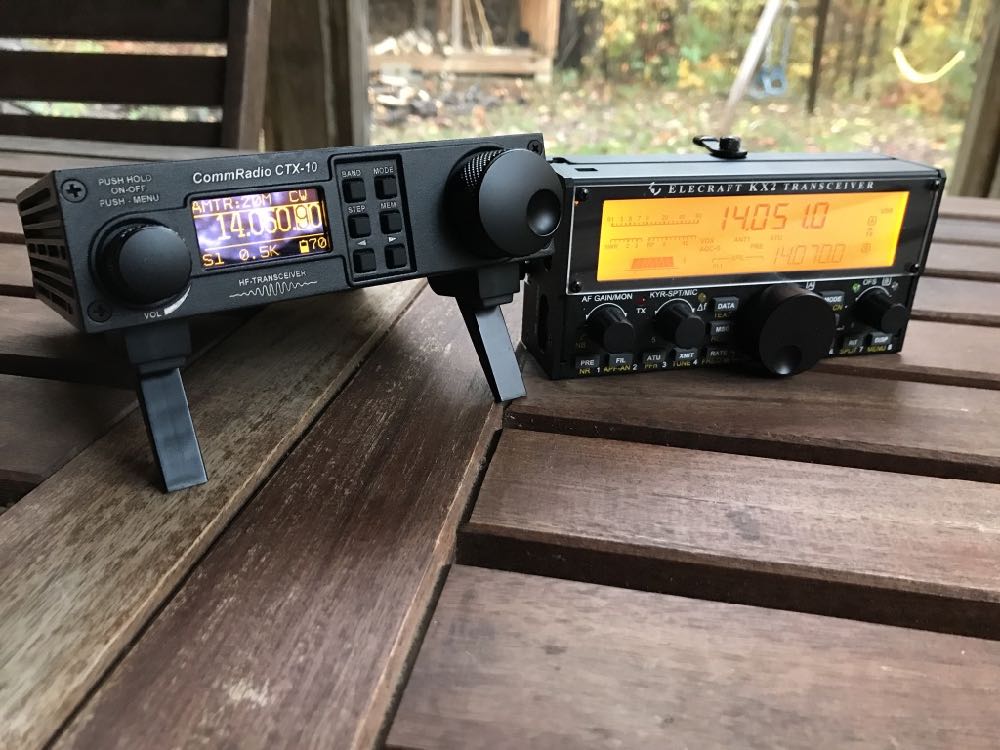
Over the past year, I’ve received numerous emails and comments asking for advice choosing between two specific radios: the recently reviewed CommRadio CTX-10 and the Elecraft KX2.
I’m not surprised, because both of these field-portable QRP transceivers sport similar basic features and options, e.g.:
- Ham band coverage from 80 – 10 meters
- General coverage receiver
- Internal batteries
- Built-in ATU
- Small and lightweight
- Designed and built in the USA
Although the CTX-10 and KX2 share the same goal of functioning as an all-in-one, grab-and-go field radio, I believe they have very different appeal.
Herein lies the key to choosing the right rig for you, and the point I hope to prove in this article: it’s based on your personal operation philosophy.
The Elecraft KX2 is the “Swiss army knife” transceiver. It has an amazing array of capabilities, features, and adjustments, yet is incredibly compact and could easily fit in your jacket pocket. Moreover, the KX2 is backed by Elecraft, one of the most successful amateur radio manufacturers in business.
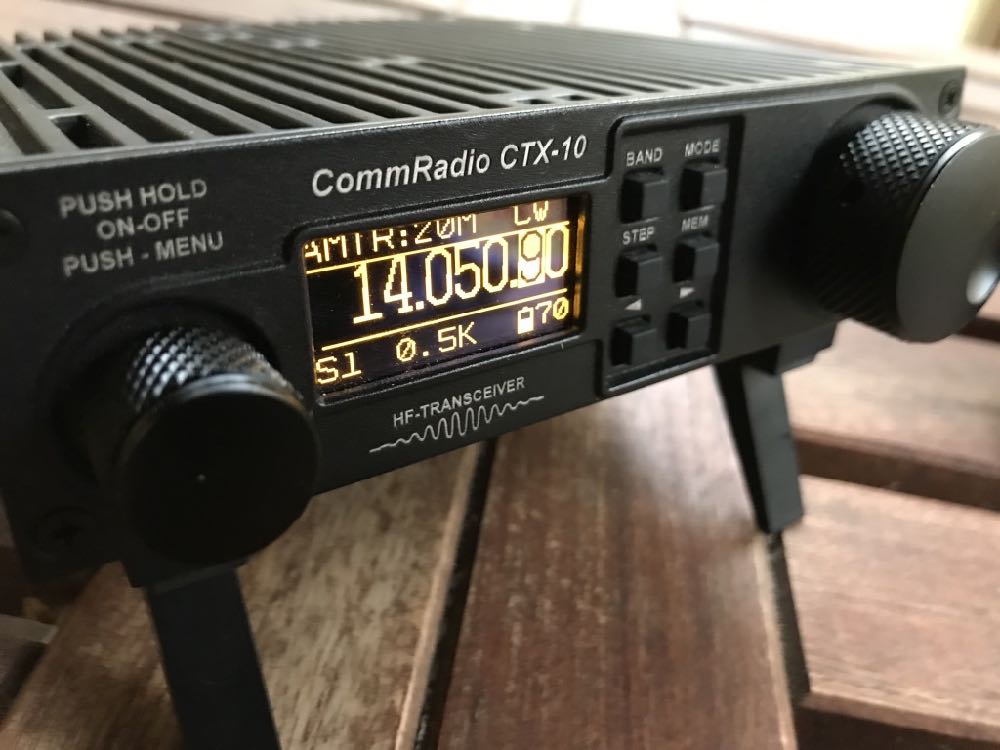
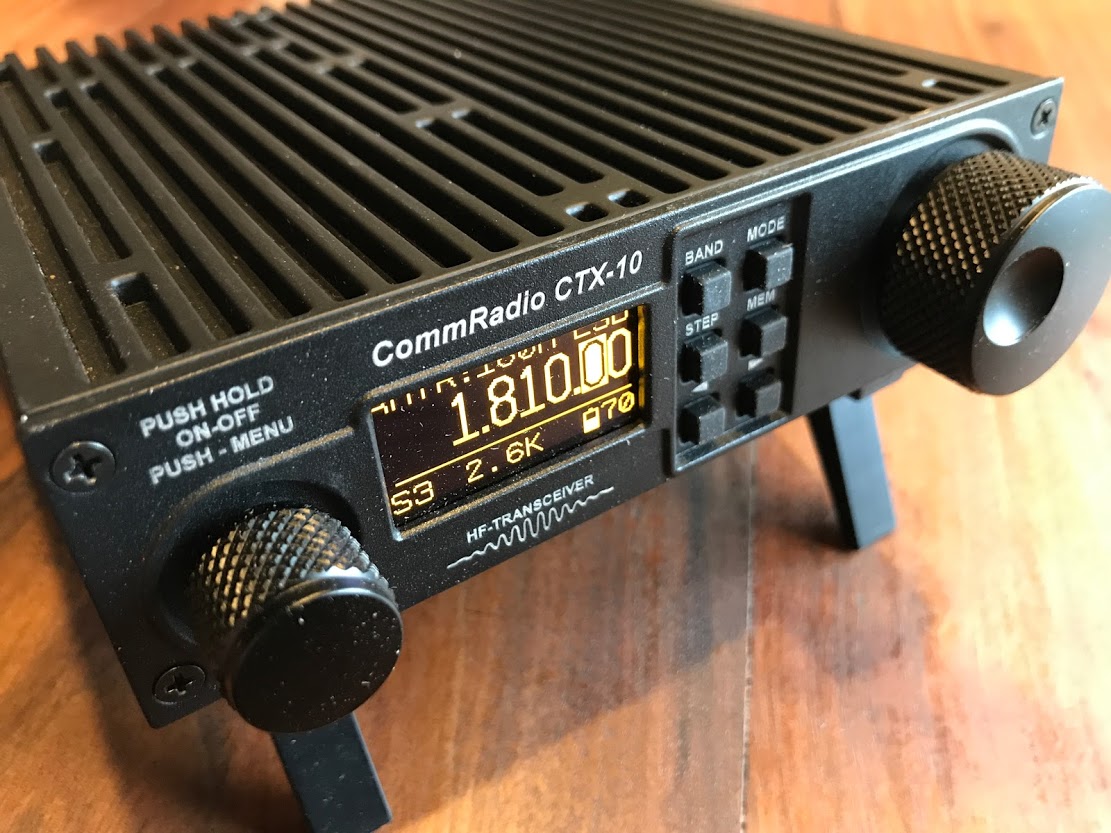
The CommRadio CTX-10, on the other hand, was designed with a basic feature set in mind, dead-simple operation, and near mil-spec quality inside. The CTX-10 is the transceiver iteration of the popular CR-1 series receiver by CommRadio.
When I’m asked which radio is best, I respond with a series of questions––because I first need to discover what type of operator the potential user is, to give him/her a good recommendation. Below, I’ll break down some of the key questions to help guide you in making a decision between these two transceivers. Note that these questions are ones that should be asked when purchasing pretty much any transceiver.
Do you plan to engage in more ham radio operation, or broadcast listening?
True, since the CTX-10 and KX2 are both general coverage transceivers, either radio can serve. But if you’re primarily looking for a broadcast listening radio and you might only occasionally hop on the bands to make casual ham radio contacts, then you should give the CTX-10 some consideration.
The CTX-10 is essentially a transceiver version of the excellent CR-1a receiver. It is better equipped for listening to broadcasts than the KX2 because it has three AM filter settings: 5, 7.5, and 15 kHz. In contrast, the KX2 AM filter can only be widened to about 5 kHz. CTX-10 AM audio fidelity is superior to that of the Elecraft KX2.

In addition, the CTX-10’s receiver coverage dips down to 150 kHz and it’s quite capable on the mediumwave band. The KX2’s receiver covers 3 MHz – 32 MHz and 0.5 – 3 MHz with “reduced sensitivity.” In other words, the KX2s receiver architecture is designed for the ham bands, thus mediumwave sensitivity is suppressed on purpose. I’ve certainly listened to mediumwave stations on the KX2, but only to local, strong stations. You could never hop into mediumwave DXing on the KX2 like you can on the CTX-10.
With that said, if you’re primarily looking for a ham radio transceiver for operations in the field, and you might only occasionally do shortwave radio listening, then you should give the KX2 serious consideration. In my opinion, the KX2 is simply a more capable, adaptable ham radio transceiver than the CTX-10. (More details on this point to come.)

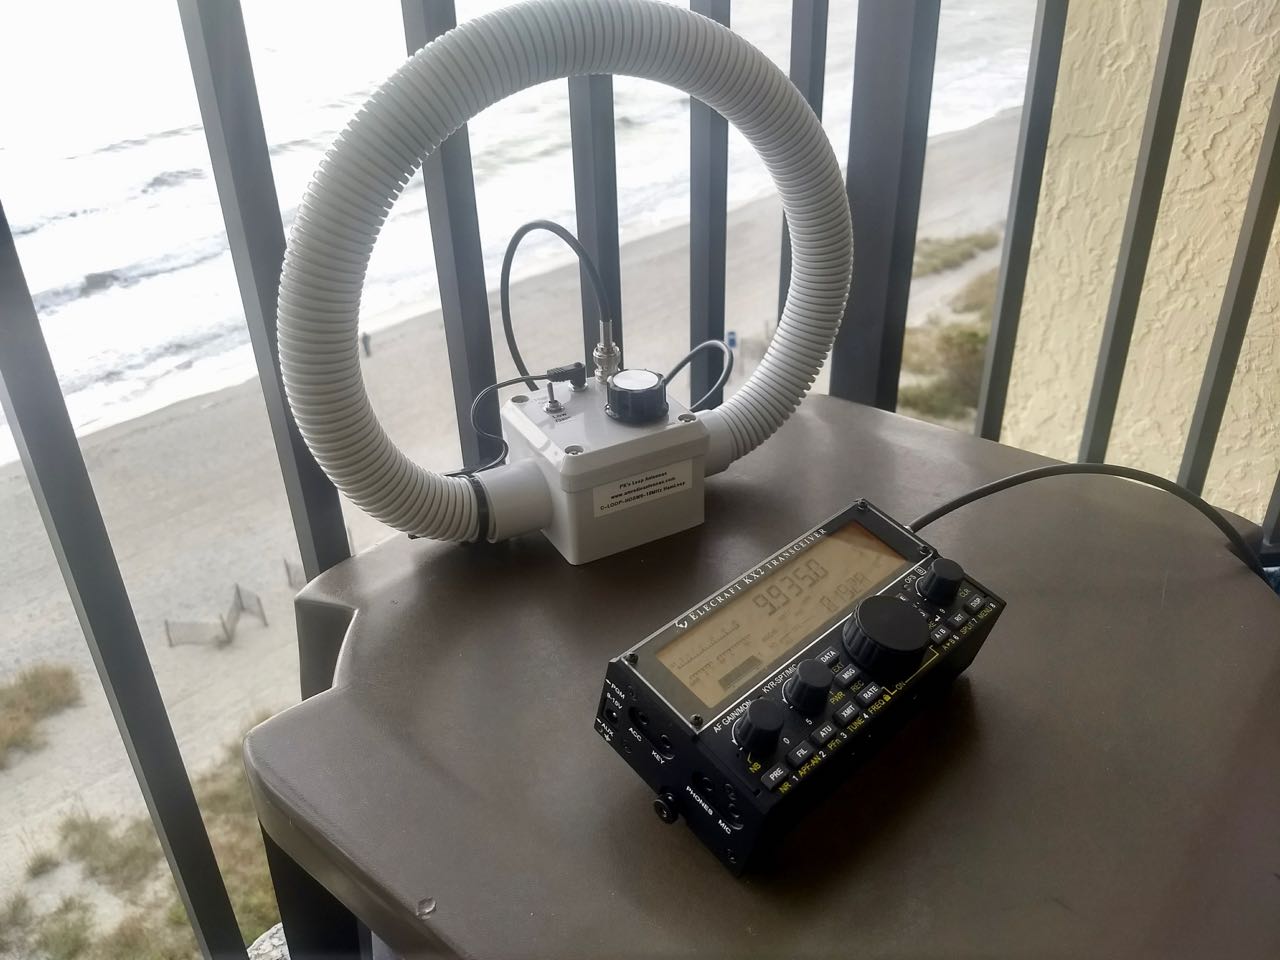
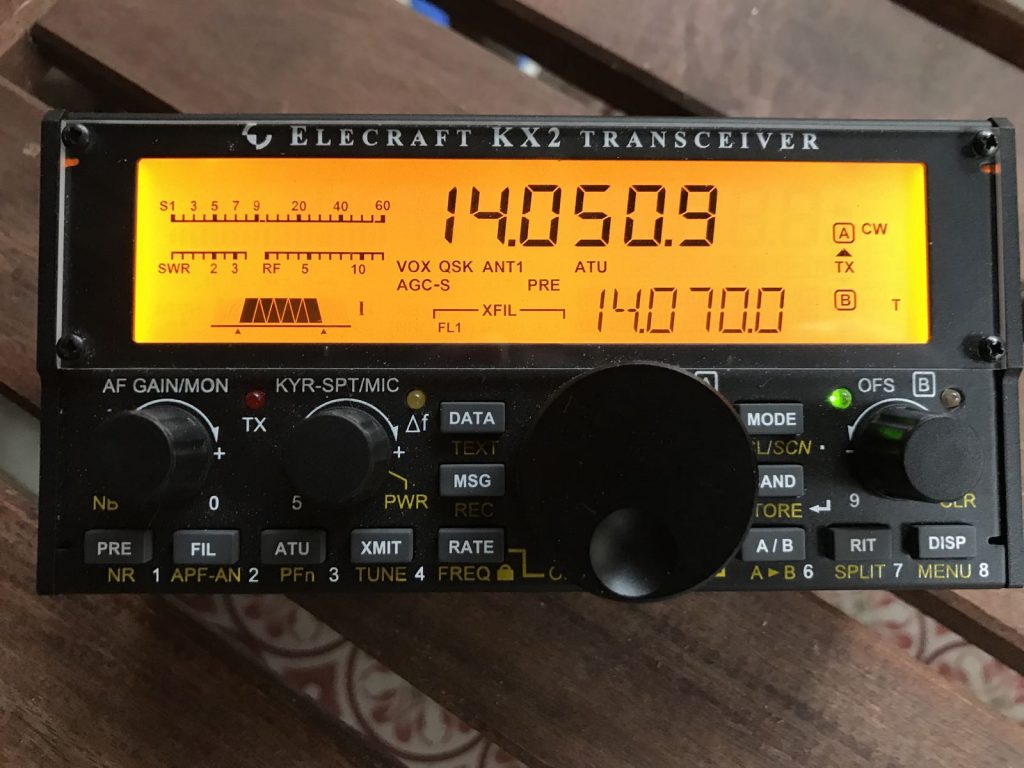
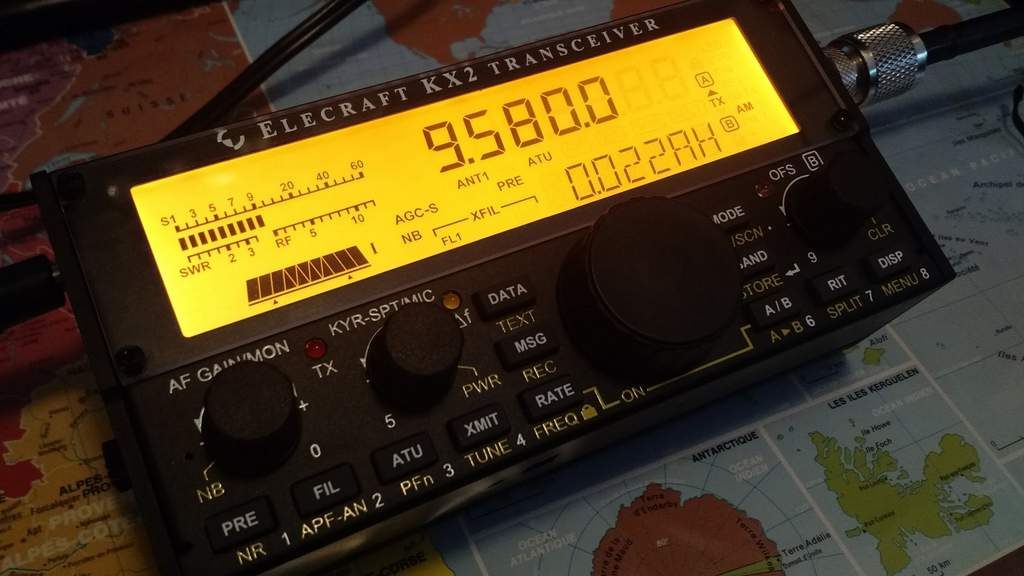
The Elecraft KX2 doing a little coastal SWLing.
Now, here’s the irony: Although I had a CTX-10 in my shack for almost a year, I still defaulted to taking the KX2 on trips when I thought SWLing might be my primary activity. Why? The KX2 has a very robust and capable HF receiver. Its only real limitations are a lack of wide AM bandwidths and sub-3 MHz frequency coverage and performance. I find that the KX2’s 5 kHz AM filter sounds pretty good, though; when using headphones, the KX2’s simulated stereo audio effect really makes the audio sound broad and pleasant. I also rarely use ham radio transceivers to do mediumwave or longwave DXing––I use dedicated portables like my Panasonic RF-2200, or an SDR––so mediumwave and longwave reception is never a serious limitation for me.
But, again, if you primarily plan to do broadcast listening, the CTX-10 is the stronger of the two choices.
Are you looking for a feature-packed radio that can be tweaked and adjusted on a granular level?
If so, you’ll definitely want to choose the KX2 over the CTX-10. The CTX-10 has an incredibly basic feature set, while the KX2, like most Elecraft radios, has an abundance of features, functions, and adjustments at your disposal.
If you want a simple, unfussy radio that automatically adjusts most user controls like microphone gain and compression, then the CTX-10 will suit you fine. If you like both automatic and manual control of your radio’s settings, the Elecraft KX2 is your rig.
How important is internal battery operation and ease of recharging?
The CTX-10 has best-in-class internal battery capacity and intelligent charging. You can literally play radio for hours on end without depleting the batteries in the CTX-10. The internal batteries can be charged via the DC power port, or even via USB cable.

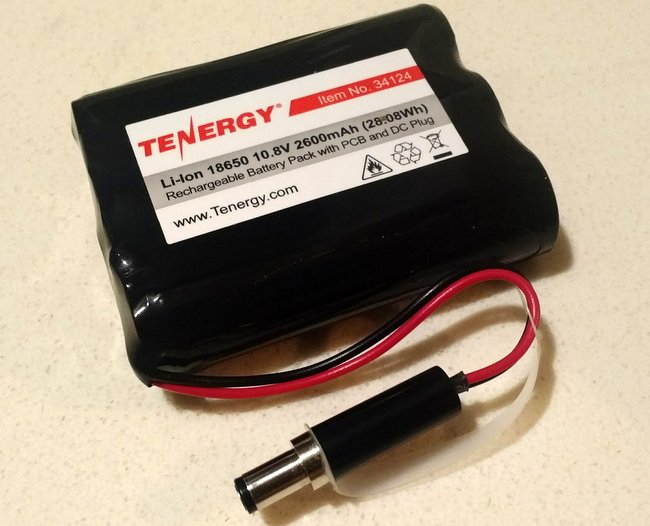
The KX2 Battery
The KX2 uses an internal battery pack that must be removed each time to charge. I’ve taken the KX2 to the field more than 100 individual times and find that I can operate at full power for about one hour fifteen minutes (with a heavy amount of transmitting) before the voltage drops, and the output power, as well from about 10 watts to 5 watts. Of course, when in receive, it’ll operate for hours without recharging.
Of course, with a swappable battery pack, you can bring additional pre-charged batteries to the field to eliminate the need to recharge.
I’ve never found recharging or swapping KX2 batteries to be a problem, but internal battery operation via the CTX-10 is certainly its strong suit.
One known issue with some of the CTX-10 units: when charging the internal Li-Ion cells, my initial evaluation unit produced a high-pitched audible whine. I measured the audio frequency with a simple smartphone app and determined that it hovers around 10.5 kHz. It was quite annoying because I can still hear frequencies in that range. The second evaluation unit didn’t have this problem. If your CTX-10 has this problem, contact CommRadio for help.
Are you primarily a CW operator?

If you are a CW enthusiast, chances are great that you’ll prefer the KX2 over the CTX-10.
The CTX-10 has very few settings for CW mode. In fact, it doesn’t even (presently) have a side tone control or support iambic operation. The CTX-10 uses a traditional relay for TX/RX switching, but you can’t presently change the hang/delay time. The CTX-10 cannot do full break-in QSK.
Elecraft transceivers are designed by CW operators and sport true benchmark CW performance. The KX2 allows granular control, thus can be tailored to accommodate any operator. The KX2 has silky-smooth full break-in QSK. If you’re a CW operator, you’ll much prefer the KX2.
Are you primarily a digital mode operator?

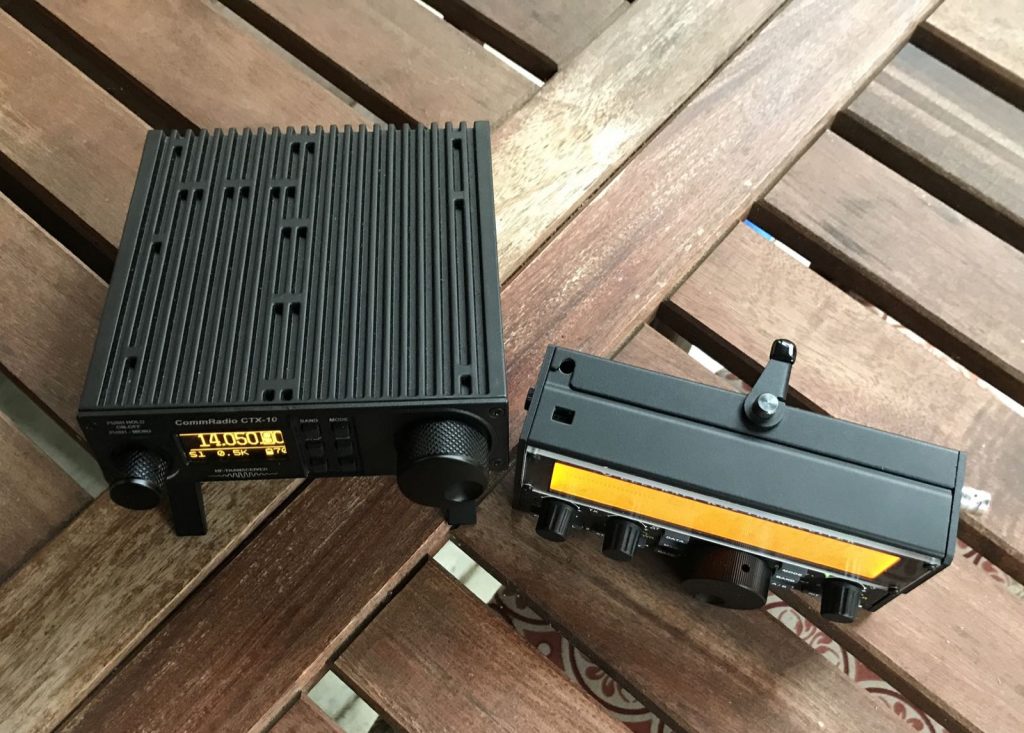
The CTX-10 body (left) is essentially a large heat sink.
If so, you’ll want to consider the CTX-10, because it can run high-duty cycle modes like FT-8 in the field without ever overheating. This is also one of the CTX-10’s strongest points.
Both the Elecraft KX2 and KX3 will decrease power output after running FT-8, for an extended period of time, to protect the finals from overheating. Operation time can be significantly extended by adding an optional third-party heat sink. The CTX-10 does not have this issue, however, as the CTX-10 body itself is essentially a heat sink. In all of my testing, I never came anywhere close to overheating it.
Are you primarily an SSB/phone operator?
If SSB is your game, you’ll prefer the KX2.
The CTX-10 essentially has no microphone controls––in fact, it doesn’t even have an adjustable mic gain. The microphone input is completely auto-controlled by the CTX-10, via a limiting pre-amplifier, built-in compressor, and ambient noise gate. The only ways you can really affect how audio is transmitted, in fact, is by changing the distance from your mouth to the mic, and/or changing how loudly you speak into the mic.
If you have a favorite boom headset (like Inrad or Heil), note that it may not work well with the CTX-10, simply because you have no control of the mic inputs.
The KX2, on the other hand, has robust microphone controls; you can, for example, even change the EQ settings of your transmitted audio.
How important to you is the capability of your rig’s internal ATU?
The CTX-10 sports a nifty internal antenna tuner, but it doesn’t match the performance of the KX2’s internal ATU option. In my field work, I found that I needed antennas that were pretty close to resonant for the CTX-10 to match them. The ATU was certainly a handy feature on the CTX-10, but it didn’t allow me the flexibility to, for example, load up a random wire antenna.
Update (23 Mar 2020): Brian Haren informs us that with firmware update 1334 issued by CommRadio on December 18, 2019 “performance of the internal tuner was vastly improved.” This firmware was issued after my review unit was sent back to CommRadio.
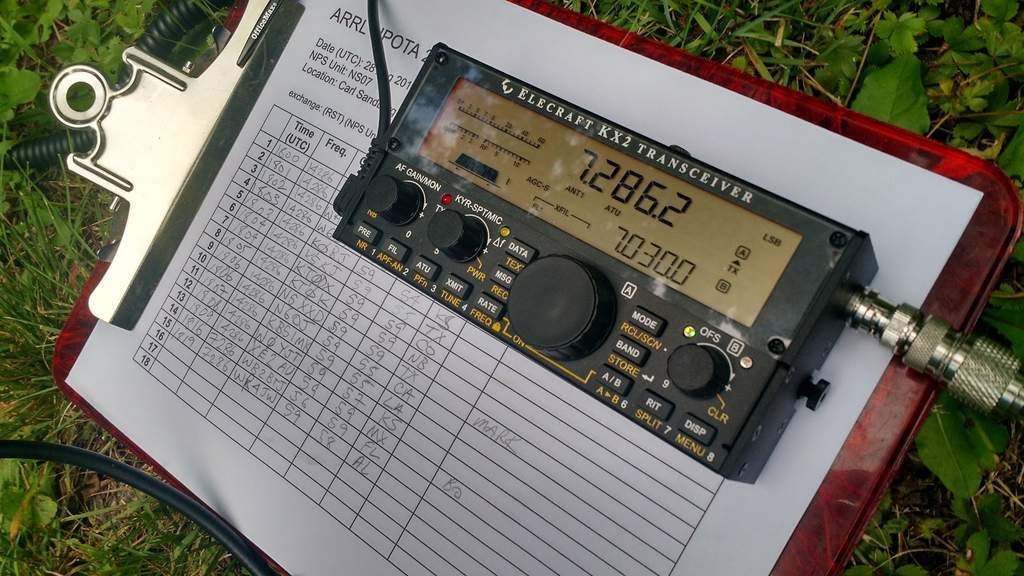
The KX2’s internal ATU, on the other hand, is benchmark, and can tune via nearly any antenna––indeed, it would almost tune a metal chair, if you tried to load it. It’s as good at matching antennas as my Emtech ZM-2 balanced line tuner. In fact, I once loaded a 20-meter hex beam on 40 meters with the KX2 in order to work a rare park activation. No other radio in my arsenal could match that (well, frankly, it was asking a lot), but the KX2 not only matched the antenna, but it got an excellent match: if memory serves, something like 2:1. (And, yes, I worked my park!)
Note that the ATU comes with the CTX-10 package, while the KX2 internal antenna tuner is a worthwhile $200 option.
Are you on a budget?
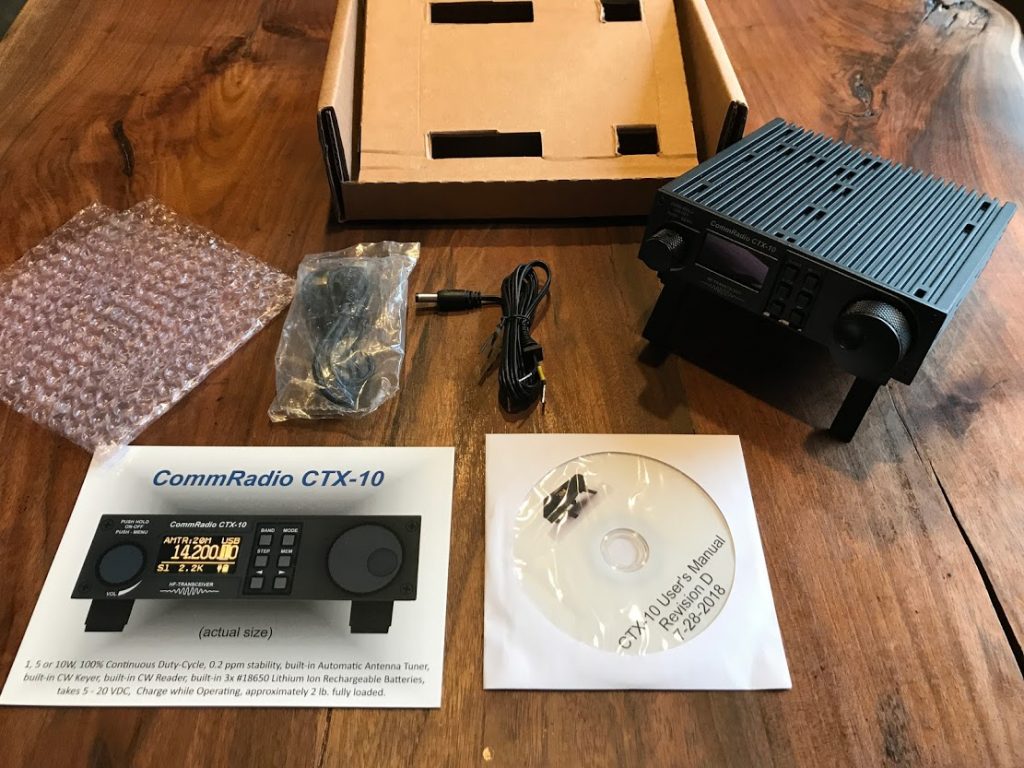
Everything included in the CTX-10 box.
When you purchase the CommRadio CTX-10 for $999.99, you’re buying an all-in-one package: a transceiver, internal batteries, and an internal ATU. There are no other options to purchase separately. The CTX-10 doesn’t ship with a microphone, but it does include a USB cable, DC power cord, and CD manual. You simply unbox your CTX-10, make sure it’s been charged, plug in your microphone (requires a modular plug type like the Yaesu MH-31A8J or MFJ-290MY) or key, add your antenna, and boom! You’re ready to hit the air.
Unlike CommRadio, Elecraft started as a kit manufacturer. Their philosophy has always been one of purchasing a basic unit, then adding features when you’re ready. In a sense, this gives the customer a lower starting price point. Here’s how the KX2 pricing breaks down:
- Elecraft KX2 transceiver: $789.95
- KXAT2-F internal ATU option: $199.95
- KXBT2 Internal Lithium Battery option: $59.95
- KXBC2 Lithium battery fast charger: $29.95
- KXIO2 Real-Time clock: $79.95
To configure the KX2 to be equivalent to the CTX-10––meaning, with ATU, internal battery, and charger––your total price would be $1,079.80. This is the configuration of my KX2.
If you use just an external battery and resonant antennas, the base KX2 might be the only radio you’ll ever need. At $789.95, that’s $210 less than the CommRadio CTX-10. Fully configured, however, the CTX-10 is about $80 less expensive than the KX2.
Apples to oranges, in radio terms
If you haven’t gathered already, although both the CTX-10 and KX2 are general coverage QRP transceivers, they are completely different––like comparing apples to oranges––in terms of the market they wish to reach.
No doubt, CommRadio designed the CTX-10 to appeal to people who love commercial or military channelized radios. Based on my interaction with CTX-10 owners, many are into preparedness and primarily infrequent simplex SSB operations.
The KX2 will appeal to hams who are active operators and who enjoy full control of their radio’s functions and features. Elecraft has a massive and loyal community of users and fans.
Summary
If I haven’t made it clear yet, there’s much more involved in making a purchase decision than simply looking at the specifications of a radio. Often, it’s a truly personal and subjective choice.
Be honest with yourself about your needs, and base your purchasing decision on those. After all, in this case we’re talking about two capable radio transceivers, either of which should provide years of great operation and listening.
Click here to check out the Elecraft KX2 and here for international distributors.
Click here to check out the CommRadio CTX-10 and here to purchase via Universal Radio.
Do you enjoy the SWLing Post?
Please consider supporting us via Patreon or our Coffee Fund!
Your support makes articles like this one possible. Thank you!


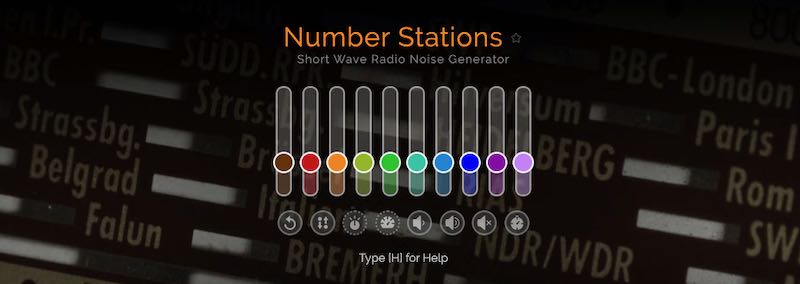
 This year at the Winter SWL Fest my friend, David Goren, recommended a website––and accompanying application––called MyNoise.net. As an audio engineer and radio producer, David has a finely-tuned ear and can notice looped sounds, audio irregularities, and poorly-made recordings. So I knew if David Goren was impressed with this collection of ambient noises, they would be first-class.