I originally wrote this three-part WiFi radio primer and review series for the April, May and June issues of The Spectrum Monitor magazine. Each part of this series will be posted with the tag: WiFi Radio Primer. I hope you enjoy Part 1 below:
I’ve always been a hard-core shortwave radio listener. I like the tactile experience of turning the knobs of the shortwave, tuning in stations across the globe. So when online listening became popular, it never occurred to me to engage in this new, seemingly lesser sport; I put trying it on the back burner, and continued to enjoy my shortwave. After all, I rationalized, why listen to anything other than an actual radio?
Then, at the 2012 Winter SWL Fest, an excellent presentation on the merits and technologies behind Wi-Fi radio intrigued me. I found myself downloading and installing the Pro version of the TuneIn radio app. On the twelve-hour drive back home from the Fest, I tuned to local radio stations across the world via the TuneIn app. I had to admit, it was a pretty powerful listening experience…one I could easily get used to.
And get used to it, I did. That’s when I realized that streaming radio stations over the Internet is, essentially, content DXing. For while there isn’t any particular skill required to listen to Internet radio, it offers convenient listening opportunities I wouldn’t otherwise have, and without the rigors of travel. For example, from my home in the southeastern US, I can listen to a station in Perth, Australia––one local to that area and one that has never been, nor is likely to be, on shortwave. I found it frankly addictive.
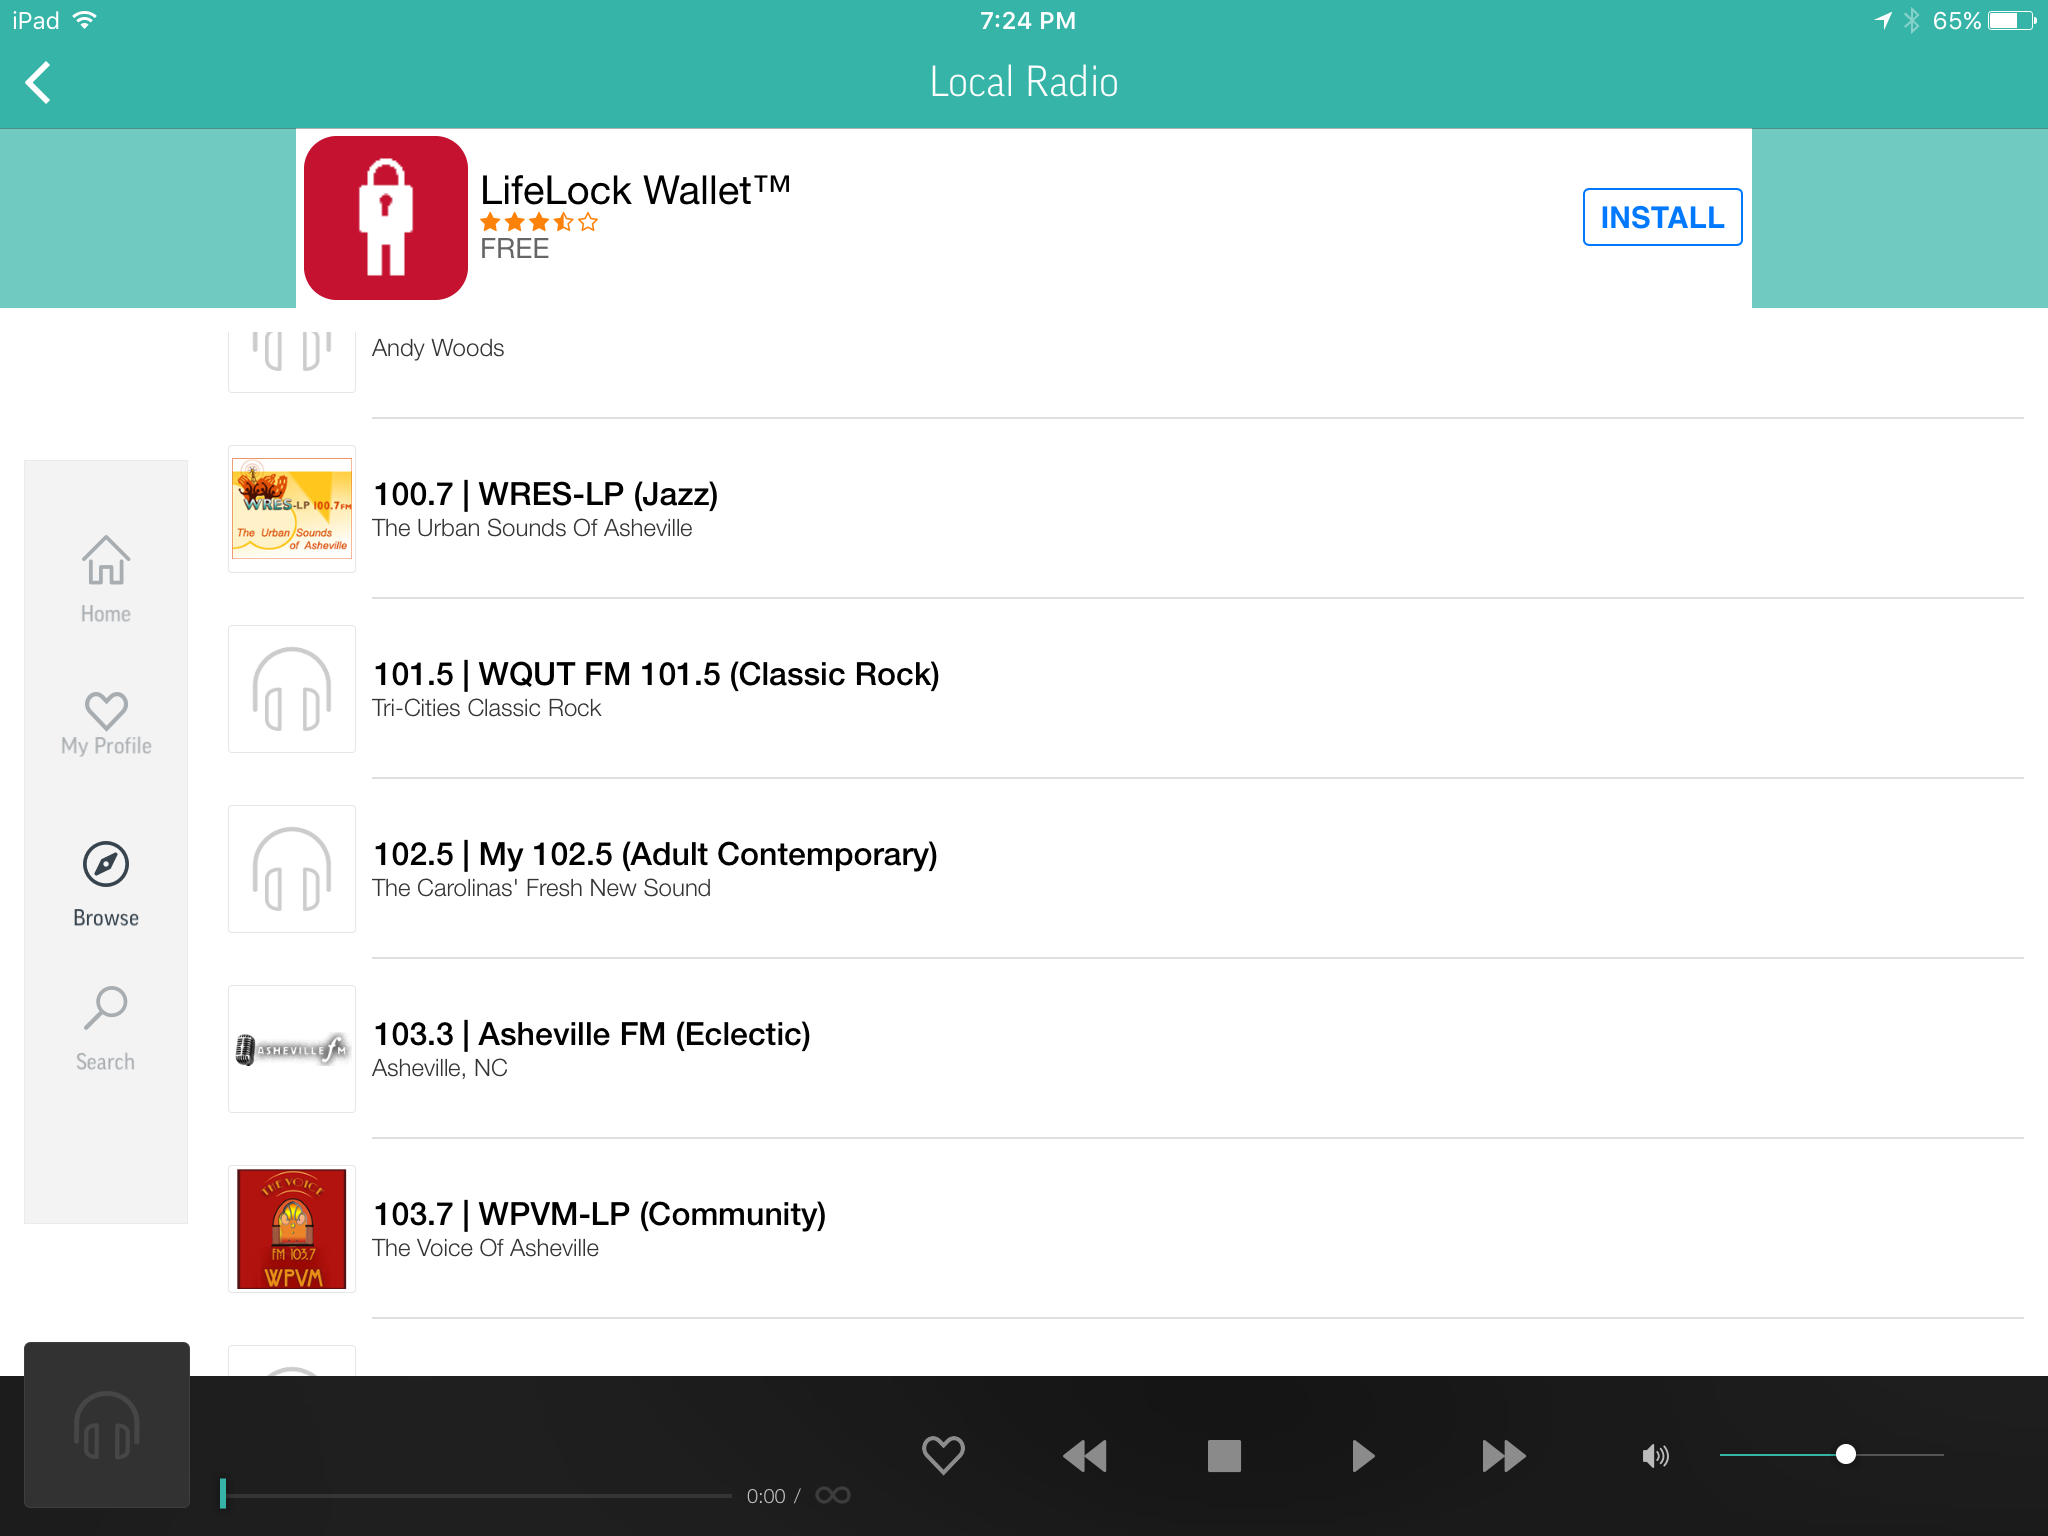
TuneIn’s iPad app has a beautiful, simple user interface. If you purchase the TuneIn Pro version ($9.99 for the iPad) banner ads disappear.
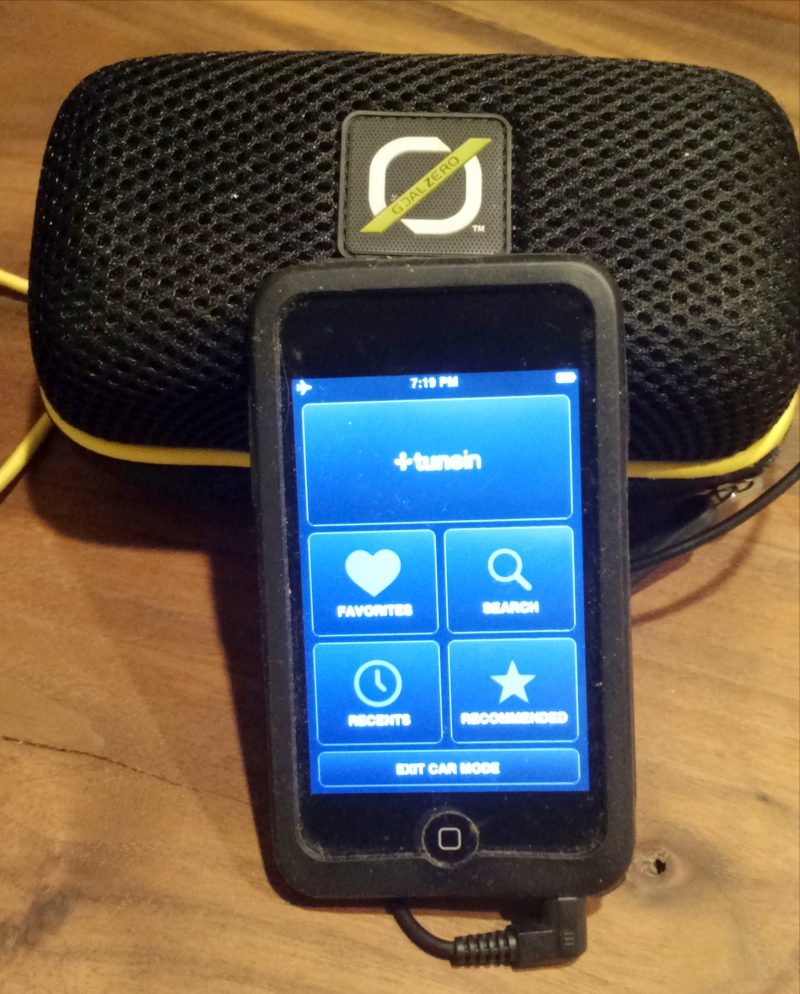
Since 2012, I’ve relied on my TuneIn app and either a tablet or smartphone to listen to stations. I found I could hook up my tablet to a portable powered speaker, an SStran AM transmitter, or even a whole-house stereo, and enjoy music from all over the world.
There was only one problem, however: while they enjoyed the music, my busy family didn’t appreciate the complexity of my radio set-up. The truth is, it did require warming up a lot of equipment––most of which is in my shack––not to mention making sure connections were in place, logging in, launching apps, and then searching for stations. One day, referencing the cobbler’s children (who, in the old adage, go without shoes), my wife asked in exasperation, “Isn’t there some way to make listening to music around here just a little more accessible to all of us? Maybe something we could just turn on––?”
The Quest
Thus began my quest to purchase a dedicated Wi-Fi Radio, an Internet appliance with a singular purpose: to play online radio stations from across the globe. Simply.
Fortunately, I reasoned, the process of choosing such a radio was likely to be just as simple. I mean, how hard could it be? I was already familiar enough with the wider radio landscape to know that these radios range from about $110 to $250 in price, and that they’re widely available from a number of radio and online retailers. Moreover, I’m lucky enough to count among my friends some of the most knowledgeable experts on the topic of Wi-Fi radio––Rob De Santos, Richard Cuff, and last but not least, John Figliozzi, author of the recently updated Worldwide Listening Guide––all of whom had jointly presented at that 2012 Fest that ignited my interest in WiFi radio. No doubt, I thought, a group-email to these experts would rapidly solve our dilemma.
Boy, was I ever wrong.
My expert friends all had excellent advice, but made me aware that there’s much more involved to choosing a WiFi radio than simply selecting the best-priced or the latest model. Firstly, they advised, it’s very important to identify a good station aggregator, and then select a good radio that relies upon it.
Radio Station Aggregators
WiFi radios are Internet appliances with the ability to stream Internet content, but they’re not endowed with the ability to seek out stations in the wild and import their audio streams. WiFi radios, I soon learned, rely on “aggregators,” or online databases of curated links to radio stations.
In the early days of WiFi radio, there were several models of radios on the market that linked to proprietary aggregators, many of which eventually closed down. When a WiFi radio loses its ability to link to an aggregator, it becomes no more than a pricey paperweight, especially if the WiFi radio doesn’t have traditional AM/FM reception as a backup.
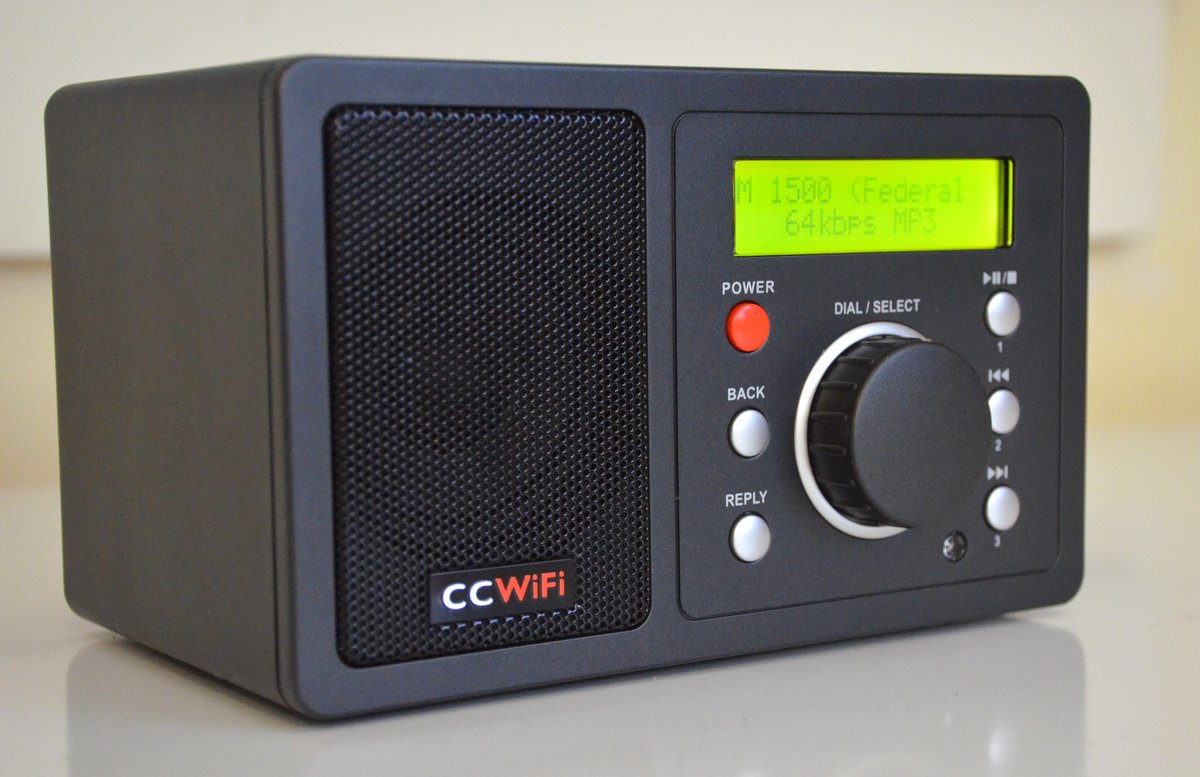
The CC WiFi radio uses the popular Reciva aggregator.
So not only does an aggregator need to have some longevity, it also needs to be actively curated. This means having to staff actual human beings to help manage additions, deletions, and changes to the large database of broadcasters. This is necessary because radio stations and radio networks often change their streaming server address or format with very little notice. Good aggregators have methods that allow for broadcasters and listeners to submit such changes for approval so that streaming can be fully reestablished across the network of subscribing WiFi radios.
It should be noted as well that some aggregators may not support the protocol broadcasters choose to use for their streams. So, prior to purchasing a radio, buyers should attempt an Internet search to make sure their favorite broadcasters are listed among those offered by the radio’s aggregator. This being said, buyers must be aware that a number of aggregators require a username and password to search through their listings, thus limiting any pre-purchase search.
Types of Aggregators
Aggregators fall into two categories: those that are radio-dependent, and those that are not.
Radio-dependent aggregators are those that you can use only if you own a compatible device. For example, to stream from the Reciva system, you must first own a Reciva-connected WiFi radio. With your radio model/serial number in hand, you’ll be able to create a login on the Reciva system. From there, you can create lists of favorite stations and manage them. If you don’t own a Reciva radio, however, you can’t log into the Reciva database. The same applies to Frontier Silicon (Sangean), as well as Pure.
The dominant open (or, non radio-dependent) aggregator on the market as of this publication is TuneIn Radio. TuneIn does not require a compliant device; you can create an account with TuneIn and stream from it via your computer, tablet, or smartphone. And of course, there are now radios that link to TuneIn as their aggregator.
VTuner is another open aggregator that can be explored prior to purchasing a compatible WiFi radio. Note that in this WiFi primer we will not explore the VTuner aggregator, however it will be covered in the upcoming review of the Como Audio Solo.
Following is a list of the most popular aggregators with a brief description of each.
Radio-dependent Aggregators
Reciva (https://radios.reciva.com/)
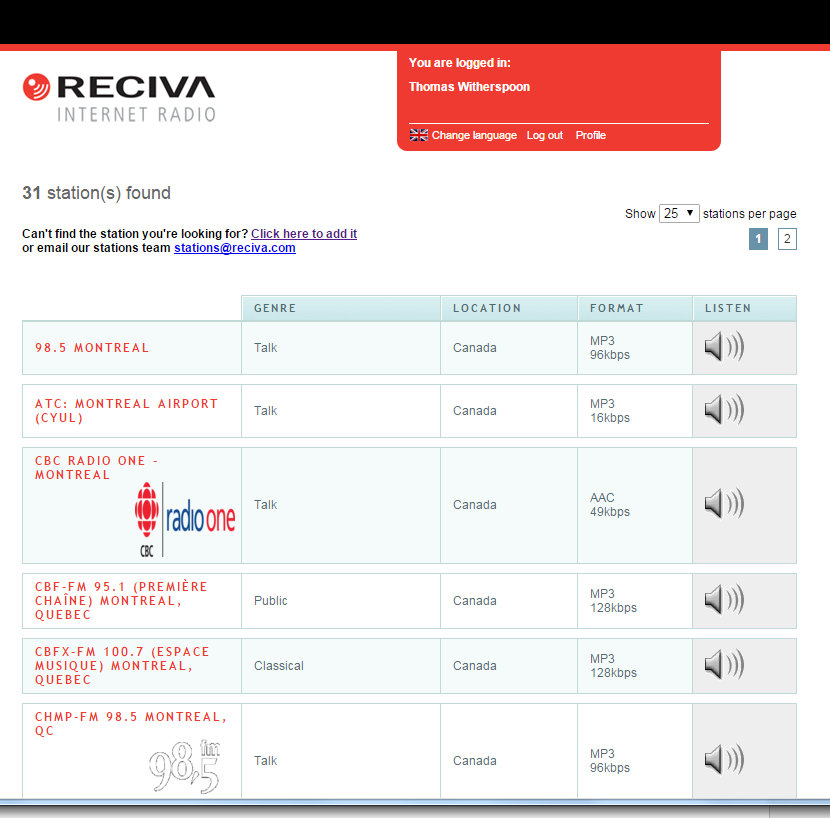
Reciva’s station search function is more functional than that of Frontier Silicon. I can typically find a station by searching by call sign. When that doesn’t work–as in this case when I searched for CKUT–I simply searched by city.
[Important Update: Reciva has announced that they are closing for business on April 30, 2021. Do not buy a new or used WiFi radio that relies on the Reciva aggregator as it will not function properly without the service.]
The Reciva aggregator has been around for many years. At one point, it was the most user-friendly and most actively curated aggregator on the market. Today, Reciva is still the most popular choice in a WiFi radio aggregator.
I find the Reciva website easy to use, even if its design and user-interface are slightly outdated. Reciva also seems to be relatively quick to respond to stream-server changes. When my favorite Internet radio station changed streaming servers last year, Reciva was quick to update the link. Reciva also allows you to build folders of favorite stations that make it easy for you to navigate with your radio. Moreover, Reciva has an advanced search function that also makes finding particular stations relatively easy.
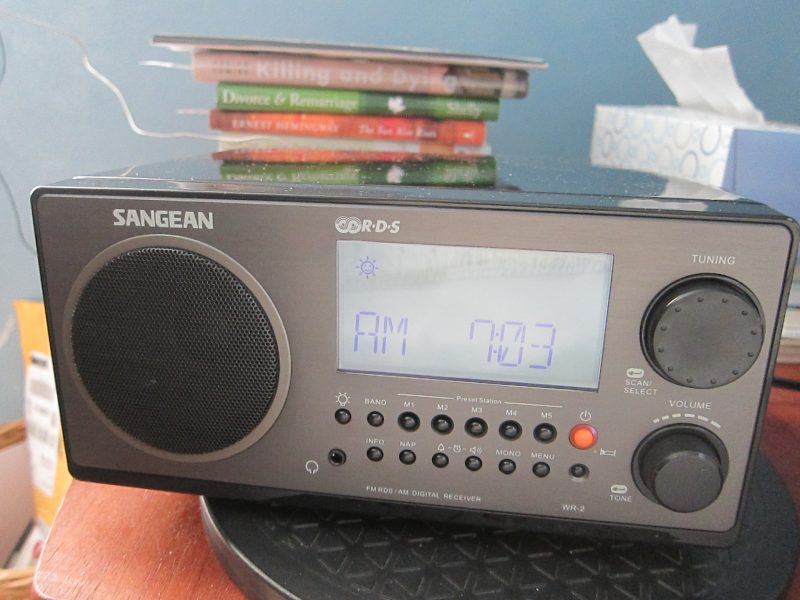
Frontier Silicon (http://www.wifiradio–frontier.com/)
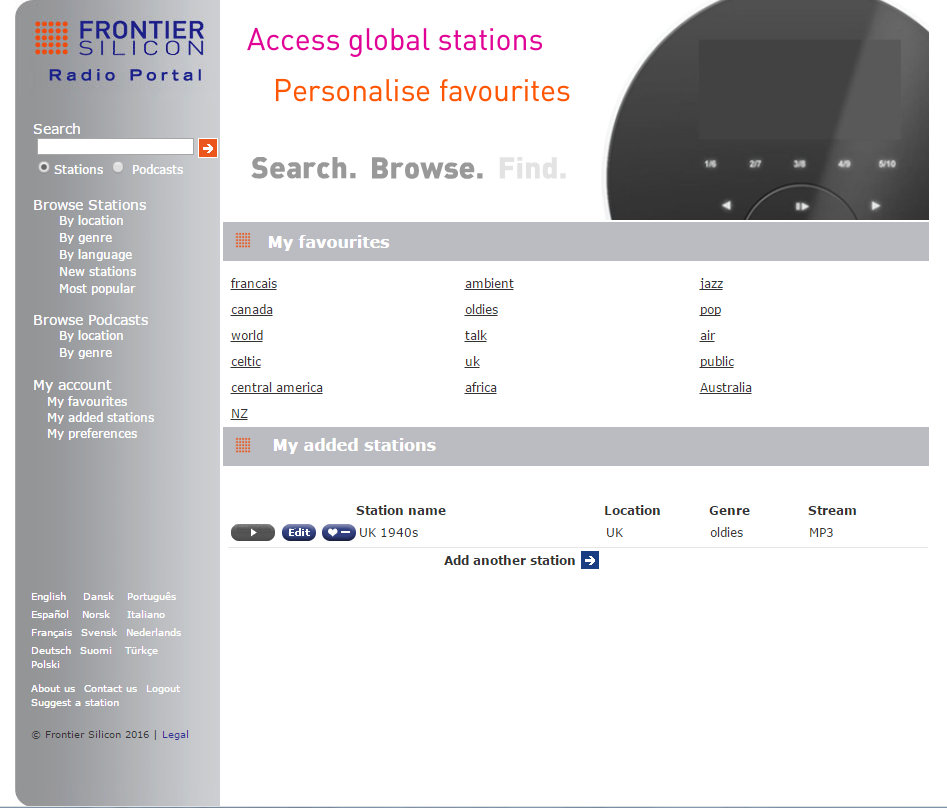
Frontier Silicon’s website is clean, simple and responsive. Their “My Favourites” page makes organizing your many station memories an intuitive process.
As far as I can tell, Sangean is the only WiFi radio manufacturer using the Frontier Silicon aggregator. The Frontier Silicon interface is very basic, but gets the job done. Adding stations to a playlist also seems to be very straightforward.
With that said, however, if you chose the option of browsing stations by category––say, by language or genre––Frontier Silicon doesn’t allow you to search within the category’s results for specificity. For example, I recently wanted to search for new French language stations in a certain town in France. Once I had chosen the French language, then the country, I was presented with a list of over 1700 stations arranged alphabetically with twenty results per page, and with no way to search among them. It was frustratingly imprecise. Not only could I not find the town, but the station list was simply too broad, too unwieldy, to navigate.
Frontier Silicon’s database of information can be incomplete––and inconsistent. Nonetheless, there are some tricks to help you find stations; for example, an online search by call sign and name may lead you to the desired result (then searching Frontier Silicon for other station keywords). A quick Internet search can also help you find regional broadcasters.
Frontier Silicon provides an easy means by which to submit new stations and provide updated information, should your station change server locations, but one must be patient. For example, I submitted a station’s updated URL to Frontier Silicon; it took them almost a week to update the stream, whereas Reciva took only a day or so to do the same.
All in all, the Frontier Silicon platform, though more bare-bones than its competitors, does the trick and seems to work quite well.
Pure (http://www.pure.com/) (Untested)
 The manufacturer, Pure, also has their own aggregator for their radio product line. Since I didn’t test a Pure WiFi radio for this review, I haven’t tried their system. I do have two friends that tout the virtues of Pure’s radios as well as Pure’s aggregator, claiming superb customer service and overall product quality.
As Pure is a “closed” ecosystem, I suppose there could be concerns about their products should the company ever close its doors. But the company’s strong consumer following makes this relatively unlikely. One pleased user of my acquaintance claimed that Pure is to WiFi radio what Apple is to computers––in other words, it’s a company that provides a quality product, excellent design, as well as a user-friendly interface. I can’t speak to this comparison. But I do know that, also like Apple, Pure’s products top the market in terms of price: their Pure Evoke F4 (without extra speaker or battery) retails for $225 – 250 US. To put this in perspective, the priciest radio I reviewed was purchased for $170. So, clearly, Pure’s products can double the cost of their competitor’s.
Open Aggregators

Create a free account at TuneIn Radio (http://TuneIn.com), search for/organize your favorites and changes will propagate to all of your TuneIn connected devices and apps.
I have been using the TuneIn system for at least four years. It is, without doubt, the most user-friendly database of radio stations I’ve tested. TuneIn’s search functionality is exceptionally powerful; I’ve found that I can almost always locate a station in a matter of seconds. And of course, you can hone in on a favorite station by region and genre.
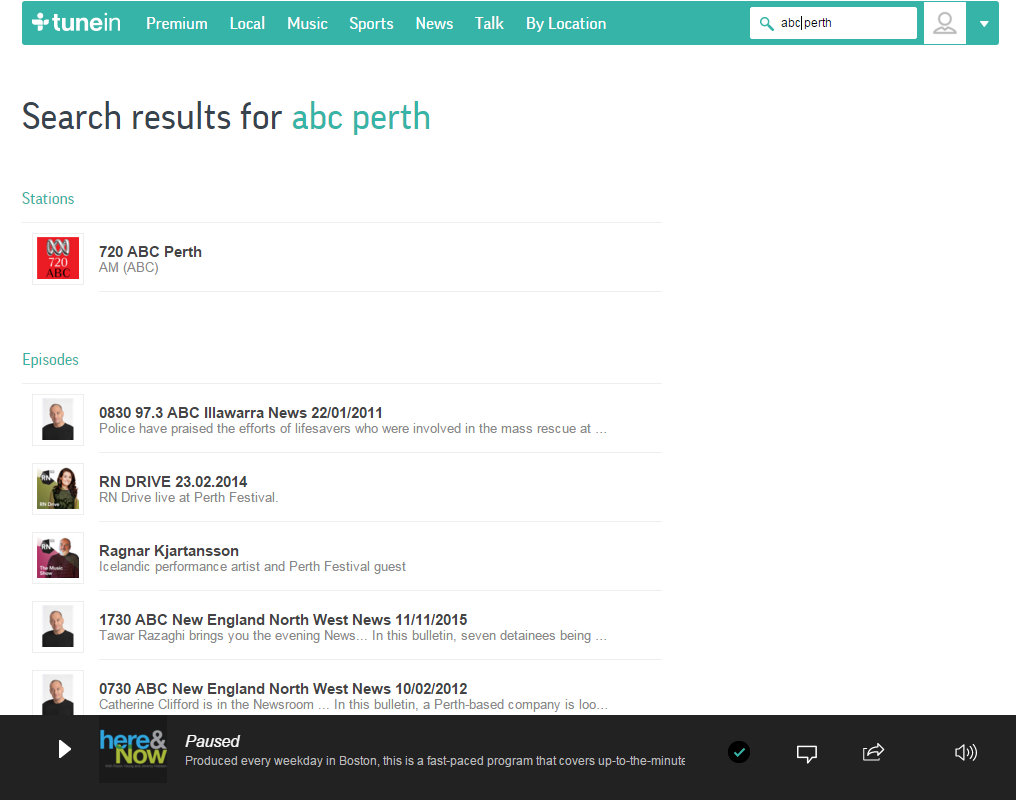
The TuneIn search screen.
The great thing about Tunein is that you don’t have to own an Internet device to use it. You can use a free account to organize your favorite stations, which will then propagate to the TuneIn app on your phone or tablet––as well as to your web browser, should you decide to listen on your computer.
Overall, the TuneIn user interface is pleasant and responsive; in short, it’s my favorite among the aggregators I tested.
![]() Live365
Live365
Live 365––an aggregator with some history, which may very well have been in existence longer than any other––specializes in Internet stations rather than radio broadcasters who also happen to stream on the Internet.
[Update] Sadly, on February 1 st , 2016, Live365 closed for business. It is unlikely another company will pick up the reigns.
Why did Live365 close shop? Here’s what Forbes.com suggests:
“It is rumored that the service is being forced into early retirement because of new royalty rates that digital radio producers now need to adhere to. Late in 2015, the Copyright Royalty Board handed down its decision about what internet radio services will need to pay per stream, and it apparently hurt Live365 so much that it can no longer afford for the rights to play music.”
Among WiFi radios, Live 365 functions as an “add on” rather than sole default aggregator. If your radio has Live 365 functionality, the loss of service will have no effect on other radio functions.
Network-Specific Aggregators and services
![]() iHeart Radio: iHeartRadio is an Internet radio platform owned by iHeartMedia, Inc. The iHeart radio app functions as both a radio network for the 800+ iHeart radio stations around the world and also as a music recommendation system. There are no WiFi radios that use iHeart as a default aggregator, but there are several that include iHeart as a featured app.
iHeart Radio: iHeartRadio is an Internet radio platform owned by iHeartMedia, Inc. The iHeart radio app functions as both a radio network for the 800+ iHeart radio stations around the world and also as a music recommendation system. There are no WiFi radios that use iHeart as a default aggregator, but there are several that include iHeart as a featured app.
SiriusXM (paid): SiriusXM is a satellite radio subscription service; subscribers at a certain subscription level can also stream 130 channels over the Internet.
Music and other internet radio services
![]() There are a number of Internet radio services that are not curated. Many of these services are adaptive platforms that create impromptu radio “stations” based on your preferences. These services may be included with a WiFi radio, but most are used in conjunction with smartphone apps, among them, Pandora, Slacker, LastFM, Spotify, and Aupeo. Note these services are outside the scope of this review for the simple reason that, as a content DXer, my interest is on actual radio stations rather than music services.
There are a number of Internet radio services that are not curated. Many of these services are adaptive platforms that create impromptu radio “stations” based on your preferences. These services may be included with a WiFi radio, but most are used in conjunction with smartphone apps, among them, Pandora, Slacker, LastFM, Spotify, and Aupeo. Note these services are outside the scope of this review for the simple reason that, as a content DXer, my interest is on actual radio stations rather than music services.
A final note about aggregators
There are likely other aggregators and services in existence that I’ve omitted from this review. Again, I focused on the better-known aggregators and services, most of which are considered relatively stable and well-supported by both manufacturers and WiFi radio enthusiasts.
In conclusion, I’ll say once more: it’s important to check whether a particular aggregator supports your favorite radio station(s) and broadcast network(s) prior to purchasing the adjunct radio. And if it doesn’t, you need not necessarily rule out the system altogether; often an aggregator will have the capability to add the preferred station(s), so this is also worth investigating. The obvious exceptions are stations using streaming formats not supported by your radio or your aggregator (or both). In short, do check before you buy.
I’ve been testing WiFi radios supported by Reciva, Frontier Silicon, and TuneIn, and can say that I haven’t been displeased with any of them. All seem to support my favorite stations and networks.
Alternatives to WiFi radios
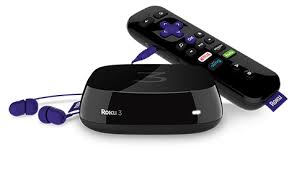
The Roku 3
Before we look at the WiFi radios on the market in Part 2 and 3 of this feature––coming up in the coming weeks––I should note that there are certainly cheaper alternatives to a dedicated WiFi Radio, especially if you already own a device that can play Internet radio content. By and large, smartphones, tablets, as well as PCs offer the most convenient access to online broadcast streaming, though even some TVs and video streaming devices (Roku, AppleTV, Amazon’s Fire TV Stick, Google’s Chromecast, and so forth) contain basic audio streaming apps.
Smartphones
Since the majority of us have a smartphone or tablet, you’ll find this provides a convenient and readily accessible means by which to enjoy the functionality of a portable WiFi radio. If you haven’t already done so, the process couldn’t be easier: simply download the TuneIn app (Android: http://bit.ly/1gB1DAh and iOS: http://apple.co/1O9aZxI).
Though TuneIn offers a monthly premium plan (primarily for those who want coverage of sporting events), even the free plan unlocks the full database of radio stations across the globe.
With the app installed, you can plug in headphones and tune in thousands of stations. If you want improved audio, simply plug in an external amplified speaker, or connect a speaker via BlueTooth.
The app is lightweight and doesn’t rob you of much of your device’s resources. And of course, it can play in the background as you do other things. As a bonus, TuneIn can stream thousands of podcasts––including those from the Shortwave Radio Audio Archive. There’s a curious pleasure in riding a train or subway while listening to an archived off-air recording of Radio Moscow from the 1970s!
While we’re talking about apps, there’s also an excellent one written by shortwave listener, Steven Clift, called the 1 Radio News app. At the moment, it’s only available for Android devices. There’s also a free version with some banner ads and a Pro version ($.99) with no ads and more stations.
WiFi radio? We’re hooked
For many––myself included––this was my WiFI set-up for many years: a smartphone and headphones, plus a tablet hooked up to a powered portable speaker. I never felt the need to have a dedicated Internet appliance for tuning radios stations…until, that is, my family needed something more, launching this investigation into the world of WiFi radio.
Now, having experienced the benefits of dedicated WiFi radio, I don’t think I’d choose to be without one. It’s just incredibly convenient to tune in a station on a simple device which has as its sole purpose streaming audio. All of the units I reviewed have excellent audio via the internal speaker, too.
Best yet, I’ve now found a radio that my entire family––yes, even my wife––enjoys. With the touch of a button or a voice command, they now tune to favorite stations in Brazil, Africa, Europe, or Canada. And our house is now full of their music choices, too.
Coming up in the next two issues: Parts 2 and 3 which include reviews of four popular WiFi radios.
I will post each part of this three part series with the tag: WiFi Radio Primer.