 Before I had even taken delivery of the new Icom IC-705 transceiver, a number of SWLing Post readers asked me to do a series of blind audio comparison tests like I’ve done in the past (click here for an example).
Last week, I published a series of five audio tests/surveys and asked for your vote and comments. The survey response far exceeded anything I would have anticipated.
We received a total of 931 survey entries/votes which only highlights how much you enjoy this sort of receiver test.
In this challenge, I didn’t even give you the luxury of knowing the other radios I used in each comparison, so let’s take a look…
The competition
Since the Icom IC-705 is essentially a tabletop SDR, I compared it with a couple dedicated PC-connected SDRs.
WinRadio Excalibur SDR
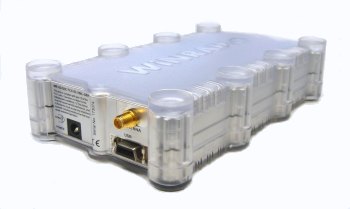
The WinRadio Excalibur
I consider the WinRadio Excalibur to be a benchmark sub $1000 HF, mediumwave, and longwave SDR.
It is still my staple receiver for making off-air audio and spectrum recordings, and is always hooked up to an antenna and ready to record.
In the tests where I employed the WinRadio Excalibur, I used its proprietary SDR application to directly make recordings. I used none of its advanced filters, AGC control, or synchronous detection.
Click here to read my original 2012 review of the WinRadio Excalibur.
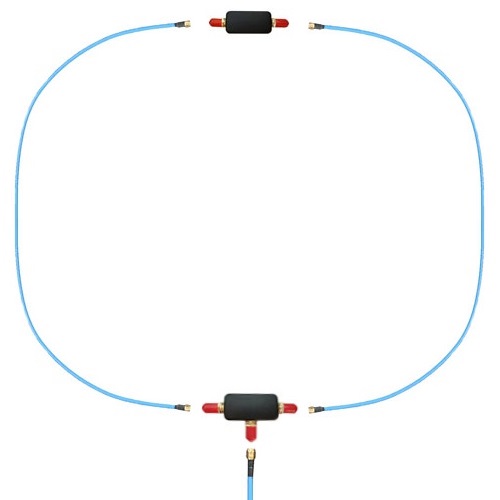
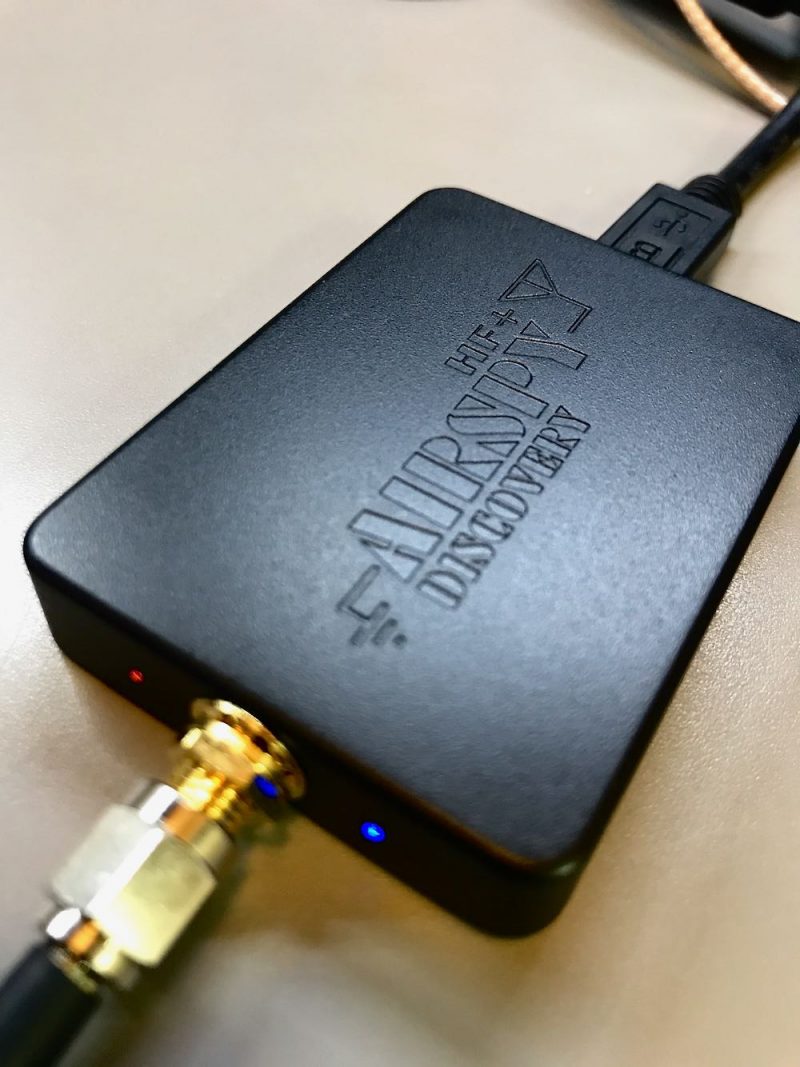
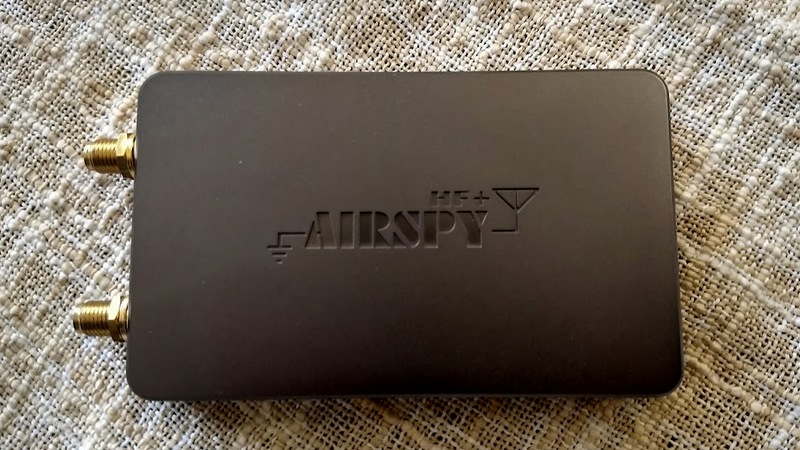
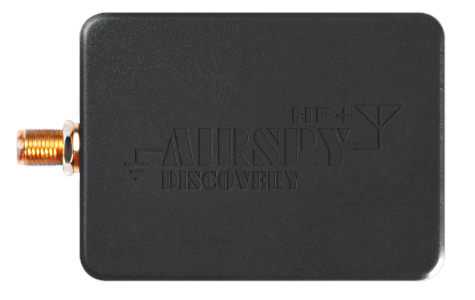
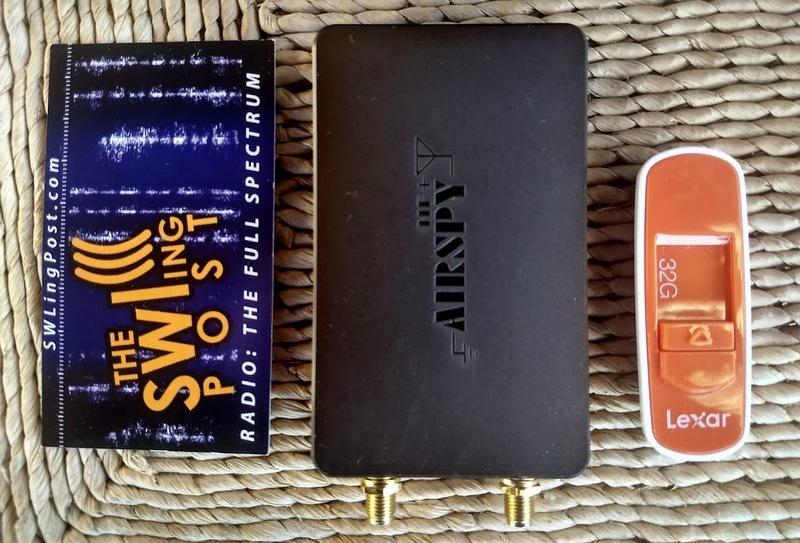
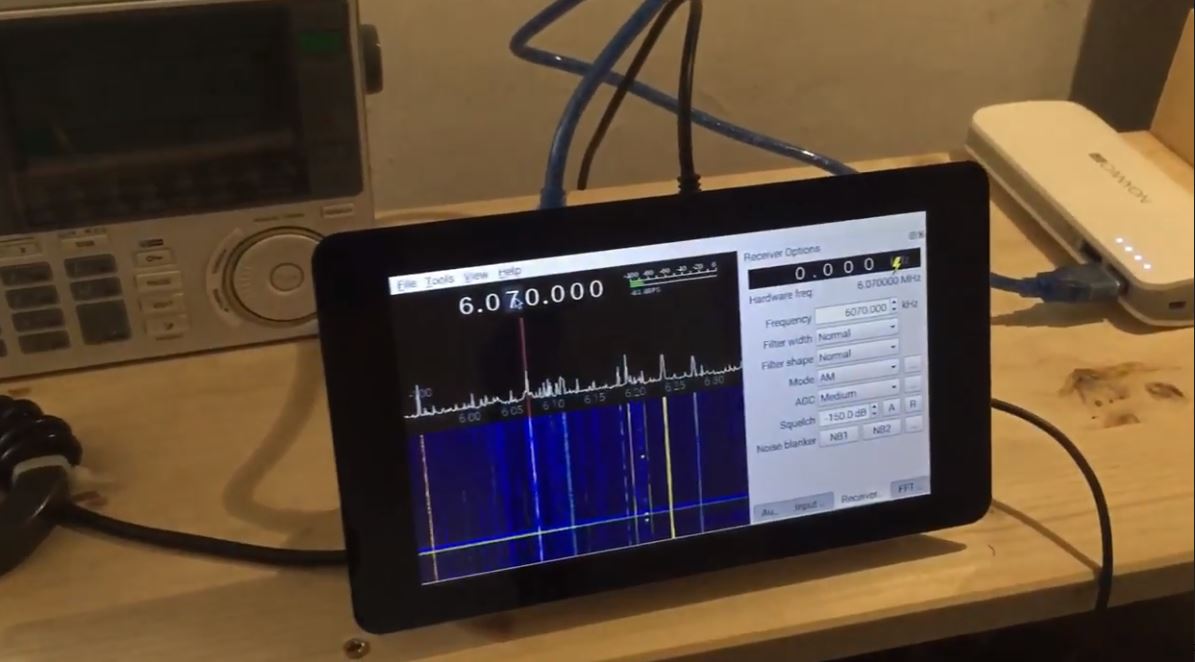
Airspy HF+ SDR
The Airspy HF+ SDR
I also consider the Airspy HF+ SDR to be one of the finest sub-$200 HF SDRs on the market.
The HF+ is a choice SDR for DXing. Mine has not been modified in any way to increase its performance or sensitivity.
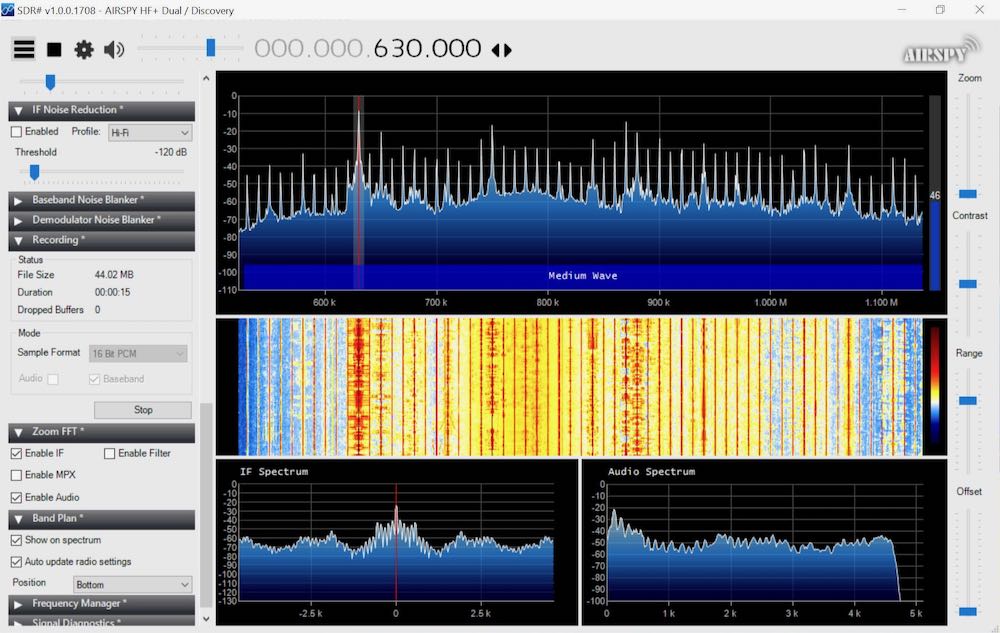
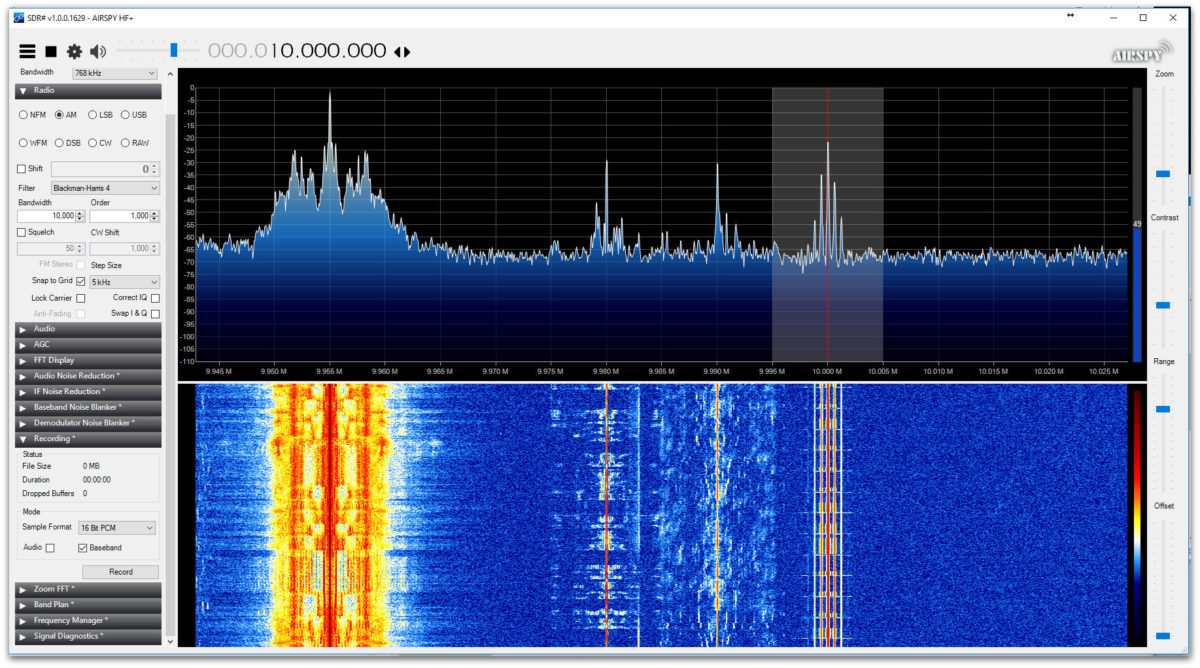
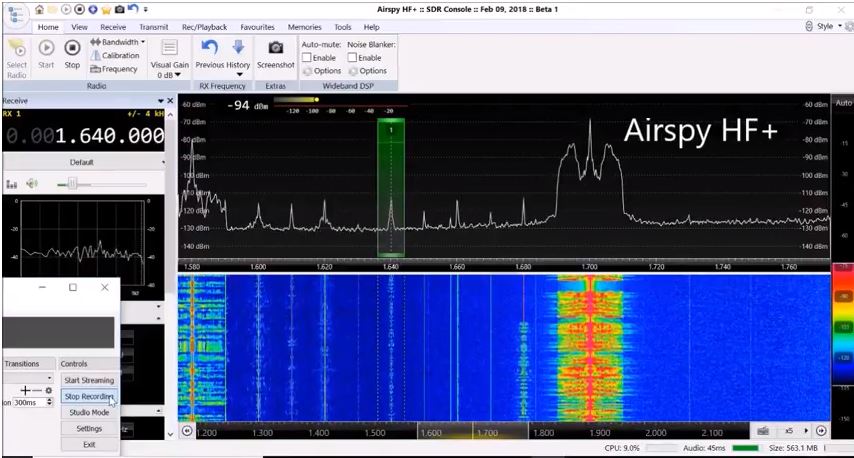
In the test where I employed the HF+ I used Airspy’s own SDR application, SDR#, to directly make recordings. I used none of its advanced filters, AGC control, noise reduction, or synchronous detection.
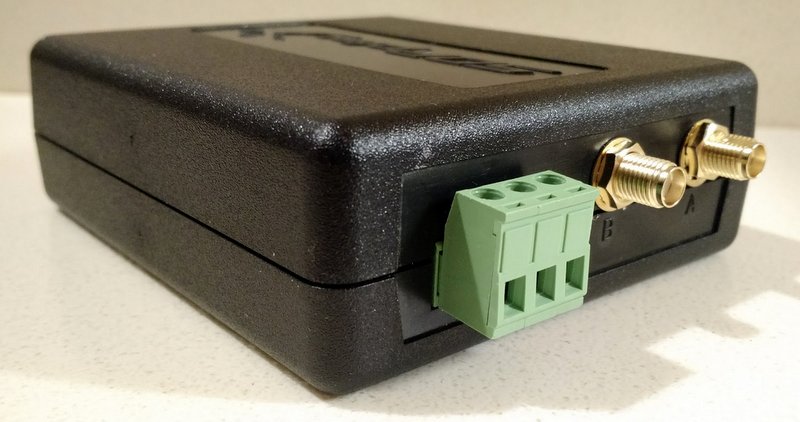
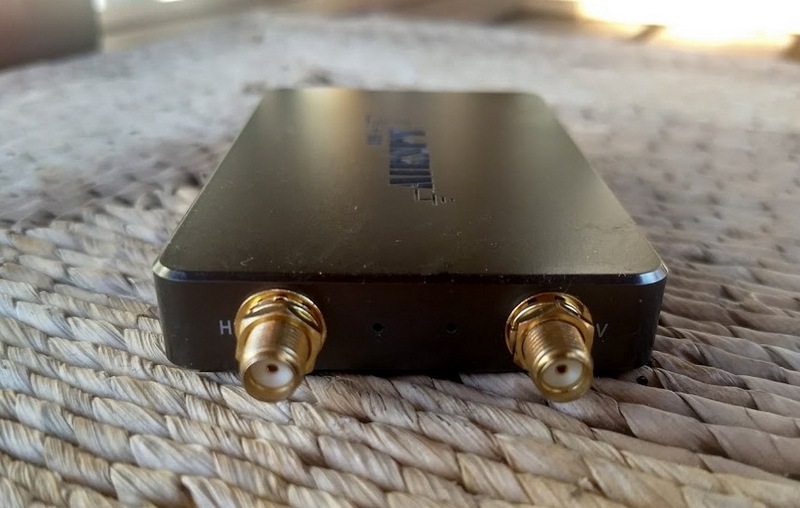
Belka-DSP portable receiver
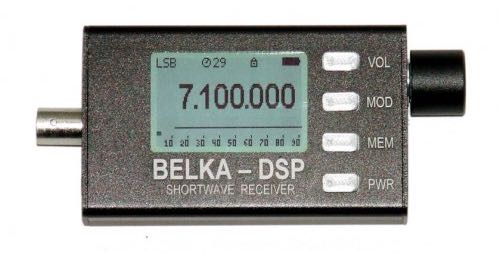
The Belka-DSP
I recently acquired a Belka-DSP portable after reading 13dka’s superb review.
I thought it might be fun to include it in a comparison although, in truth, it’s hardly fair to compare a $160 receiver with a $1300 SDR transceiver.
The Belka, to me, is like a Lowe HF-150 in a tiny, pocket package.
Elecraft KX3 QRP transceiver
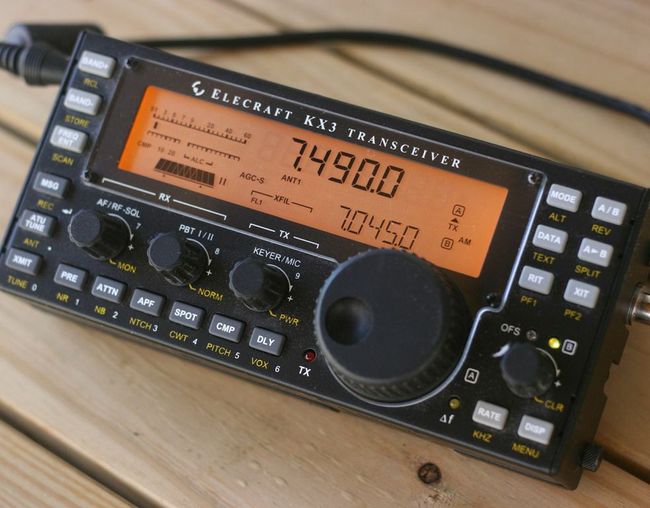
The Elecraft KX3
The KX3 is one of the best transceivers I’ve ever owned. Mine has the CW roofing filter installed (only recently) and is, without a doubt, a benchmark performer.
Click here to read my full review.
If you check out Rob Sherwood’s receiver test data table which is sorted by third-order dynamic range narrow spaced, you’ll see that the KX3 is one of the top performers on the list even when compared with radios many times its price. Due to my recording limitations (see below) the KX3 was the only other transceiver used in this comparison.
Herein lies a HUGE caveat:
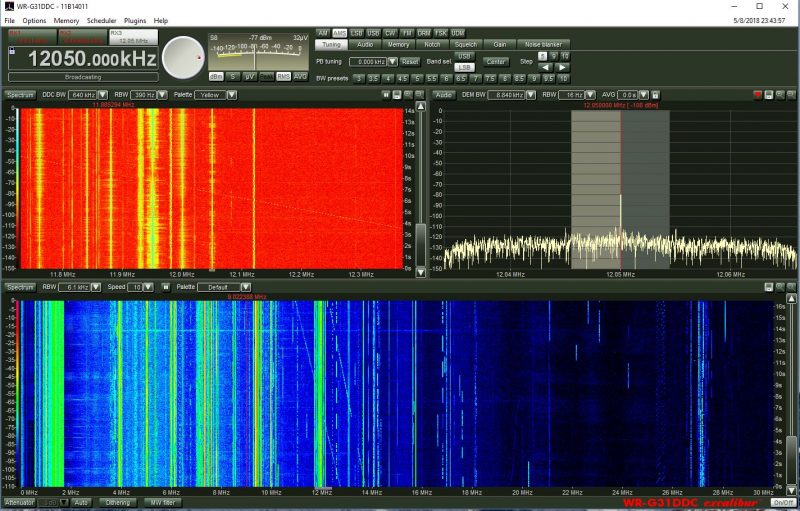
The WinRadio application
As I’ve stated in SDR reviews in the past, it is incredibly difficult comparing anything with PC-connected SDRs because they can be configured on such a granular level.
When making a blind audio test with a stand-alone SDR radio like the IC-705–which has less configurability–you’re forced to take one of at least two paths:
- Tweak the PC-connected SDR until you believe you’ve found the best possible reception audio scenario and use that configuration as a point of comparison, or
- Attempt to keep the configuration as basic as possible, setting filters widths, AGC to be comparable and turning off all other optional enhancements (like synchronous detection, noise reduction, and advanced audio filtering to name a few).
I chose the latter path in this comparison which essentially undermines our PC-connected SDRs. Although flawed, I chose this approach to keep the comparison as simple as possible.
While the IC-705 has way more filter and audio adjustments than legacy transceivers, it only has a tiny fraction of those available to PC-connected SDRs. Indeed, the HF+ SDR, for example, can actually be used by multiple SDR applications, all with their own DSP and feature sets.
In short: don’t be fooled into thinking this is an apples-to-apples comparison. It is, at best, a decent attempt at giving future IC-705 owners a chance to hear how it compares in real-word live signals.
Recordings
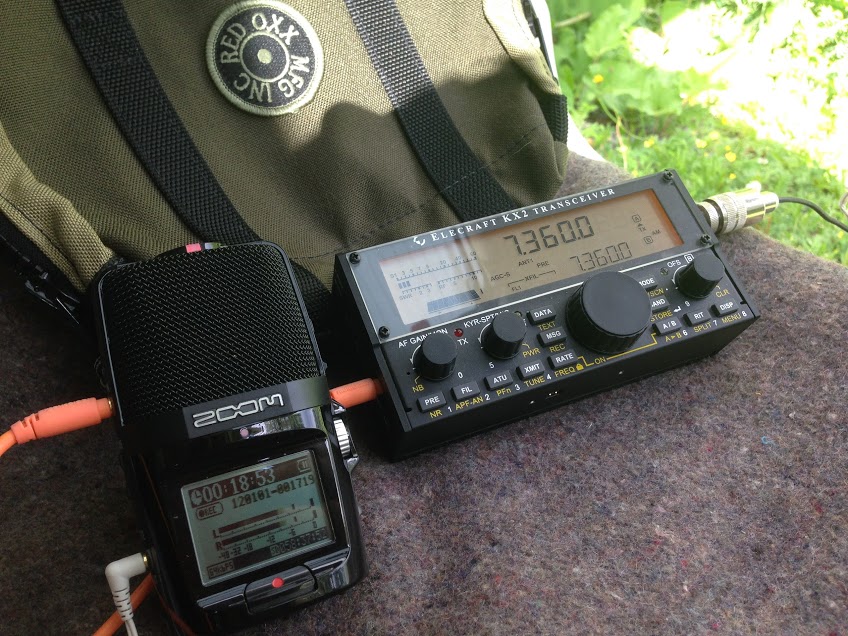
The Zoom H2N connected to my Elecraft KX2.
Another limiting factor is that I only have one stand-alone digital audio recorder: the Zoom H2N. [Although inspired by Matt’s multi-track comparison reviews, I plan to upgrade my gear soon.]
The IC-705 has built-in digital audio recording and this is what I used in each test.
The WinRadio Excalibur and Airspy HF+ also have native audio recording via their PC-based applications.
With only one stand-alone recorder, I wasn’t able to simultaneously compare the IC-705 with more than one other stand-alone receiver/transceiver at a time.
As I mentioned in each test, the audio levels were not consistent and required the listener to adjust their volume control. Since the IC-705, Excalibur, and HF+ all have native recording features, the audio levels were set by their software. I didn’t post-process them.
Blind Audio Survey Results
With all of those caveats and disclaimers out of the way, let’s take a look at the survey results.
Blind audio test #1: 40 meters SSB
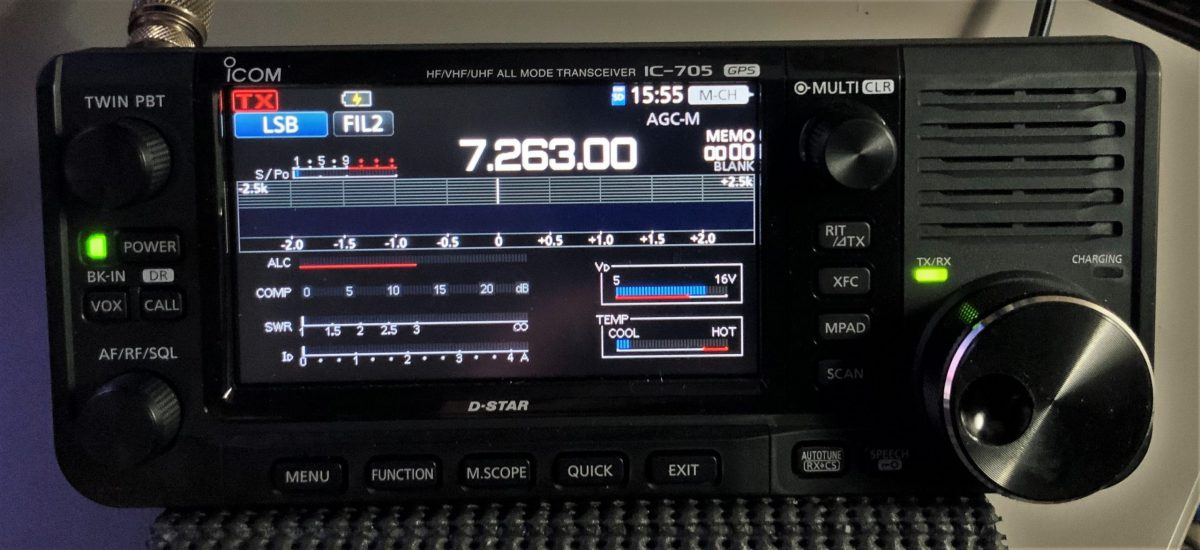
In this first test we listened to the IC-705, WinRadio Excalibur, and Belka-DSP tuned to a weak 40 meter station in lower sideband (LSB) mode. Specifically, this was ham radio operator W3JPH activating Shikellamy State Park in Pennsylvania for the Parks On The Air program. I chose this test because it included a weak station calling CQ and both weak and strong stations replying. There are also adjacent signals which (in some recordings) bleed over into the audio.
Radio A: The Belka-DSP
Radio B: The WinRadio Excalibur
Radio C: The Icom IC-705
Survey Results
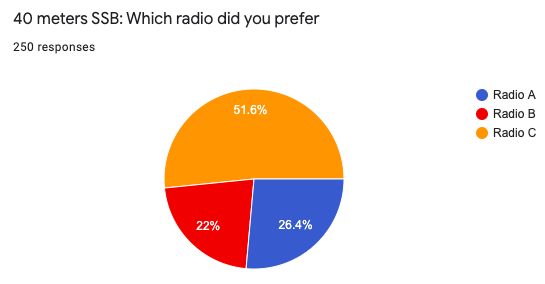
The Icom IC-705 was the clear choice here.
Based on your comments, those who chose the IC-705 felt that the weak signal audio was more intelligible and that signals “popped out” a bit more. Many noted, however, that the audio sounded “tinny.”
A number of you felt it was a toss-up between The IC-705 and the Belka-DSP. And those who chose the WinRadio Excalibur were adamant that is was the best choice.
The WinRadio audio was popping in the recording, but it was how the application recorded it natively, so I didn’t attempt to change it.
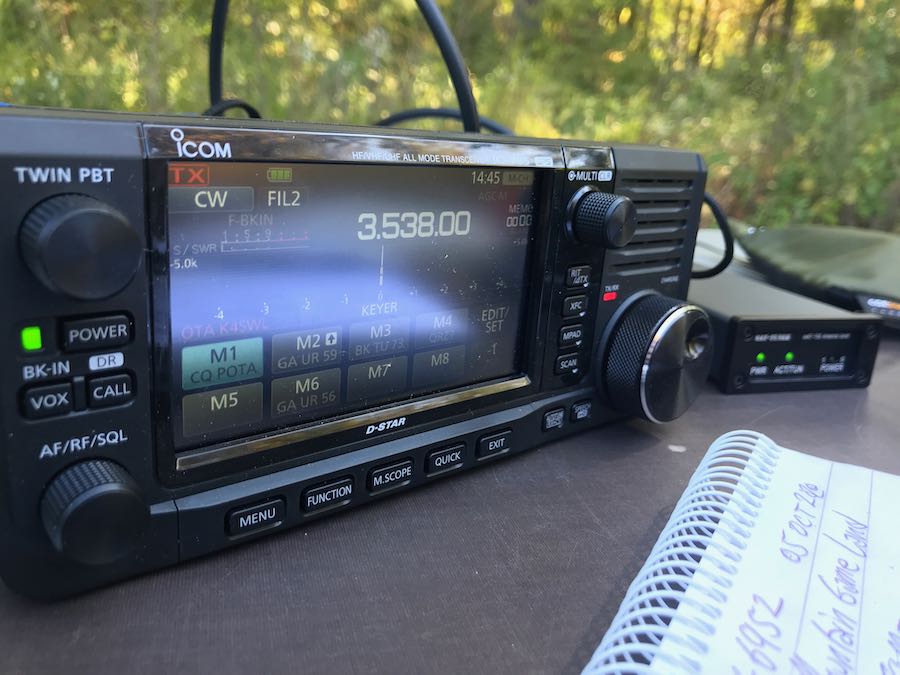
Test #2: 40 meters CW
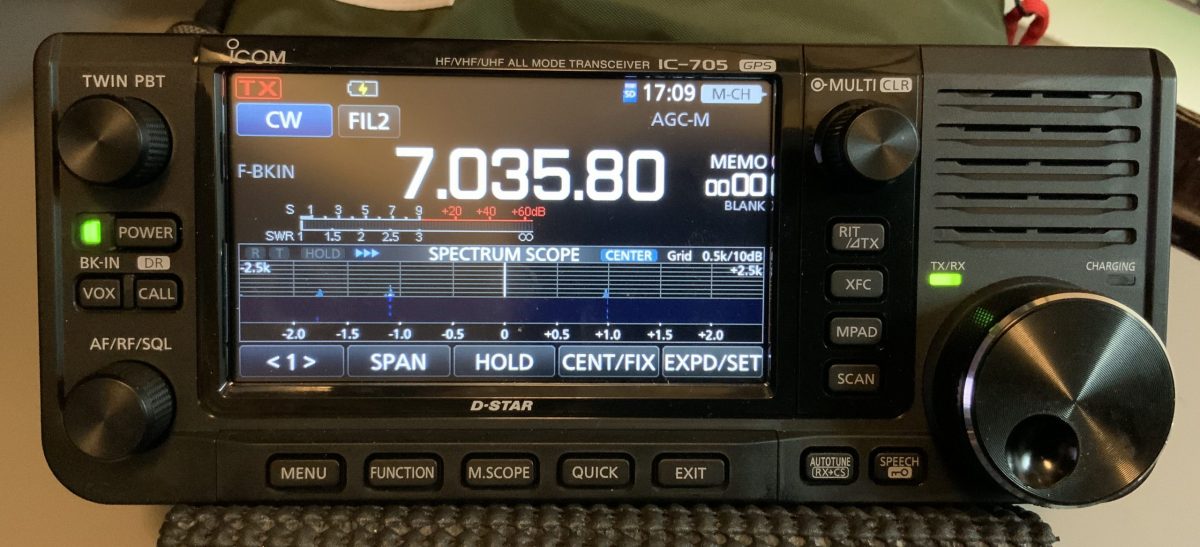 In this second test we listened to the Icom IC-705 and the Elecraft KX3 tuned to a 40 meter CW station.
Radio A: Icom IC-705
Radio B: Elecraft KX3
Survey Results
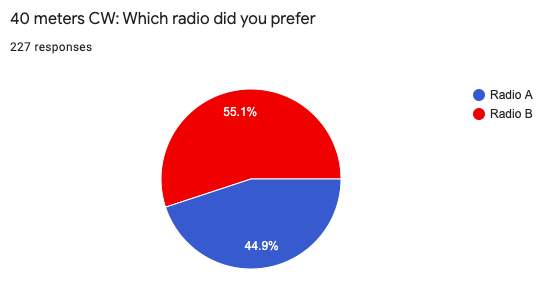
The Elecraft KX3 was preferred by more than half of you.
Based on your comments, those who chose the KX3 felt the audio was clearer and signals had more “punch.” They felt the audio was easier on the ears as well, thus ideal for long contests.
Those who chose the IC-705, though, preferred the narrower sounding audio and felt the KX3 was too bass heavy.
Test #3: Shannon Volmet SSB
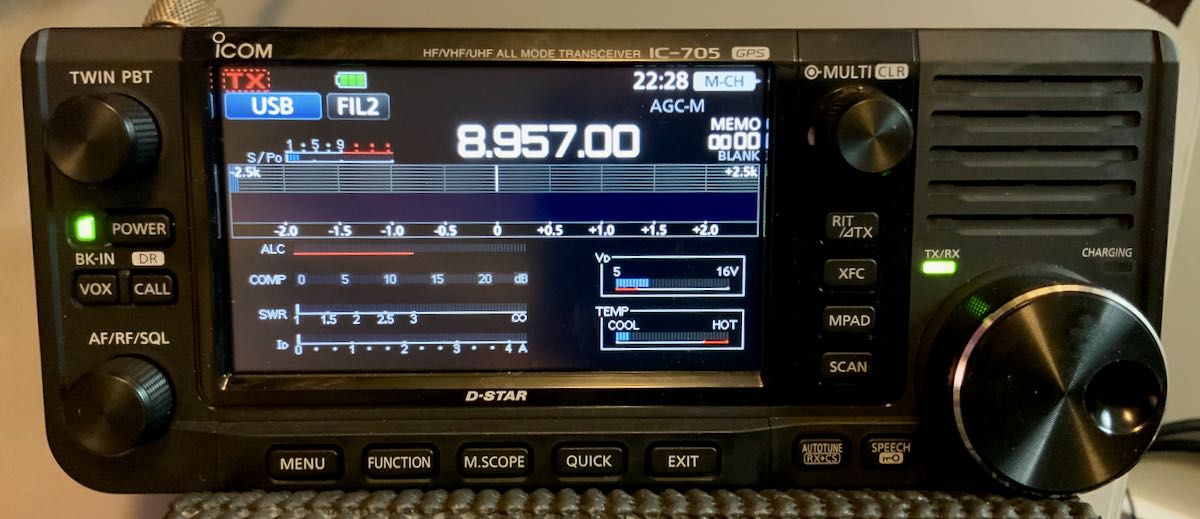
In this third test we listened to the Icom IC-705 and WinRadio Excalibur, tuned to Shannon Volmet on 8,957 kHz.
Radio A: WinRadio Excalibur
Radio B: Icom IC-705
Survey
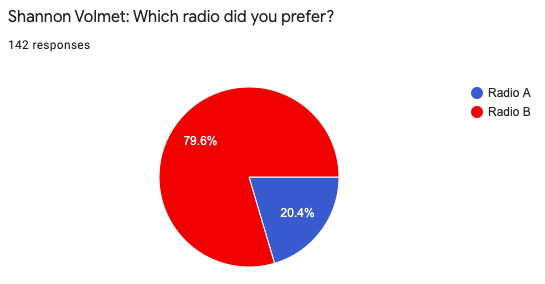
The Icom-705 audio was preferred by a healthy margin. I believe, again, this was influenced by the audio pops heard in the WinRadio recording (based on your comments).
The IC-705 audio was very pleasant and smooth according to respondents and they felt the signal-to-noise ratio was better.
However, a number of comments noted that the female voice in the recording was actually stronger on the WinRadio Excalibur and more intelligible during moments of fading.
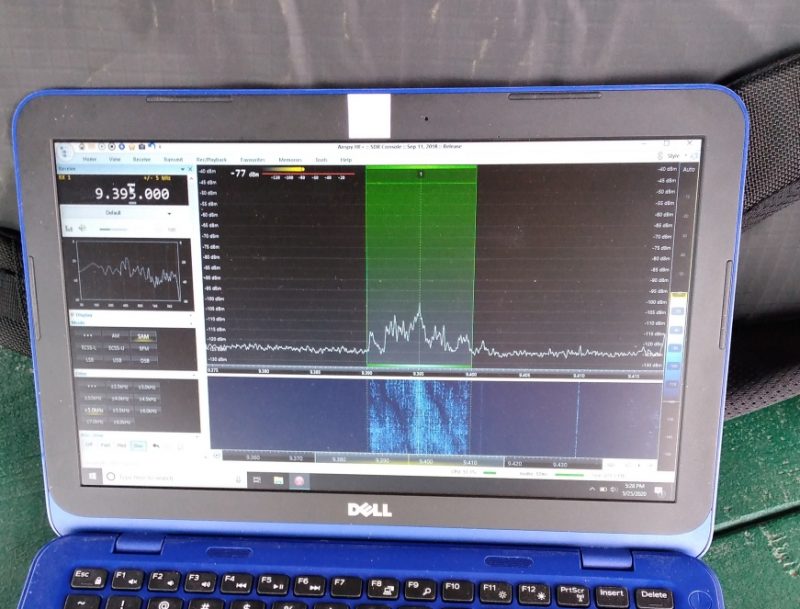
Test #4: Voice of Greece 9,420 kHz
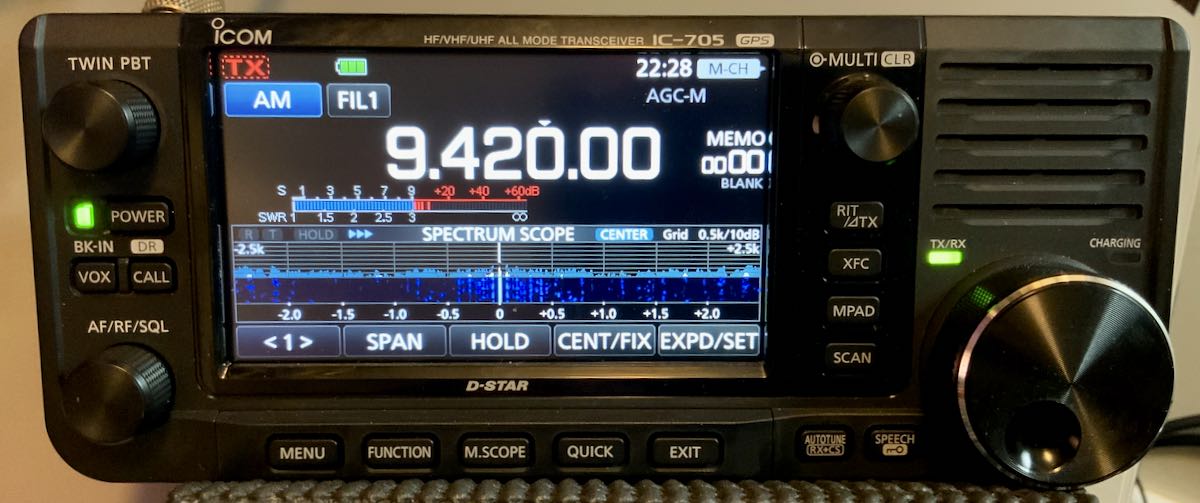 In this fourth test we listen to the Icom IC-705, and the WinRadio Excalibur again, tuned to the Voice of Greece on 9,420 kHz.
Radio A: Icom IC-705
Radio B: WinRadio Excalibur
Survey
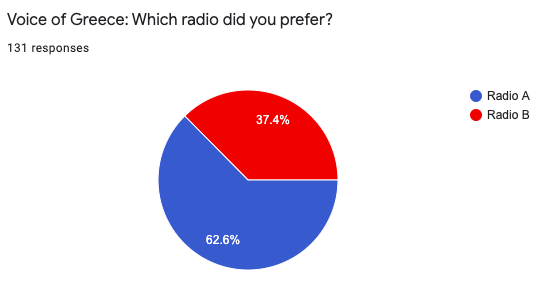
While the preference was for the IC-705’s audio (Radio A), this test was very interesting because those who chose the Excalibur had quite a strong preference for it, saying that it would be the best for DXing and had a more stable AGC response. In the end, 62.6% of 131 people felt the IC-705’s audio had slightly less background noise.
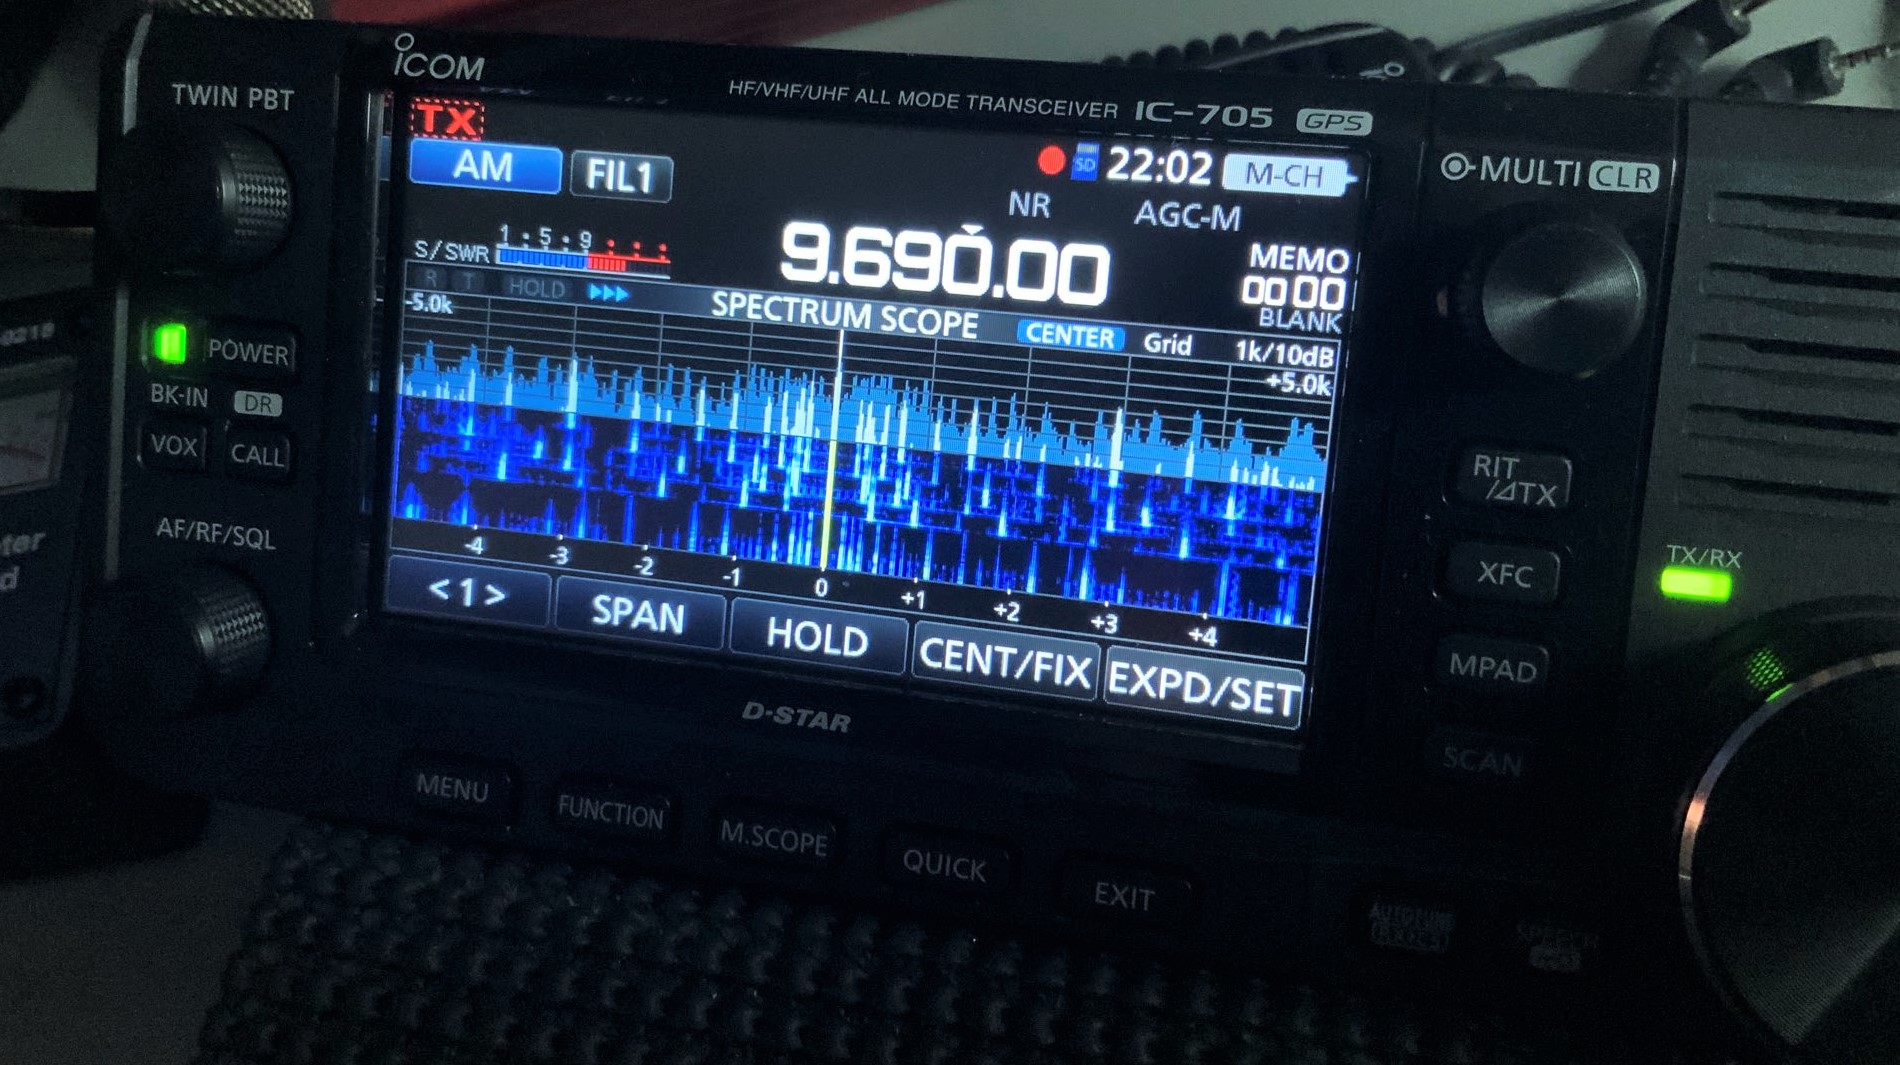
Test #5: Radio Exterior de España 9,690 kHz
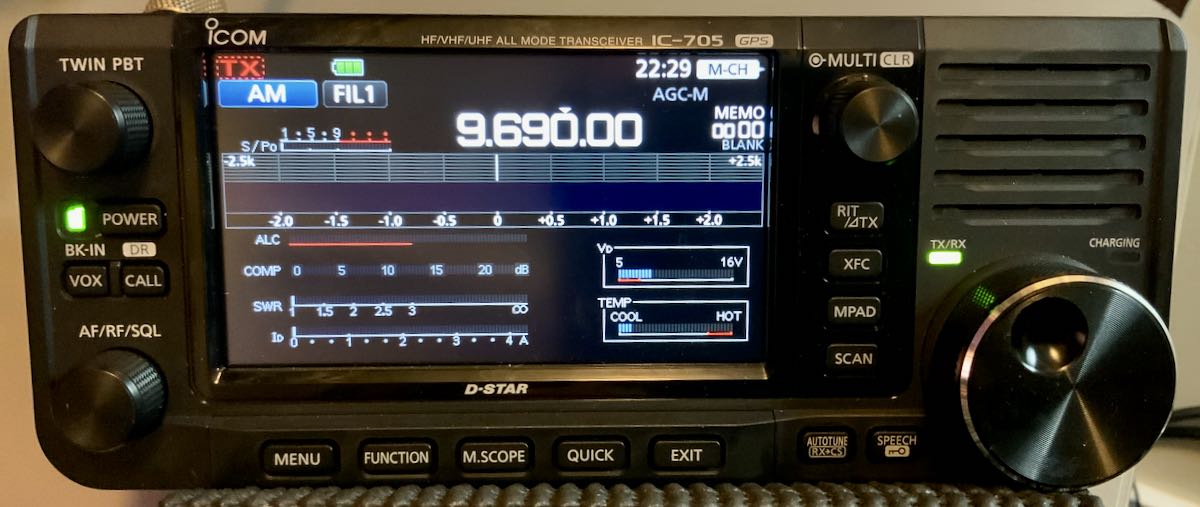 In this fifth test we listened to the Icom IC-705, and AirSpy HF+, tuned to Radio Exterior de España on 9,690 kHz. I picked REE, in this case, because it is a blowtorch station and I could take advantage of the IC-705’s maximum AM filter width of 10 kHz.
Radio A: Icom IC-705
Radio B: Airspy HF+
Survey
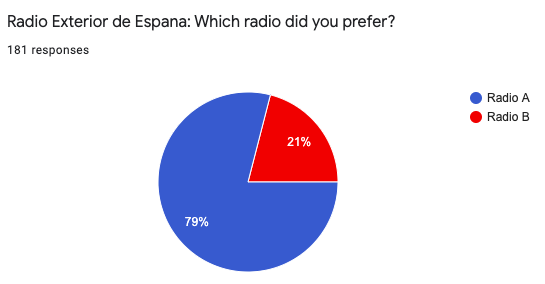
The IC-705 was preferred by 79% of you in this test.
Again, very interesting comments, though. Those who preferred the IC-705 felt the audio simply sounded better and had “punch.” Those who preferred B felt it was more sensitive and could hear more nuances in the broadcaster voices.
So what’s the point of these blind audio tests?
Notice I never called any radio a “winner.”
The test here is flawed in that audio levels and EQ aren’t the same, the settings aren’t identical, and even the filters have slightly different shapes and characteristics.
In other words, these aren’t lab conditions.
I felt the most accurate comparison, in terms of performance, was the 40M CW test with the KX3 because both employed similar narrow filters and both, being QRP transceivers, are truly designed to perform well here.
I essentially crippled the WinRadio Excalibur and Airspy HF+ by turning off all all but the most basic filter and AGC settings. If I tweaked both of those SDRs for optimal performance and signal intelligibility, I’m positive they would have been the preferred choices (indeed, I might just do another blind audio test to prove my point here).
With that said, I think we can agree that the IC-705 has brilliant audio characteristics.
I’ve noticed this in the field as well. I’m incredibly pleased with the IC-705’s performance and versatility. I’ll be very interested to see how it soon rates among the other transceivers in Rob Sherwood’s test data.
The IC-705 can actually be tailored much further by adjusting filter shapes/skirts, employing twin passband tuning and even using its noise reduction feature.
If anything, my hope is that these blind audio tests give those who are considering the Icom IC-705 a good idea of how its audio and receiver performs in real-word listening conditions.
Do you enjoy the SWLing Post?
Please consider supporting us via Patreon or our Coffee Fund!
Your support makes articles like this one possible. Thank you!