 Many thanks to SWLing Post contributor extraordinaire, 13dka, who brings us a three part series about the new SULA homebrew antenna project. This first article describes this affordable antenna and demonstrates its unique reception properties. The second article will focus on construction notes. The third and final article will essentially be a Q&A about the SULA antenna. All articles will eventually link to each other once published.
This wideband unidirectional antenna is an outstanding and innovative development for the portable DXer. I love the fact that it came to fruition via a collaboration between Grayhat and 13dka: two amazing gents and radio ambassadors on our SWLing.net discussion board and here on the SWLing Post. So many thanks to both of them!
Please enjoy and share SULA Part 1:
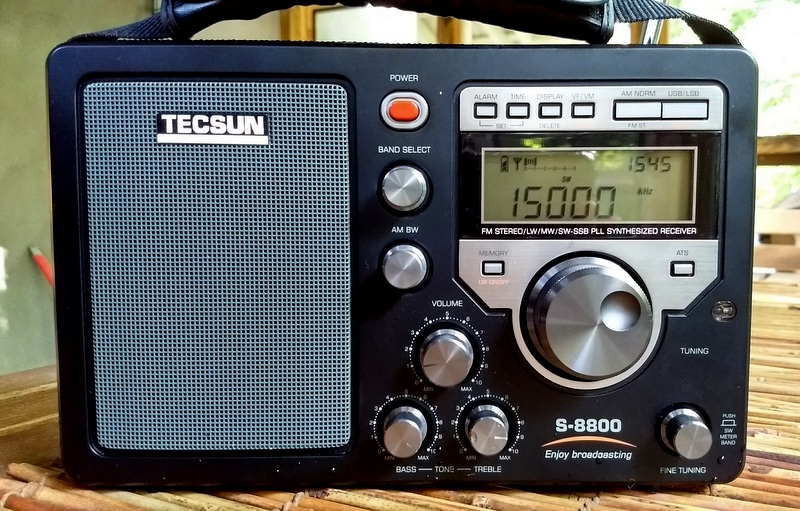
Introducing the Small Unidirectional Loop Antenna (SULA) 1-30MHz
A small and simple, unidirectional and DX-capable loop “beam” for SWLs!
by 13dka
In early June, Andrew (grayhat), SWLing Post‘s resident antenna wizard suggested a variation of the “cardioid loop” on the SWLing Post message board: The original “cardioid loop” is a small loop receiving antenna deriving its name from a cardioid shaped (unidirectional) radiation footprint. The design is strikingly simple but it has a few downsides: It relies on a custom preamp, it needs a ground rod to work and it is unidirectional only up to 8 MHz.
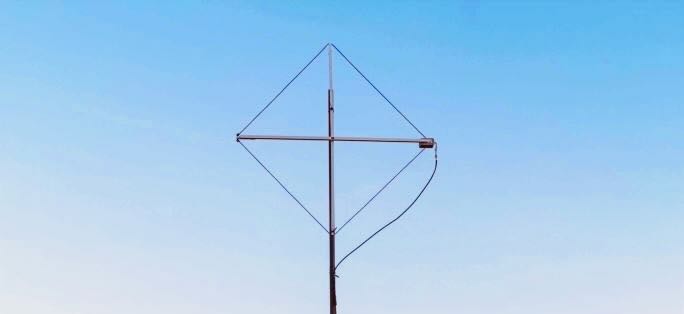
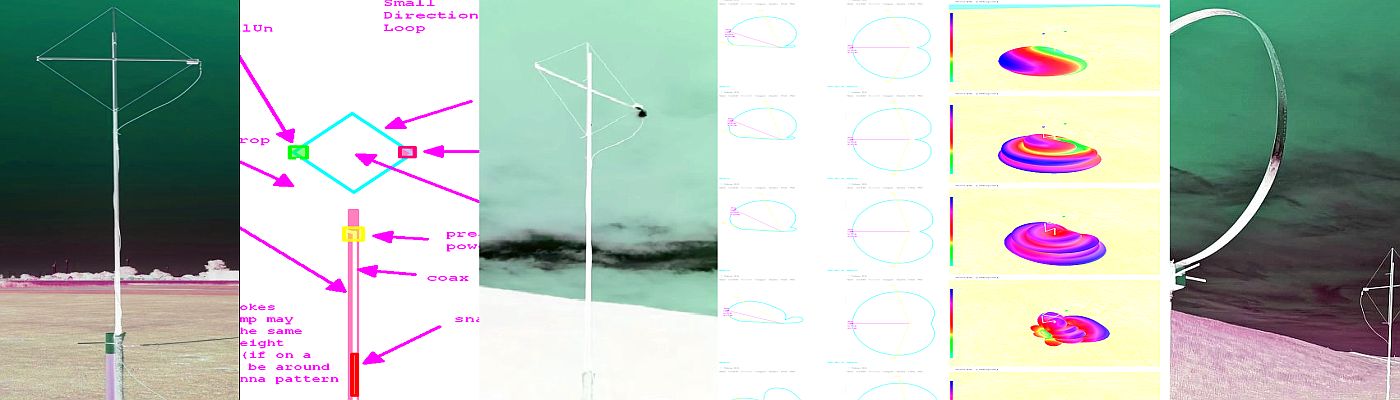
Andrew’s version had the components all shuffled around and it did not only lose the ground rod, it also promised a nice cardioid pattern over the entire shortwave, from a small, diamond shaped loop. Wait…what? It can be made using parts available on Amazon and your DIY store:
You need some 3m wire and PVC tubes to create a support structure to hold the wire, a 530 Ohm resistor and a 9:1 balun like the popular “NooElec One Nine”. Since it’s a “lossy” design, adding a generic LNA like the NooElec “LANA HF” would help getting most out of it. When you put that all together you have what sounds like an old shortwave listener’s dream: a small, portable, tangible, and completely practical allband shortwave reception beam antenna with some more convenient properties on top, for example, it is a bit afraid of heights.
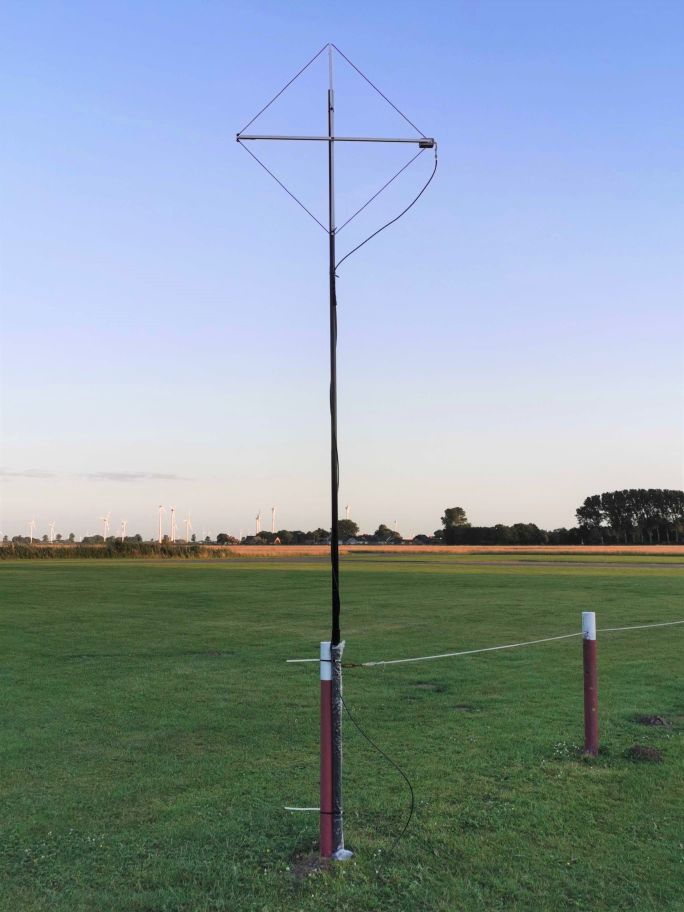
That sounded both interesting and plain crazy, but the .nec files Andrew posted were clearly saying that this antenna is a thing now. Unfortunately Andrew suffered a little injury that kept him from making one of those right away, I on the other hand had almost all the needed parts in a drawer so I ended up making a prototype and putting it through some of its paces, with Andrew changing the design and me changing the actual antenna accordingly, then mounting it upside down. Let me show you around:
- Small, diamond shaped wire loop (with 76cm/29.92″ sides), needing as little space as most other small loops.
- Unidirectional with a ~160° wide “beam” and one pronounced minimum with a front/back-ratio of typically 20dB over the entire reception range 1-30MHz.
- Moderate height requirements: It works best up to 3m/10′ above ground, where it gives you…
- …a main lobe with a convenient flat takeoff angle for DX
- Antenna is comparatively insensitive to ground quality/conductivity.
- Wideband design, works best on shortwave and is pretty good up to 70cm.
A functional small beam antenna for shortwave reception that’s just as small and possibly even more lightweight (prototype:~250g/9oz) than your regular SML, that can be easily made out of easy to obtain parts and easily carried around for mobile/portable DXing and due to its cardioid shaped directional pattern also for direction finding, a “tactical” antenna that’s also doing DX? Unlike conventional, Yagi-Uda or wire beams it can achieve a low takeoff angle at only 3m/10ft height or less, the front/back ratio is typically better than that of a 3-element Yagi, with a particularly useful horizontal pattern shape. That it’s rather indifferent to soil quality could mean that more people get to reproduce the good results and being a real wideband antenna is making the SULA an interesting companion for multiband radios and SDRs. Really? A miracle antenna? Is it that time of year again? If I had a dollar for every….