Many thanks to SWLing Post contributor, ShortwaveGuy, who shares the following guest post originally published on his blog, Shortwave.me:
Tried And True. . .Revisiting Older Receivers – Realistic DX-440
by ShortwaveGuy
Anyone who knows me, knows I am a fan of the “latest and greatest” when it comes to shortwave receivers. Like most of us involved in the hobby, I am always on the lookout for what newer technology has to offer me in order to pursue my quest of either capturing that elusive DX signal, or whatever will bring my favorites in the clearest. As a result, over the past few years, I have collected an assortment of receivers, each one serving a different purpose. My wife can not only attest to this, but can also relate to this phenomenon, as someone who has far more shoes than she will ever have time or fortune to wear! That’s how I am with my radios!
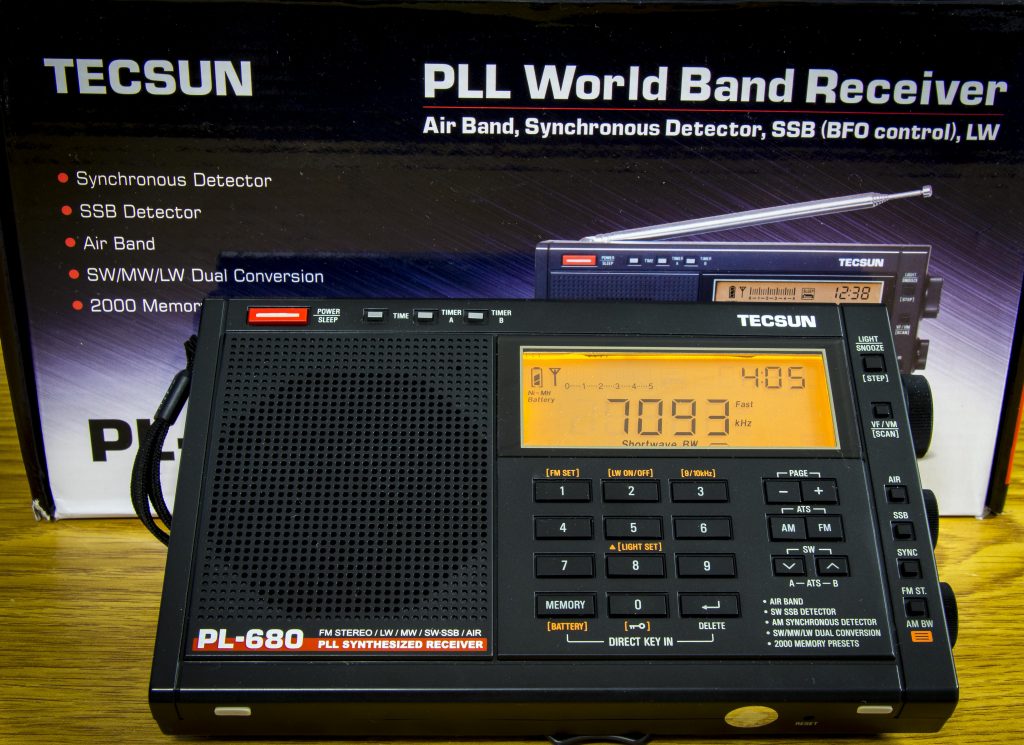
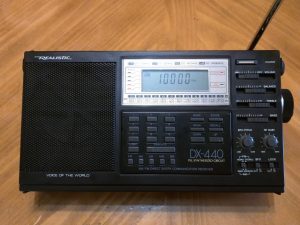 The other day, however, while listening to some of my favorite stations on what is arguably my best current portable receiver, the Tecsun PL-660, I got to thinking about some of my other receivers, in particular, my Realistic DX-440. I have had this receiver for as long as I can remember and I can remember back a long time! Around the time it came out, the radio most of us had our eyes on was the venerable Sony ICF-2010. Like a lot of people, however, I had no means of purchasing a receiver as expensive as it was at the time. I hoped that somehow, I would be able to afford one and one day, I did buy one, but that’s a story for another time, however.
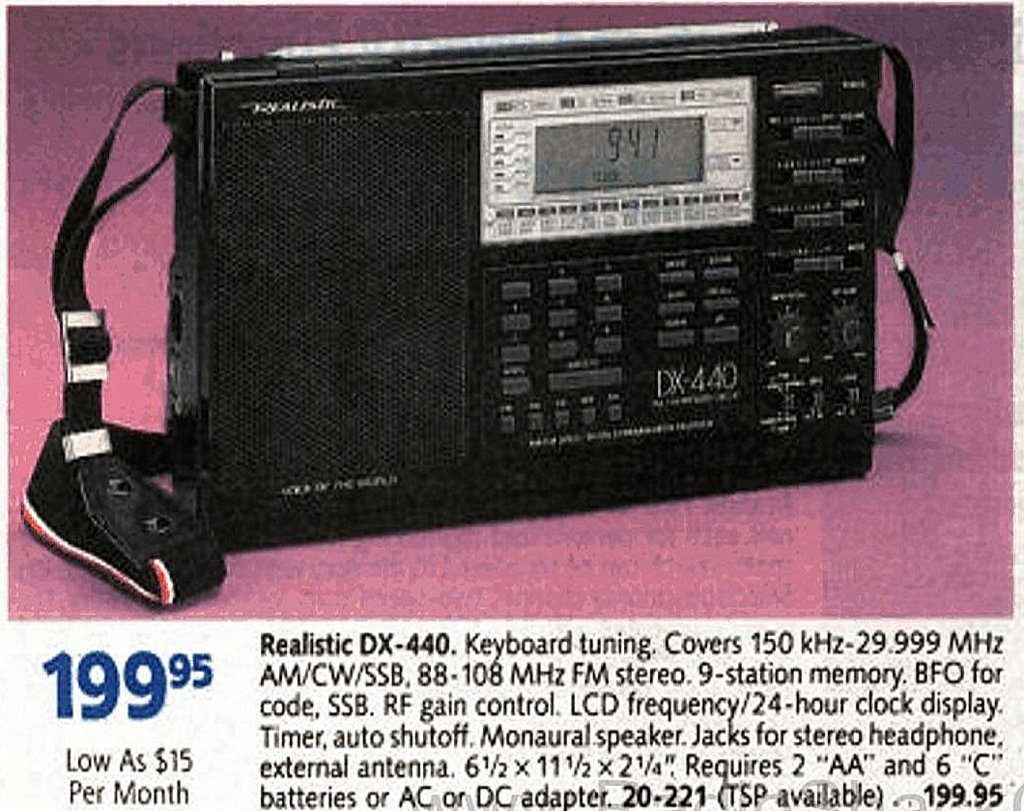
In the mean time, I can remember perusing the latest Radio Shack catalog, something I did as often as they came out when I saw it. . .a radio with all kinds of wonderful buttons and knobs! The top of the page screamed out at me: “CATCH THE ACTION ON MULTIBAND PORTABLES”. It was the Realistic DX-440! Here is a picture of the ad as it appeared:
Once I saw it, I knew I must have it! While the MSRP on the Sony ICF-2010 was $449, this gem could be had for less than $200! All my previous radios had analog tuning so the prospect of getting a radio with a digital display was quite appealing to me! Try as I may to convince my parents to get me just this one Christmas gift instead of several, it didn’t happen. . . .at that time. But fast forward several years later. . .
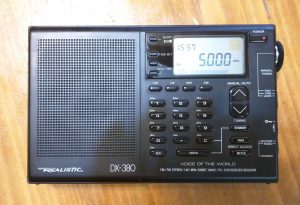 I finally got my digital receiver in the form of the Realistic DX-380 from my parents one Christmas. I worked that thing for years, and was mostly happy with it. It didn’t have SSB, which I had begun to understand by that time. I had pulled in a lot of great stations such as HCJB, BBC, VOA, Radio Havana Cuba and many others. However, because it didn’t have SSB, there were several occasions where I would happen upon ham radio operators who were talking back and forth, utility stations or even pirate stations. I could never be for sure, though, because my unit was not equipped to decode those signals. I knew that it was time to finally remedy that.
I purchased a few other radios that would do SSB and most of them worked reasonably well. At one point, I had even managed to procure the much-celebrated ICF-2010, which I loved dearly until it died a slow and unfortunate death that those with the know-how told me was beyond repair. But always, in the back of my mind, I wondered about that near-mystical Realistic DX-440. . .dreaming about what might have been.
I contented myself with the radios I had, still enjoying this wonderful hobby that I have participated in for so many years. I was, with the exception of the now-departed 2010, generally happy with the receivers that I had. I wasn’t looking for a new radio, but one night, mostly out of boredom, I wandered on to eBay and did a search for shortwave radios. I looked at tabletops and ultralights, primarily as I really had neither and had plenty or portables. About two pages in, I saw the Realistic DX-440. It only took about 10 minutes before I decided that this one must be mine. I placed my bid and waited patiently. . .only to lose the auction. “Oh, well”, I thought. If I saw another one, I might try again. . .or maybe not.
Well, the next day, I did a search and found one. This one looked in fantastic shape and had no bids. There was a “Buy It Now” price, but I wanted to get this for as inexpensively as I possibly could. The auction ended in 5 hours. I chose not to bid, not wanting to draw attention to it. I set an alarm on my watch and came back in an hour. . .still no bids. I set another alarm. With only 3 hours left, I began to get excited. Another hour went by and another alarm had been set. 2 hours to go. Any bidders, yet? No! Could this really happen? Maybe!
When I got down to the final hour of the auction, I didn’t bother to set an alarm. Like a watched pot that never boils, I stared at the web page, refreshing it every couple of minutes. With every refresh, it began to seem as if this might come to a happy conclusion. 10 minutes left. . .no bids. 5 minutes left. . .still no bids. I waited until 30 seconds before the end of the auction and placed the minimum bid.
Tick. Tock. Tick. Tock. Tick. Tock.
Auction over.
I HAD WON!
A dream over 20+ years in the making had finally happened! I quickly paid for the radio and then purchased the appropriate “wall-wart” adapter to make sure I had it ready for when the radio arrived. It said it would be 7-10 days for delivery, but it was at my house in 3!
I opened the box and carefully wrapped in old newspaper, was the radio that I had been pining for since my early teens. I quickly checked it out to make sure it was in good condition and was pleased to find it was. My heart sank a little bit when I opened the battery compartment to find 2 AA cells left in for the last 5 years that were supposed to power the clock and the memory functions. Fortunately, they had not exploded and I quickly removed them and replaced the unit with a fresh round of batteries. The only flaw I was able to find was that it seemed that the previous owner had lost the screw on tip of the internal whip antenna and had placed a plastic cap on the end in its place. It didn’t look out of place and was very secure, so I shrugged it off. Now for the moment of truth: I powered the radio on and it worked! I checked all the bands and was able to receive quite well on all of them except LW (which is to be expected, given my geographic location and the lack of stations on the longwave band, in general). All the knobs were there and in place and there were no dirty switches or tuning pots to deal with. I had snagged myself a honey of a bargain!
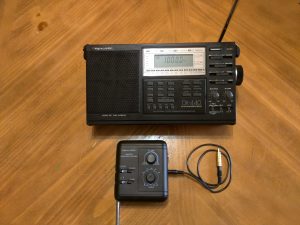 Now it was time to use this thing for what I bought it for: to listen to shortwave radio! I usually use a 100 foot longwire antenna when I listen to shortwave, and this time would be no exception. However, I was anxious to pair the DX-440 with the Realistic 20-280 amplified antenna that I had picked up years ago at an auction. I had used it with other radios, but never in conjunction with a longwire antenna. I was ready to change that. I wanted to use the preselector function of the amplified antenna as well as the actual amplifier in order to maximize my ability to pull in distant stations. When the radio was first manufactured, there were a lot more stations on the air to listen to and less of a need to do much more than throw 20 feet of wire up in a tree. Obviously, with many of the powerhouse shortwave stations having gone the way of the internet, I knew that my plan to couple the longwire with the amplified antenna had the potential to pay big dividends. I took a look at the back of the radio, where the external antenna jack was and I was surprised to find not the 1/8? jack I was accustomed to, but in its place was an RCA phono plug. The amplified antenna had an RCA plug on its side, as well, but it wasn’t to connect to a radio, it was for connecting to an antenna. The amplified antenna had the 1/8? plug and accompanying cable that was used to connect to the external antenna jack of nearly every modern portable radio. To be honest, I wasn’t completely sure how I was going to go about handling this issue. I thought about using alligator clips, but wasn’t sure how to integrate this into my coupling scheme.
 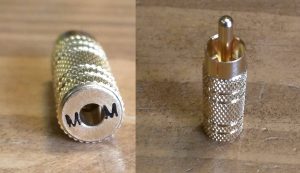 I pondered over this for all of about 3 minutes and than quickly got into my car and headed to my local Radio Shack. I told them I was looking for a 1/8-inch phone plug-to-phono jack and they were quick to accommodate me. They gave me the adapter you see pictured here (Catalog #: 2740871). It would handle either stereo or mono input of a 1/8-inch plug and as a bonus, it says “MOM” on the end, if you are willing to use the input hole as the letter “O”.
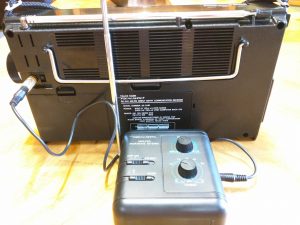 I got it home and quickly got it hooked up. As I expected, the “MOM” adapter was a perfect fit. I made sure I had fresh batteries in the amplified antenna, though it would accept an AC adapter if I wanted. I chose to run it on battery, so as to reduce any possible introduction of noise to the signal. And then, I powered on both the amplified antenna and the DX-440. . .the moment of truth had arrived! I tuned to WWV on 15 mHz, which I use as a baseline for most test I conduct on my radios during the time of day I was listening. I must tell you, I was NOT disappointed in what I heard. It was a rather cloudy day weather-wise and I was concerned about a middling solar flux. I needn’t have been worried at all. The signal was robust and clear as the familiar sound came booming in from Fort Collins, Colorado! Not only was the signal strong, but using the separate bass and treble controls and the wide selection on filters, it was actually rather pleasant listening, not fatiguing at all. I pulled up my trusty shortwave schedules app on my phone and began searching for things to listen to.
 I heard domestic broadcasters like WRMI and WBCQ with no issues and managed to catch BBC to West Africa, as well! I listened to quite a bit that night and into the morning hours, checking out not only broadcast shortwave, but utilizing the BFO to listen to ham bands, particularly my favorite, the Freewheelers Net on 3.916 mHz, LSB. The BFO was easy to operate and the addition of the Realistic amplified antenna helped to bring in signals with great gusto. As with any amplified antenna that is not a loop, this one amplified not only the signal, but the noise as well. That said, the propagation deities were kind to me and I enjoyed a long night of listening.
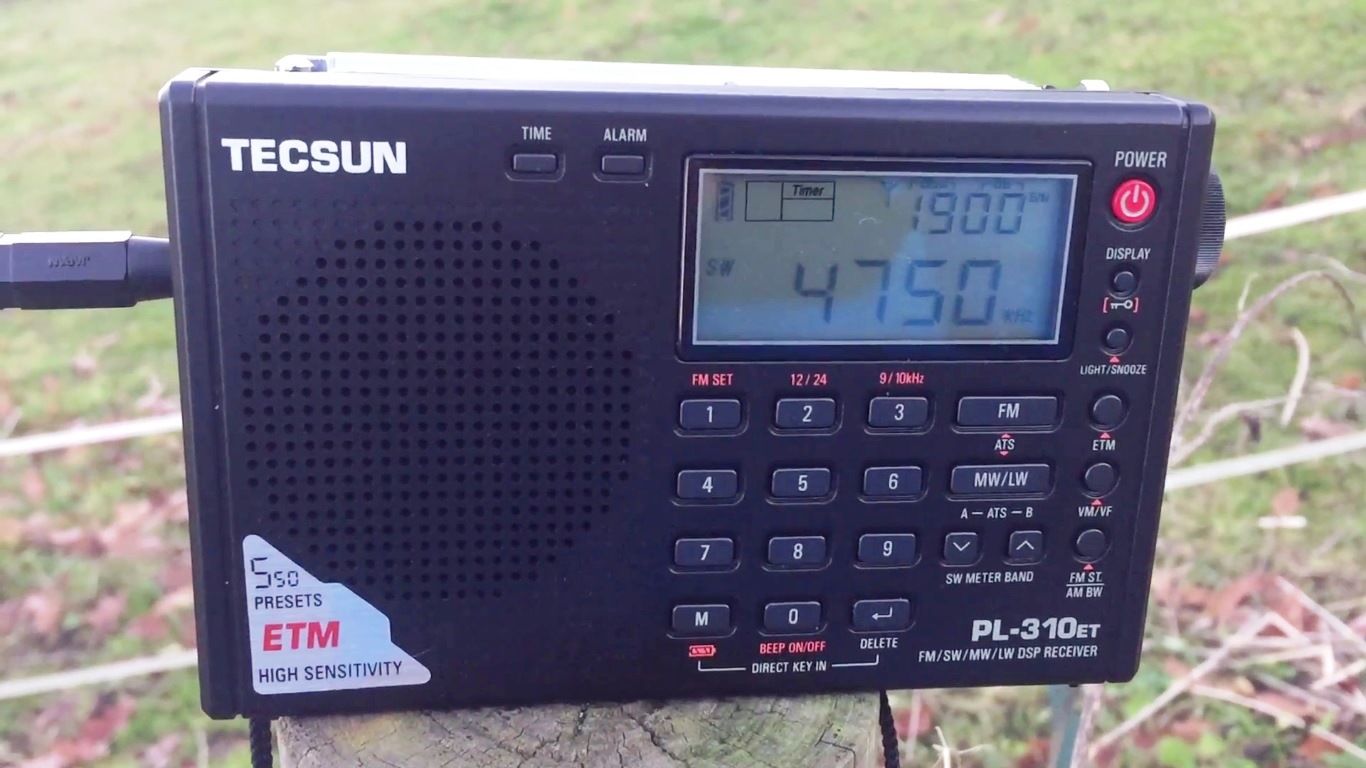
I have since given my DX-440 a place next to my bedside and have enjoyed listening to whatever I could find to listen to most nights. While a radio like the Tecsun PL-660 offers newer technology and the addition of an excellent synchronous detector, the DX-440 holds its own against the newer technology. At the end of the day, it’s still a portable and while most portables pale in comparison to tabletop rigs, this one is rather excellent with what it has offer versus its price point. The build quality is solid and ergonomically it is a pleasure to operate. If I had any critiques at all, I would have made the BFO and the RF Gain knobs a bit bigger, but now I am truly splitting hairs. I can see why contemporaneous editions of the Passport To Worldband Radio listed this as an Editors’ Choice radio back in the day.
I wanted one from the day I saw it those many years ago, and I can say unequivocally, that it was worth the wait!
–ShortwaveGuy
Thank so much for writing about the DX-440–that radio has a special place in my heart. The ‘440 was my first digital shortwave receiver–it revolutionized my shortwave listening.
As I’ve mentioned before, I also travelled with the Radio Shack DX-440 while studying French and living in Grenoble, France. The DX-440 delivered my daily dose of the Voice of America (the only English language news I allowed myself to listen to at the time). Since the VOA broadcast often coincided with meal time at the Université Stendhal cafeteria, I left my voice-activated Micro Cassette recorder in front of the DX-440 which was, in turn, set to turn on one minute prior to the VOA broadcast. It was an amazingly reliable arrangement.
I’d better not wax too nostalgic, though, else I’ll start searching eBay for a 440 just like you did! Hang onto that DX-440–I wish I would have never given mine away!

